这有一个不错的html 学习资源:https://www.w3schools.com/tags/tag_hn.asp
简单了解html 基础元素
有以下内容:
| shiny function | HTML5 equivalent | creates |
|---|---|---|
p |
<p> |
A paragraph of text |
h1 |
<h1> |
A first level header |
h2 |
<h2> |
A second level header |
h3 |
<h3> |
A third level header |
h4 |
<h4> |
A fourth level header |
h5 |
<h5> |
A fifth level header |
h6 |
<h6> |
A sixth level header |
a |
<a> |
A hyper link |
br |
<br> |
A line break (e.g. a blank line) |
div |
<div> |
A division of text with a uniform style |
span |
<span> |
An in-line division of text with a uniform style |
pre |
<pre> |
Text ‘as is’ in a fixed width font |
code |
<code> |
A formatted block of code |
img |
<img> |
An image |
strong |
<strong> |
Bold text |
em |
<em> |
Italicized text |
HTML |
Directly passes a character string as HTML code |
使用这些代码时,shiny 将会将它们转换为对应的html 代码:
> h1("My title")<h1>My title</h1>
我们除了可以直接在fluidPage 函数内使用,也可以将他们作为参数传递给titlePanel, sidebarPanel, or mainPanel:
ui <- fluidPage(h1("My title"),titlePanel(h2("My title")),sidebarLayout(sidebarPanel(h3("My title")),mainPanel("main panel")))

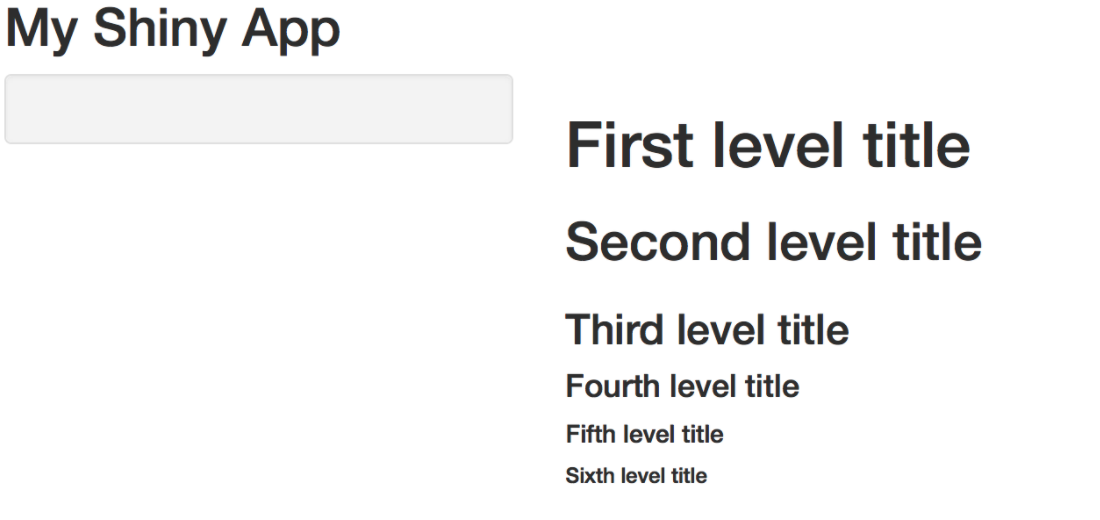
感受以下各级标题的魅力吧:
ui <- fluidPage(titlePanel("My Shiny App"),sidebarLayout(sidebarPanel(),mainPanel(h1("First level title"),h2("Second level title"),h3("Third level title"),h4("Fourth level title"),h5("Fifth level title"),h6("Sixth level title"))))
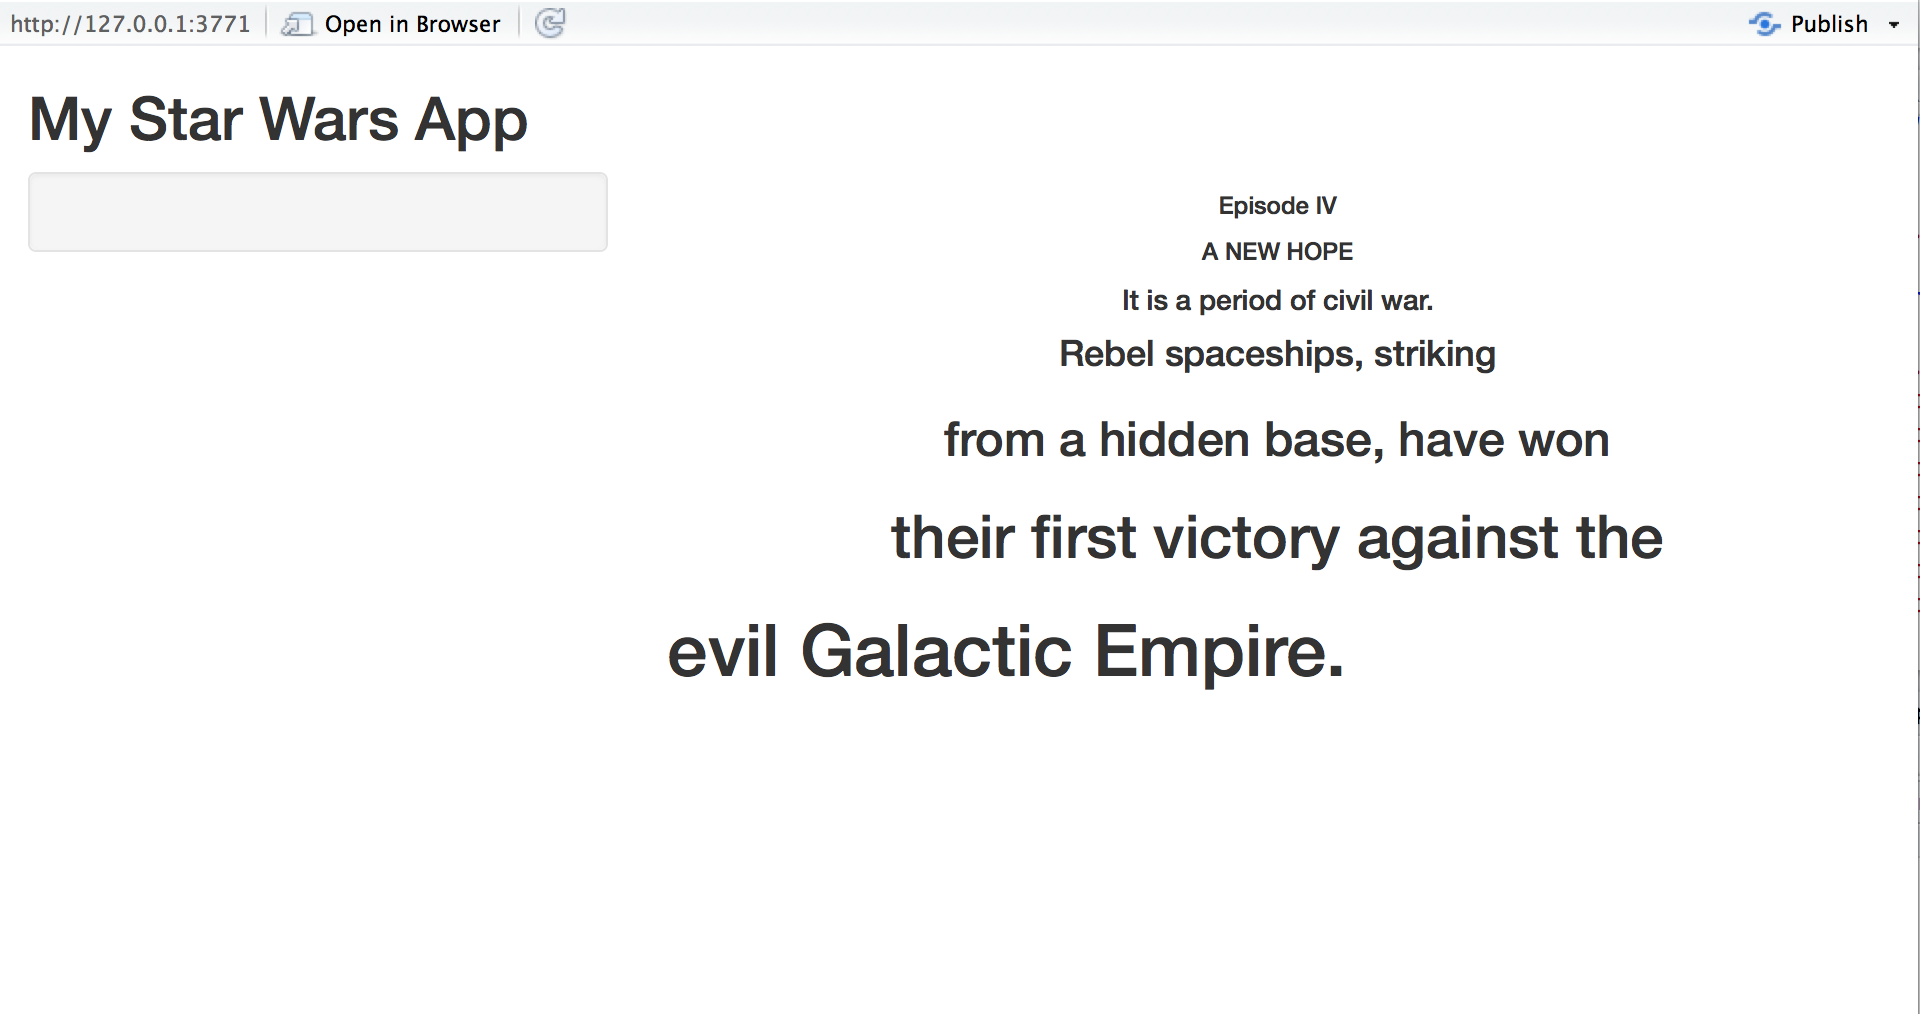
我们还可以通过align参数调整文本的位置:
ui <- fluidPage(titlePanel("My Star Wars App"),sidebarLayout(sidebarPanel(),mainPanel(h6("Episode IV", align = "center"),h6("A NEW HOPE", align = "center"),h5("It is a period of civil war.", align = "center"),h4("Rebel spaceships, striking", align = "center"),h3("from a hidden base, have won", align = "center"),h2("their first victory against the", align = "center"),h1("evil Galactic Empire."))))
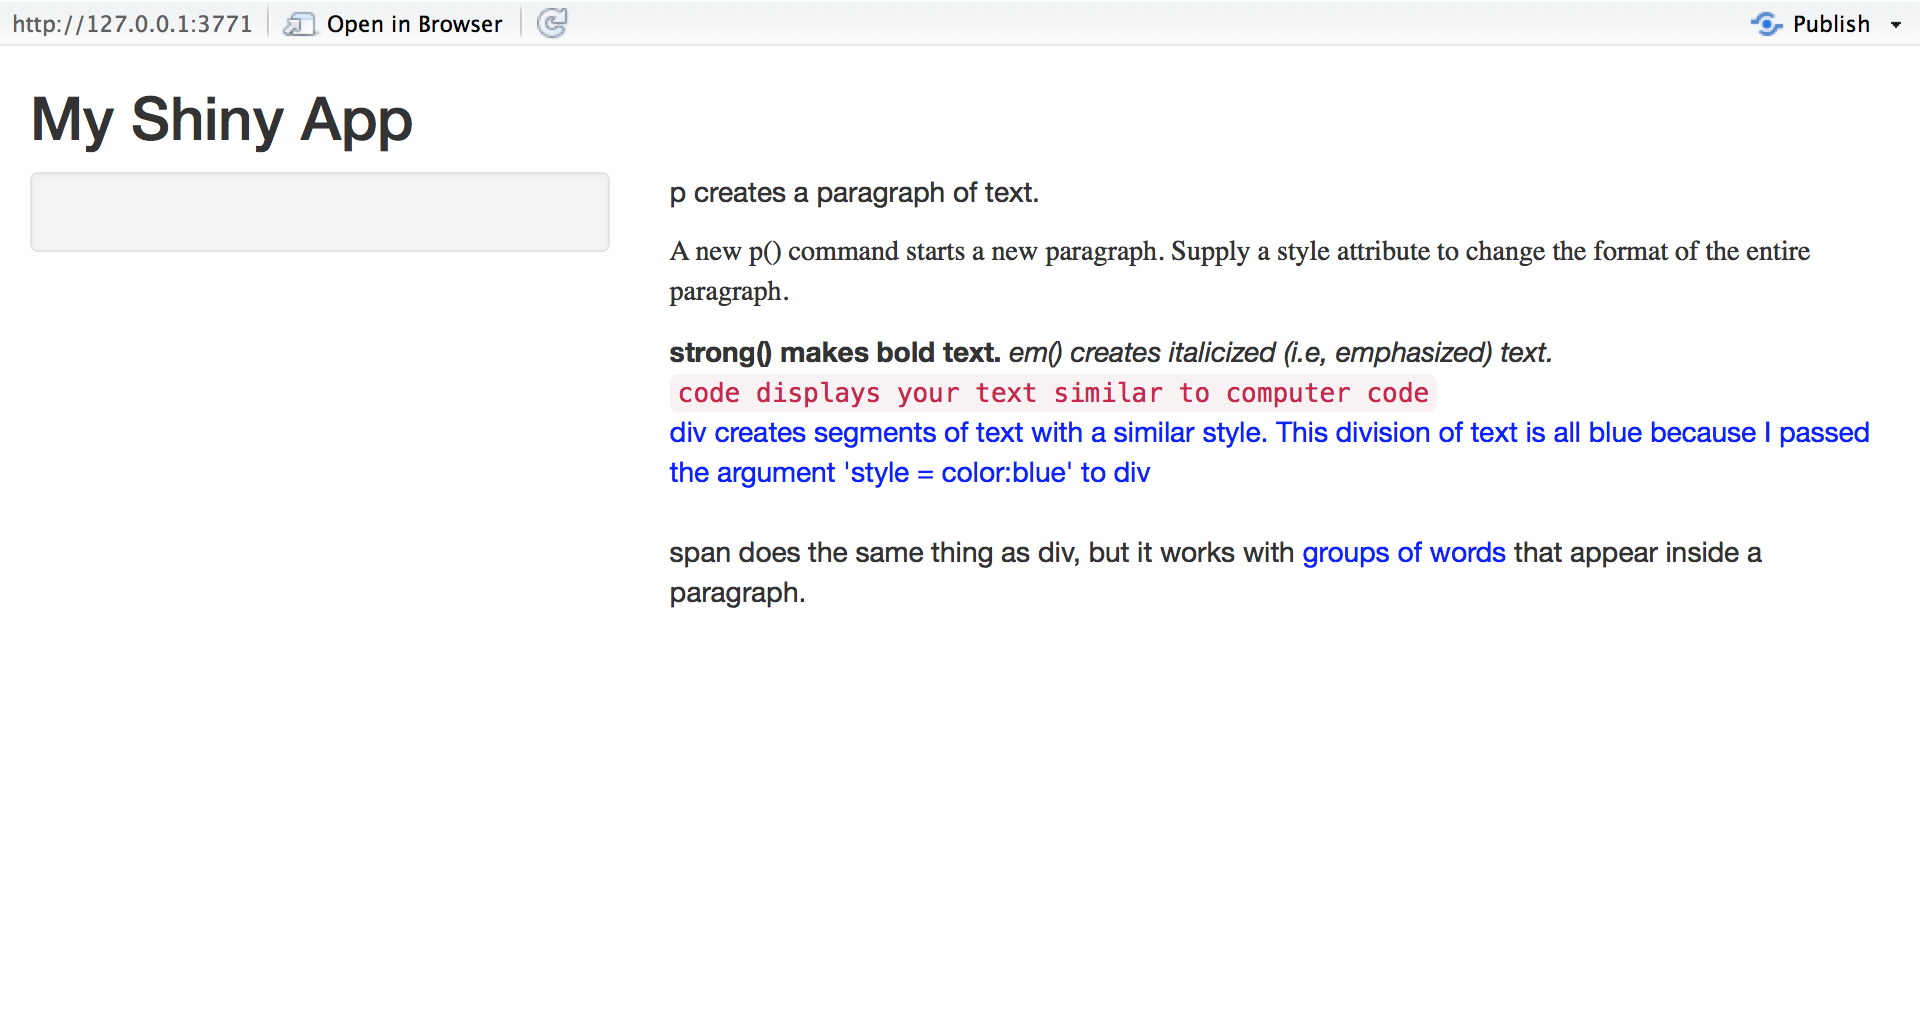
格式化文本
我们可以通过下面的格式化文本例子,一窥html 语法的各个元素:
ui <- fluidPage(titlePanel("My Shiny App"),sidebarLayout(sidebarPanel(),mainPanel(p("p creates a paragraph of text."),p("A new p() command starts a new paragraph. Supply a style attribute to change the format of the entire paragraph.", style = "font-family: 'times'; font-si16pt"),strong("strong() makes bold text."),em("em() creates italicized (i.e, emphasized) text."),br(), # 空格一段code("code displays your text similar to computer code"),# 可以给一段内容分配相同的风格div("div creates segments of text with a similar style. This division of text is all blue because I passed the argument 'style = color:blue' to div", style = "color:blue"),br(),p("span does the same thing as div, but it works with",span("groups of words", style = "color:blue"), # 类似div 但可以在元素内部进行调整"that appear inside a paragraph."))))
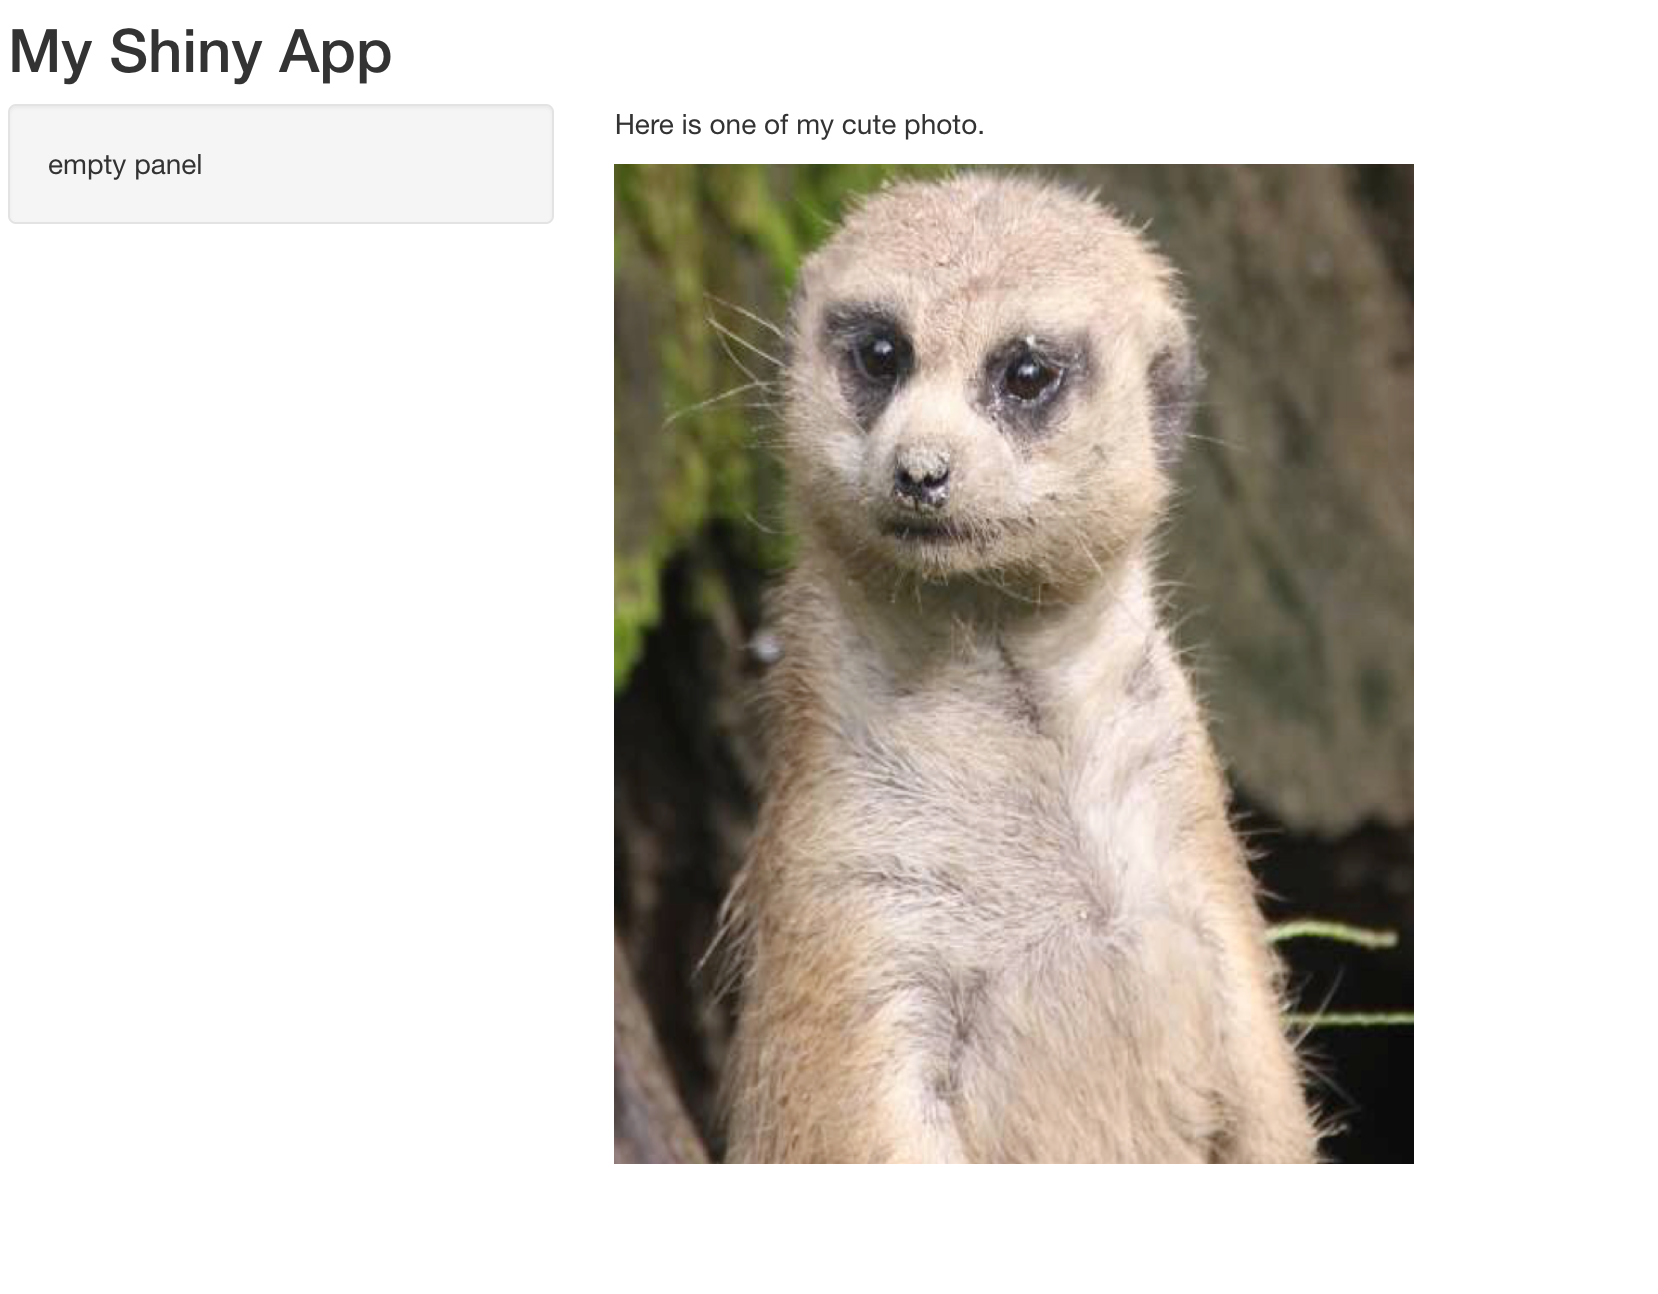
图片
如果想要将图片添加到shiny中,我们需要将图片保存在:
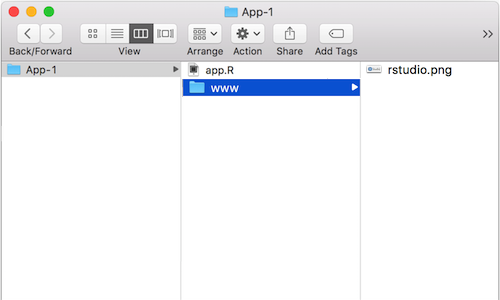
接着使用函数img:
ui <- fluidPage(titlePanel("My Shiny App"),sidebarLayout(sidebarPanel("empty panel"),mainPanel(p("Here is one of my cute photo."),img(src = "cute.png", height = 500, width = 400))))

若有收获,就点个赞吧
0 人点赞
