参见:https://github.com/Mikata-Project/ggthemr
直接一步安装:
devtools::install_github('Mikata-Project/ggthemr')
直接使用就好了:
ggthemr('dust')# reset2default theme# ggthemr_reset()
为了防止颜色产生的bug :
在语句中添加 scale_colour_ggthemr_d()
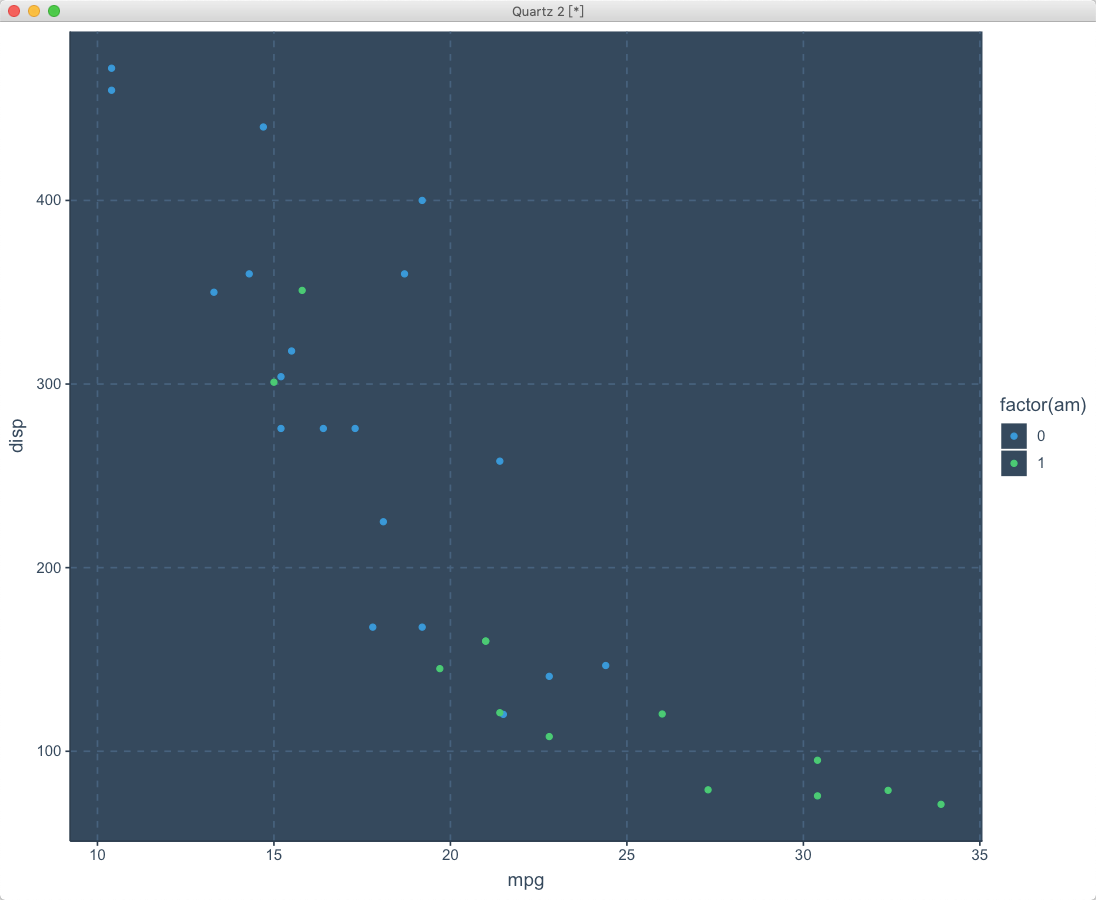
ggplot(mtcars, aes(mpg, disp, colour = factor(am))) +geom_point() +scale_colour_ggthemr_d()
使用模版
非常多,直接用就好了:
> ggthemr()> ggthemr('flat dark')> ggplot(mtcars, aes(mpg, disp, colour = factor(am))) ++ geom_point() ++ scale_colour_ggthemr_d()
如果想要了解使用模版的配色方案,可以直接:
> swatch()[1] "#555555" "#db735c" "#EFA86E" "#9A8A76" "#F3C57B" "#7A6752" "#2A91A2" "#87F28A" "#6EDCEF"attr(,"class")[1] "ggthemr_swatch"
用ggthemr 简单定制你的模版
其实也就是替换一下它的主题风格成你的颜色方案:
# Random colours that aren't white.set.seed(12345)random_colours <- sample(colors()[-c(1, 253, 361)], 10L)ugly <- define_palette(swatch = random_colours,gradient = c(lower = random_colours[1L], upper = random_colours[2L]))ggthemr(ugly)example_plot + ggtitle(':(')
深度定制
这个不得不吹爆了。
你可以添加各种参数:
> ggthemr('flat dark', layout = "clean")> ggplot(mtcars, aes(mpg, disp, colour = factor(am))) ++ geom_point() ++ scale_colour_ggthemr_d()

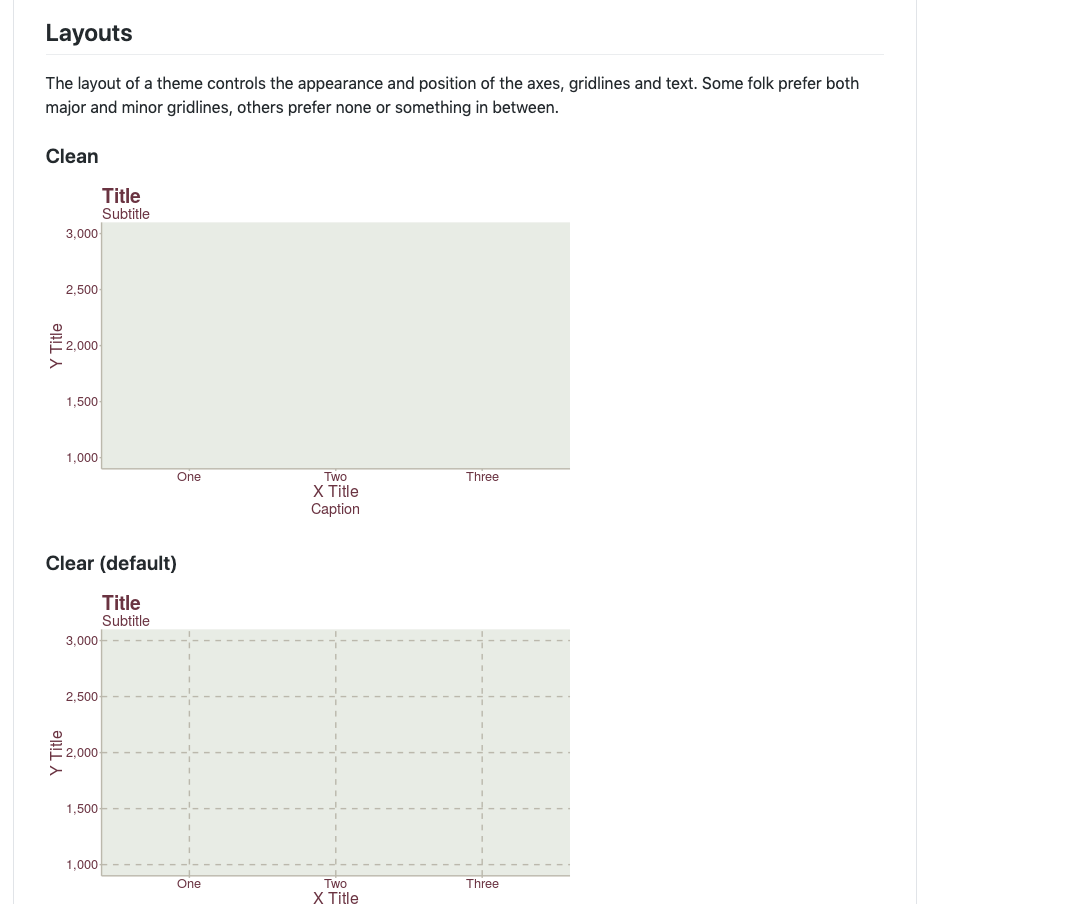
包括:
layout # 各种布局风格# clean, claer, minimal, plain, scientifictype # 图片类型,inner/outer,看背景与画布是否分离spacing # 坐标与坐标名称的距离,0,1,2,3
控制颜色亮度
darken_swatch() / lighten_swatch(): darker/lighter swatch colours.darken_gradient() / lighten_gradient(): darker/lighter gradient colours.darken_palette() / lighten_palette(): darker/lighter everything.
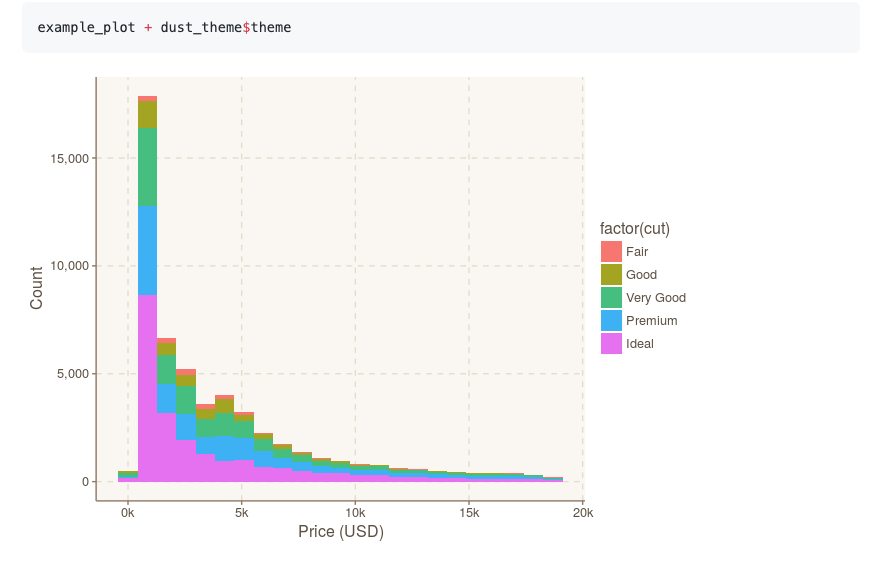
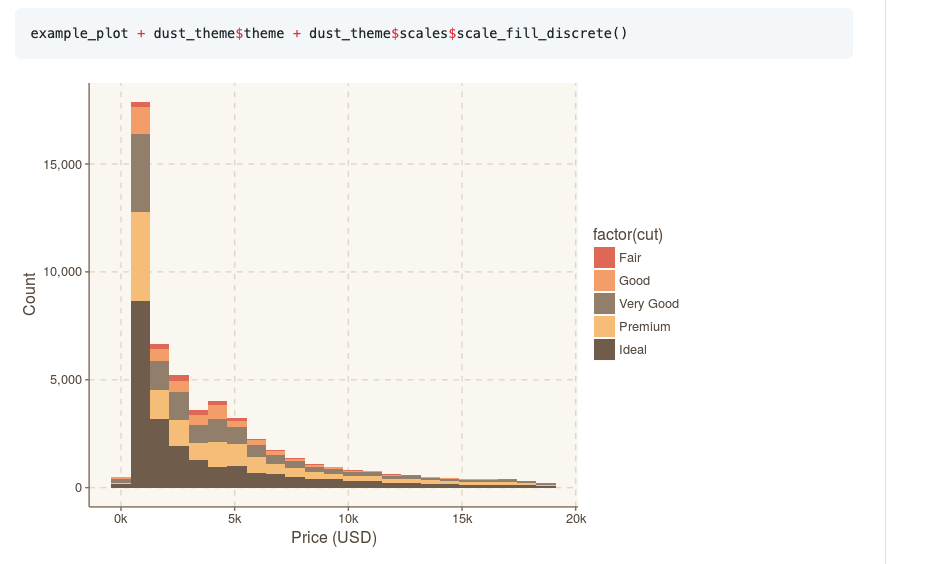
使用部分模版
如果不想使用整个模版的内容,也可以单独的使用它们:
example_plot + dust_theme$theme

若有收获,就点个赞吧
0 人点赞
