
1. 环境说明
关于zabbix的详细使用可以参考之前的3.0 版本,该文档仅记录zabbix 4.0 编译安装过程!
ZABBIX 3.0 从入门到精通(zabbix使用详解) : https://www.cnblogs.com/clsn/p/7885990.html
ZABBIX 4.0 中文参考文档 : https://www.zabbix.com/documentation/4.0/zh/manual
1.1 Linux环境说明
zabbix 安装要求 https://www.zabbix.com/documentation/4.0/zh/manual/installation/requirements
[root@clsn.io /root] clsn.io Blog WebSite#cat /etc/redhat-releaseCentOS release 6.8 (Final)[root@clsn.io /root] clsn.io Blog WebSite#uname -r4.10.5-1.el6.elrepo.x86_64[root@clsn.io /root] clsn.io Blog WebSite#sestatusSELinux status: disabled
1.2 NMP 环境说明
1.2.1. NGINX 配置说明
nginx 编译参数
[root@clsn.io /root] clsn.io Blog WebSite#nginx -Vnginx version: clsn/41.1built by gcc 4.4.7 20120313 (Red Hat 4.4.7-23) (GCC)built with OpenSSL 1.0.2l 25 May 2017TLS SNI support enabledconfigure arguments: --user=www --group=www --prefix=/www/server/nginx --with-openssl=/www/server/nginx/src/openssl--add-module=/www/server/nginx/src/ngx_devel_kit --add-module=/www/server/nginx/src/lua_nginx_module--add-module=/www/server/nginx/src/ngx_cache_purge --add-module=/www/server/nginx/src/nginx-sticky-module--add-module=/www/server/nginx/src/nginx-http-concat --with-http_stub_status_module --with-http_ssl_module--with-http_v2_module --with-http_image_filter_module --with-http_gzip_static_module --with-http_gunzip_module--with-stream --with-stream_ssl_module --with-ipv6 --with-http_sub_module --with-http_flv_module --with-http_addition_module--with-http_realip_module --with-http_mp4_module --with-ld-opt=-Wl,-E --with-pcre=pcre-8.40 --with-ld-opt=-ljemalloc--add-module=/www/server/nginx/src/ngx_http_google_filter_module--add-module=/www/server/nginx/src/ngx_http_substitutions_filter_module
nginx zabbix-web 配置
[root@clsn.io /etc/nginx/zclsn] clsn.io Blog WebSite#cat os.confserver{listen 80;server_name os.clsn.io;rewrite ^(.*) https://$host$1 permanent;}server{listen 443 ssl http2;server_name os.clsn.io;index index.php;root /www/wwwroot/other/os;include enable-php-56.conf;#https modessl_certificate /www/cert/clsn.io/fullchain.cer;ssl_certificate_key /www/cert/clsn.io/clsn.io.key;ssl_protocols TLSv1 TLSv1.1 TLSv1.2;ssl_ciphers ECDHE-RSA-AES128-GCM-SHA256:HIGH:!aNULL:!MD5:!RC4:!DHE;ssl_prefer_server_ciphers on;ssl_session_cache shared:SSL:10m;ssl_session_timeout 10m;}
1.2.2 MySql 配置说明
# mysql 可以采用yum 安装 版本在 5.0.3 - 8.0.x 中间均可# 具体版本要求可以参考: https://www.zabbix.com/documentation/4.0/zh/manual/installation/requirements#%E8%BD%AF%E4%BB%B6yum install mysql-server -y
创建zabbix 使用的用户
shell> mysql -uroot -p<password>mysql> create database zabbix character set utf8 collate utf8_bin;mysql> grant all privileges on zabbix.* to zabbix@localhost identified by '<password>';mysql> quit;
1.2.3 PHP 配置说明
[root@clsn.io /root] clsn.io Blog WebSite#php -i |grep configureConfigure Command => './configure' '--prefix=/www/server/php/56' '--with-config-file-path=/www/server/php/56/etc''--enable-fpm' '--with-fpm-user=www' '--with-fpm-group=www' '--with-mysql=mysqlnd' '--with-mysqli=mysqlnd''--with-pdo-mysql=mysqlnd' '--with-iconv-dir' '--with-freetype-dir=/usr/local/freetype' '--with-jpeg-dir''--with-png-dir' '--with-zlib' '--with-libxml-dir=/usr' '--enable-xml' '--disable-rpath' '--enable-bcmath''--enable-shmop' '--enable-sysvsem' '--enable-inline-optimization' '--with-curl=/usr/local/curl' '--enable-mbregex''--enable-mbstring' '--with-mcrypt' '--enable-ftp' '--with-gd' '--enable-gd-native-ttf' '--with-openssl=/usr/local/openssl''--with-mhash' '--enable-pcntl' '--enable-sockets' '--with-xmlrpc' '--enable-zip' '--enable-soap' '--with-gettext''--disable-fileinfo' '--enable-opcache' '--enable-intl'
2. Zabbix 安装
本次采用源码包安装方式,官方文档参考: https://www.zabbix.com/documentation/4.0/zh/manual/installation/install
2.1 获取软件包
cd /optwget https://nchc.dl.sourceforge.net/project/zabbix/ZABBIX%20Latest%20Stable/4.0.3/zabbix-4.0.3.tar.gz
2.2 部署ZABBIX
cd /opt# 解压软件包tar xf zabbix-4.0.3.tar.gzcd zabbix-4.0.3# 创建普通用户运行zabbixgroupadd clsnuseradd -g clsn clsn# 根据自己需求编译 zabbix ,本次编译一次生成zabbix-server 与 zabbix-agentd./configure --prefix=/usr/local/zabbix-4.0 --enable-server --enable-agent --with-mysql --enable-ipv6 --with-libcurl --with-libxml2makemake installln -s /usr/local/zabbix-4.0 /usr/local/zabbix
2.3 导入初始化mysql数据
shell> cd /opt/zabbix-4.0.3shell> cd database/mysqlshell> mysql -uzabbix -p<password> zabbix < schema.sql# stop here if you are creating database for Zabbix proxyshell> mysql -uzabbix -p<password> zabbix < images.sqlshell> mysql -uzabbix -p<password> zabbix < data.sql
2.4 复制ZABBIX的WEB文件
cd /opt/zabbix-4.0.3/frontends/mv php /www/wwwroot/other/oschown -R clsn.www /www/wwwroot/other/oschown -R clsn /usr/local/zabbix/
2.5 WEB界面初始化
web界面的配置在这里就不赘述了,与之前的版本相似没有较大的改变,主要要注意权限问题。
浏览器访问 nginx配置的域名 https://os.clsn.io
配置完成后即可登录,初始用户名 Admin 密码 zabbix 。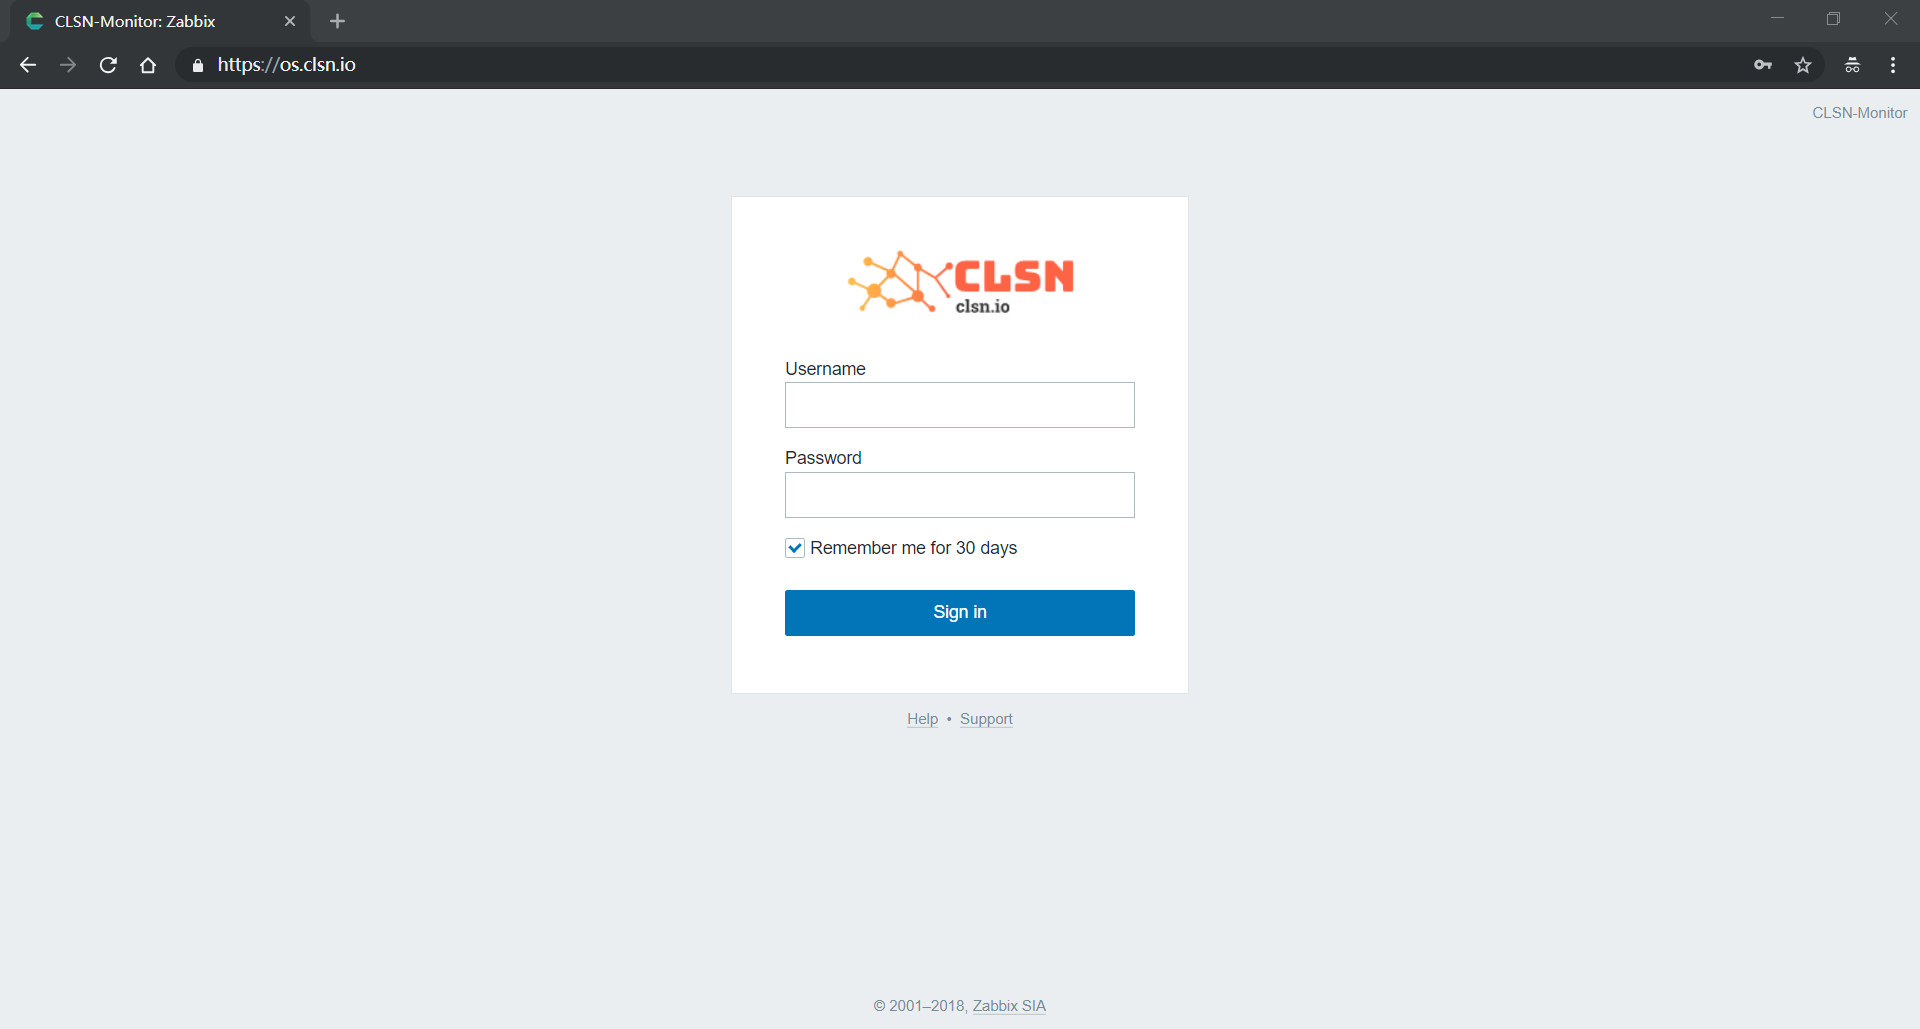
3. zabbix配置
3.1 zabbix-server配置
[root@clsn.io /root] clsn.io Blog WebSite#cd /usr/local/zabbix/etc/[root@clsn.io /usr/local/zabbix/etc] clsn.io Blog WebSite#grep -Ev "^#|^$" zabbix_server.confLogFile=/tmp/zabbix_server.logDBHost=localhostDBName=zabbixDBUser=zabbixDBPassword=passwordStartPollers=1StartPreprocessors=1StartTrappers=1StartAlerters=1ListenIP=127.0.0.1StartDBSyncers=1Timeout=4LogSlowQueries=3000User=clsn
3.2 zabbix-agentd 配置
[root@clsn.io /usr/local/zabbix/etc] clsn.io Blog WebSite#grep -Ev "^#|^$" zabbix_agentd.confLogFile=/tmp/zabbix_agentd.logSourceIP=127.0.0.1Server=127.0.0.1ListenIP=127.0.0.1StartAgents=1ServerActive=127.0.0.1Hostname=clsn.ioUser=clsnInclude=/usr/local/zabbix/etc/zabbix_agentd.conf.d/*.conf
3.3 复制启动脚本
cd /opt/zabbix-4.0.3/misc/init.d/fedora/corecp -a zabbix_agentd zabbix_server /etc/init.d/# 修改脚本中的 BASEDIR# vim +22 /etc/init.d/zabbix_agentdBASEDIR=/usr/local/zabbix# vim +22 /etc/init.d/zabbix_serverBASEDIR=/usr/local/zabbix
4. 安装完成
安装完成后可以使用多种方式添加监控主机,具体操作参考:https://www.cnblogs.com/clsn/p/7885990.html
5. 参考文献
https://clsn.io/clsn/lx658.html https://www.zabbix.com/documentation/4.0/zh/manual/installation/install https://www.zabbix.com https://blog.csdn.net/php_thinker/article/details/7241500

若有收获,就点个赞吧
0 人点赞
