Zabbix监控系统
- zabbix是一个基于WEB界面的提供分布式系统监控以及网络监控功能的企业级开源监控套件。
zabbix服务部署安装
一、启动LNMP环境
二、添加163源及zabbix ali内源
[root@localhost html]# cat /etc/yum.repos.d/CentOS-Base.repo[base]name=CentOS-$releasever - Base - 163.com#mirrorlist=http://mirrorlist.centos.org/?release=$releasever&arch=$basearch&repo=osbaseurl=http://mirrors.163.com/centos/$releasever/os/$basearch/gpgcheck=1gpgkey=http://mirrors.163.com/centos/RPM-GPG-KEY-CentOS-7#released updates[updates]name=CentOS-$releasever - Updates - 163.com#mirrorlist=http://mirrorlist.centos.org/?release=$releasever&arch=$basearch&repo=updatesbaseurl=http://mirrors.163.com/centos/$releasever/updates/$basearch/gpgcheck=1gpgkey=http://mirrors.163.com/centos/RPM-GPG-KEY-CentOS-7#additional packages that may be useful[extras]name=CentOS-$releasever - Extras - 163.com#mirrorlist=http://mirrorlist.centos.org/?release=$releasever&arch=$basearch&repo=extrasbaseurl=http://mirrors.163.com/centos/$releasever/extras/$basearch/gpgcheck=1gpgkey=http://mirrors.163.com/centos/RPM-GPG-KEY-CentOS-7#additional packages that extend functionality of existing packages[centosplus]name=CentOS-$releasever - Plus - 163.combaseurl=http://mirrors.163.com/centos/$releasever/centosplus/$basearch/gpgcheck=1enabled=0gpgkey=http://mirrors.163.com/centos/RPM-GPG-KEY-CentOS-7[root@localhost html]# cat /etc/yum.repos.d/zabbix.repo[zabbix]name=Zabbix Official Repository - \$basearchbaseurl=https://mirrors.aliyun.com/zabbix/zabbix/4.4/rhel/7/\$basearch/enabled=1gpgcheck=1gpgkey=file:///etc/pki/rpm-gpg/RPM-GPG-KEY-ZABBIX-A14FE591[zabbix-non-supported]name=Zabbix Official Repository non-supported - \$basearchbaseurl=https://mirrors.aliyun.com/zabbix/non-supported/rhel/7/\$basearch/enabled=1gpgkey=file:///etc/pki/rpm-gpg/RPM-GPG-KEY-ZABBIXgpgcheck=1
三、安装所需依赖
[root@localhost html]# yum -y install net-snmp-devel libxml2-devel libcurl-deve libevent libevent-devel
四、安装zabbix
[root@localhost html]# yum -y install zabbix-server-mysql zabbix-web-mysql zabbix-nginx-conf zabbix-agent
五、配置数据库
- 创建初始化数据库
[root@localhost html]# mysql -uroot -pEnter password:Welcome to the MySQL monitor. Commands end with ; or \g.Your MySQL connection id is 11Server version: 8.0.23 MySQL Community Server - GPLCopyright (c) 2000, 2021, Oracle and/or its affiliates.Oracle is a registered trademark of Oracle Corporation and/or itsaffiliates. Other names may be trademarks of their respectiveowners.Type 'help;' or '\h' for help. Type '\c' to clear the current input statement.mysql> create database zabbix character set utf8 collate utf8_bin;Query OK, 1 row affected, 2 warnings (0.02 sec)mysql> create user 'zabbix'@'localhost' identified with mysql_native_password by 'Com.123456';Query OK, 0 rows affected (0.01 sec)mysql> grant all privileges on zabbix.* to 'zabbix'@'localhost';Query OK, 0 rows affected (0.00 sec)mysql> quit
- 导入数据
[root@localhost html]# zcat /usr/share/doc/zabbix-server-mysql*/create.sql.gz | mysql -uzabbix -p zabbixEnter password:
- 配置zabbix server 数据库
[root@localhost html]# vim /etc/zabbix/zabbix_server.confDBPassword=Com.123456
六、Zabbix frontend配置PHP
##调整nginx配置文件[root@localhost html]# mv /etc/nginx/conf.d/default.conf /etc/nginx/conf.d/default.conf.bak[root@localhost html]# vim /etc/nginx/conf.d/zabbix.conflisten 80;server_name example.com;##调整到正确时区[root@localhost html]# vim /etc/php-fpm.d/zabbix.confuser = nginxgroup = nginxphp_value[date.timezone] = Asia/Shanghai[root@zabbix-server zabbix]# systemctl enable zabbix-server.service zabbix-agent.service[root@zabbix-server zabbix]# systemctl start zabbix-server.service zabbix-agent.service[root@zabbix-server zabbix]#chown nginx:nginx /etc/zabbix/web/[root@zabbix-server zabbix]#啥chown nginx:nginx /var/lib/php/session/
- 通过IP访问即可
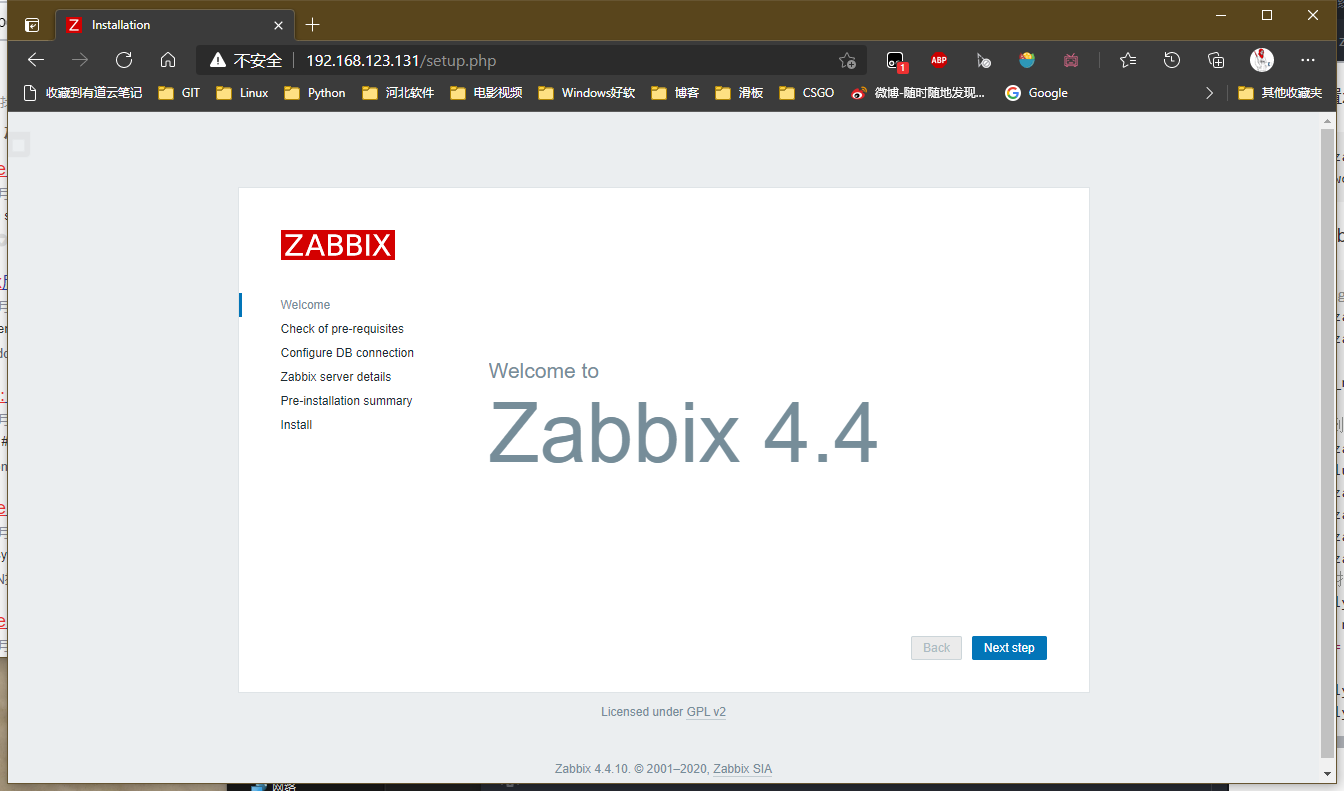
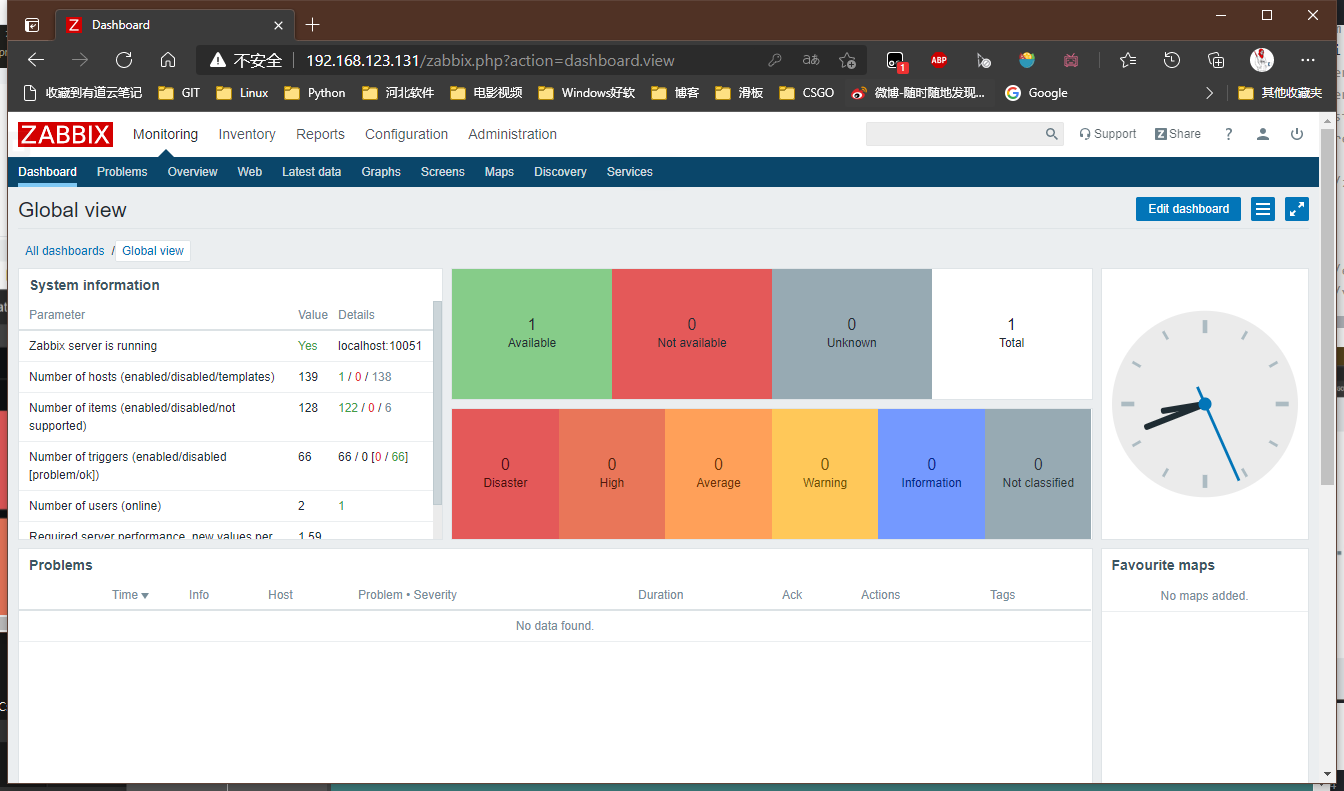
- 进入zabbix
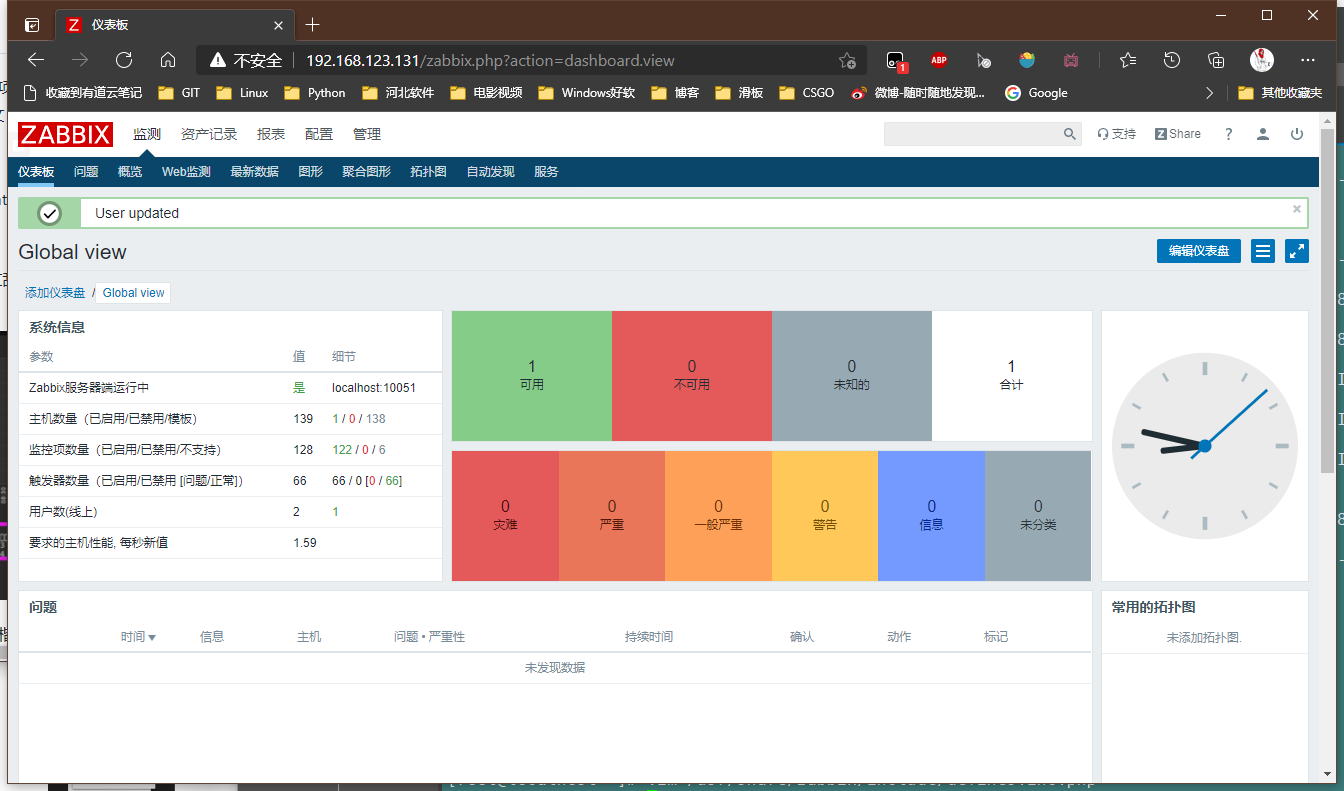
七、添加中文字体
- 将字体文件发送到服务器中
C:\Windows\Fonts>scp simkai.ttf root@192.168.123.131:/usr/share/zabbix/assets/fonts/simkai.ttfThe authenticity of host '192.168.123.131 (192.168.123.131)' can't be established.ECDSA key fingerprint is SHA256:4p2nndFcBY2oWhDDImh2mkQ+R120jqrbO5n9+wWLzw4.Are you sure you want to continue connecting (yes/no/[fingerprint])?Warning: Permanently added '192.168.123.131' (ECDSA) to the list of known hosts.root@192.168.123.131's password:simkai.ttf 100% 11MB 47.4MB/s 00:00[root@zabbix-server zabbix]# vim /usr/share/zabbix/include/defines.inc.phpdefine('ZBX_GRAPH_FONT_NAME', 'simkai'); // font file namedefine('ZBX_FONT_NAME', 'simkai');##原先的名字为:graphfont##修改完毕后,刷新界面即可
- 访问
八、添加一台linux服务器
- 安装zabbix_agentd
[root@tomcat ~]# yum install zabbix-agent -y --nogpgcheck已加载插件:fastestmirrorLoading mirror speeds from cached hostfileepel/x86_64/metalink | 3.5 kB 00:00:00* epel: mirrors.bfsu.edu.cn* webtatic: us-east.repo.webtatic.com正在解决依赖··········已安装:zabbix-agent.x86_64 0:4.4.10-1.el7完毕!
- 修改配置文件
[root@tomcat ~]# vim /etc/zabbix/zabbix_agentd.confServer=192.168.123.131ServerActive=192.168.123.131Hostname=web01
- 启动服务关闭防火墙或放行相应端口
[root@tomcat ~]# systemctl disable firewalld[root@tomcat ~]# systemctl stop firewalld[root@tomcat ~]# systemctl enable zabbix-agent.service[root@tomcat ~]# systemctl start zabbix-agent[root@tomcat ~]# systemctl status zabbix-agent● zabbix-agent.service - Zabbix AgentLoaded: loaded (/usr/lib/systemd/system/zabbix-agent.service; disabled; vendor preset: disabled)Active: active (running) since 五 2021-04-09 15:57:04 CST; 7s ago
九、添加带zabbix监控系统组

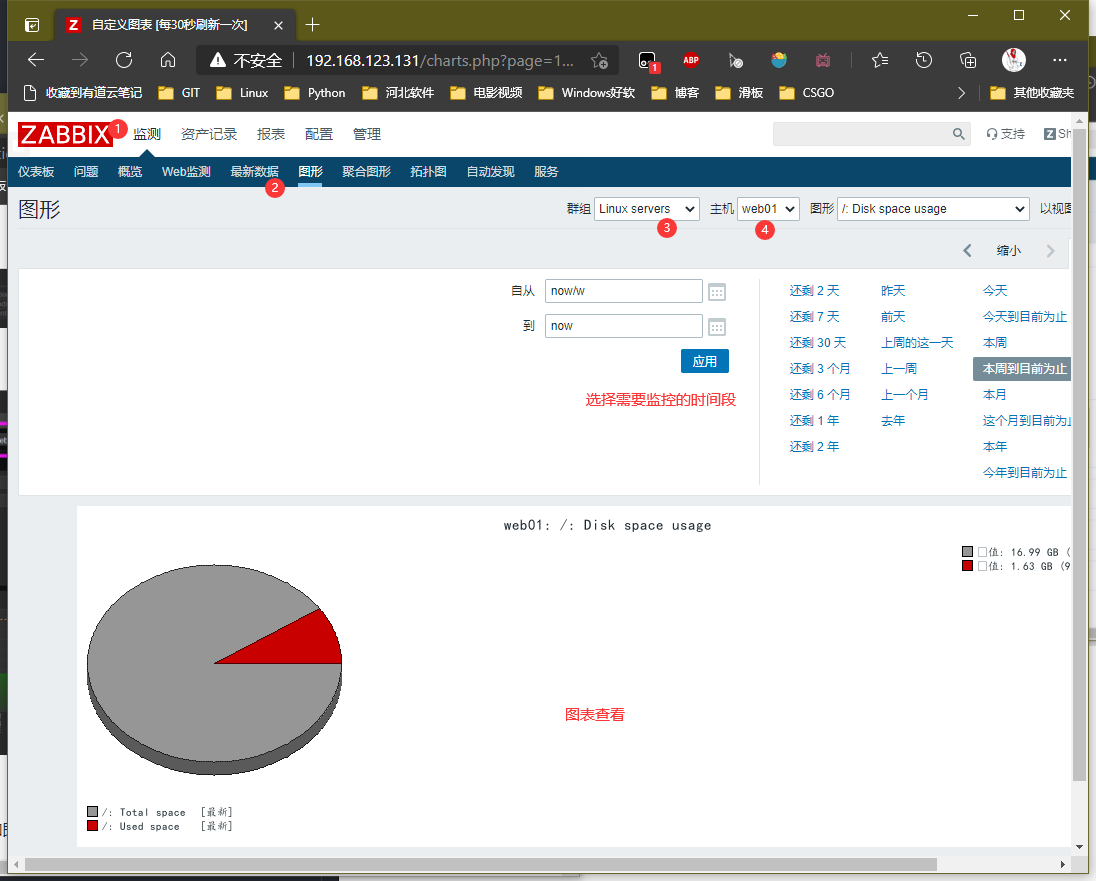
十、添加需要关注的图表
一、配置交换机
[sw1]interface Vlanif 1[sw1-Vlanif1]dis th#interface Vlanif1ip address 192.168.123.145 255.255.255.0#return[sw1]dis th#sysname sw1#undo info-center enable#cluster enablentdp enablendp enable#drop illegal-mac alarm#snmp-agentsnmp-agent local-engineid 800007DB034C1FCCC81F9Esnmp-agent community write redhatsnmp-agent sys-info version allsnmp-agent trap enable#return
二、开启zabbix的snmp服务并放行端口(防火墙已关闭)
[root@localhost ~]# systemctl start snmptrapd.service snmpd.service
三、在Zabbix添加该设备
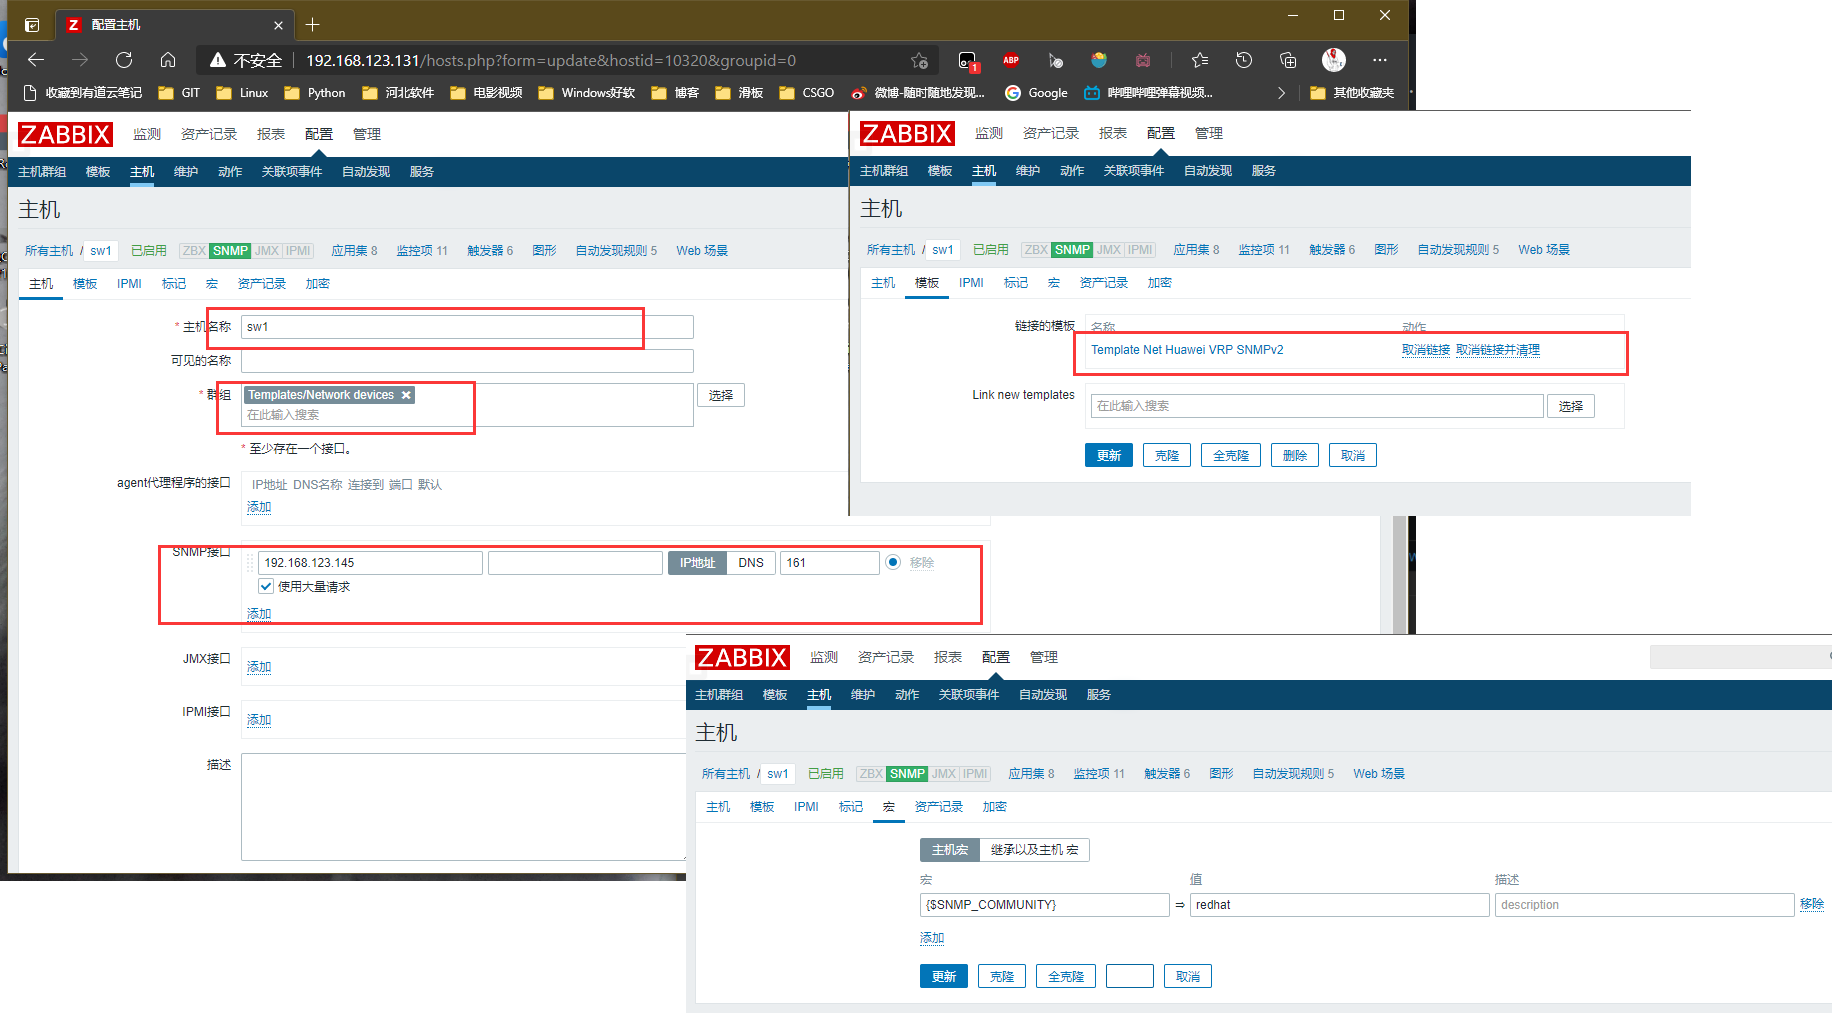
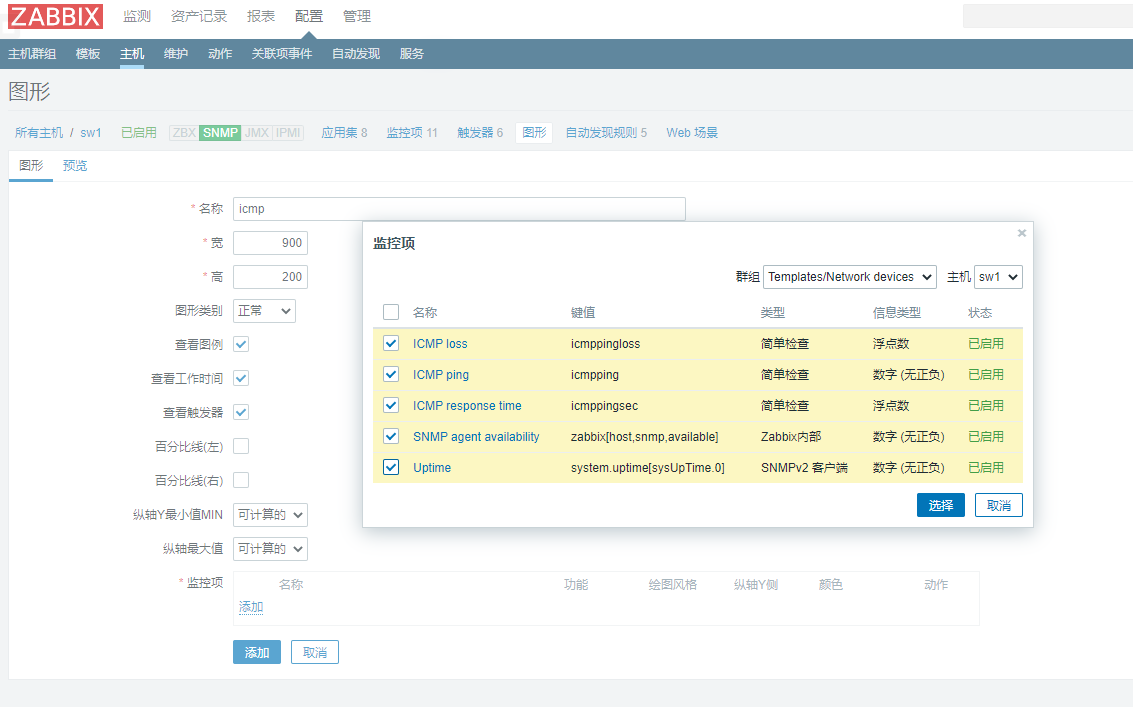
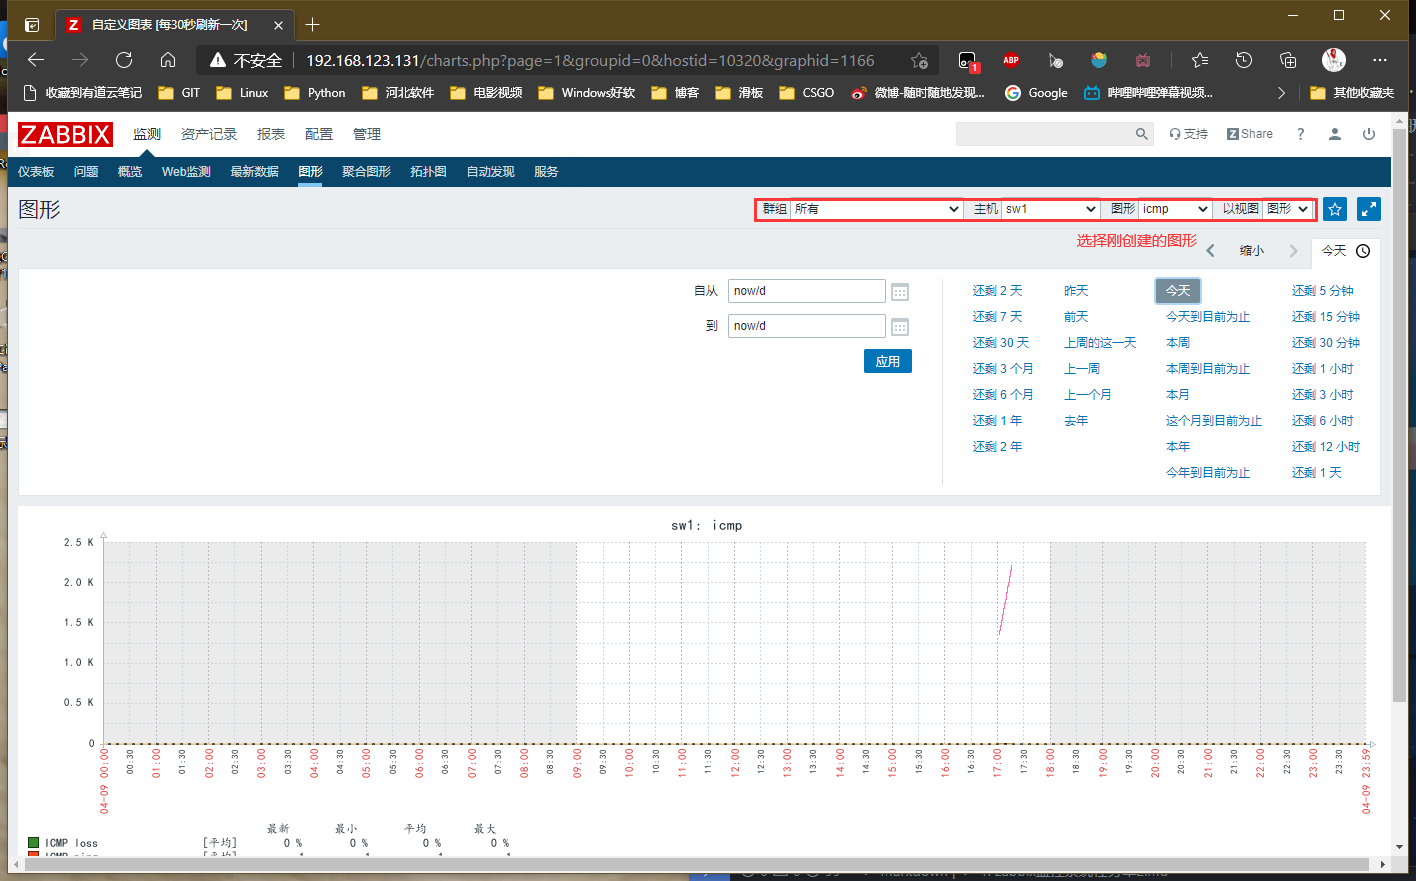
四、创建监控图形
- 监控

若有收获,就点个赞吧
0 人点赞
