简介
conda 是一个非常强大的包管理器,有点类似于应用商店,但是其功能远比应用商店强。conda 可以跨平台使用,在 MACOS、Windows、Linux 上均可使用,可以用来创建虚拟环境,从而避免不同工具包对不同环境的依赖。主要有两个版本,Anaconda 和 miniconda,前者有桌面化的环境,而后者则是mini 版本的工具,仅限于命令行使用:
下载安装:
一般来说,我们是把程序安装在服务器上的,所以下载 Linux 的 latest 版本即可,如果想安装在其他平台,根据实际情况选择即可。对于 Linux 系统,我们更多的是在命令行使用,因此安装 miniconda 就够用了。而 miniconda 也更新了很多版本,我们下载 miniconda3 版本的(miniconda和miniconda2已经过时,不推荐使用)
下载的网页是:https://docs.conda.io/en/latest/miniconda.html
# 通常来说,我们选择 latest 版本wget -c https://repo.continuum.io/miniconda/Miniconda3-latest-Linux-x86_64.sh# 如果是在国内,选择清华镜像会更快# https://mirrors.tuna.tsinghua.edu.cn/anaconda/miniconda/wget -c https://mirrors.tuna.tsinghua.edu.cn/anaconda/miniconda/Miniconda3-latest-Linux-x86_64.sh# 安装,安装过程需要按回车键或者输入 YES,不要选择no即可bash Miniconda3-latest-Linux-x86_64.sh# 安装完成后需要重新激活环境source ~/.bashrc
一般来说,软件安装成功我们还要调用一下软件帮助文档,进行进一步确认:
$ conda --helpusage: conda [-h] [-V] command ...conda is a tool for managing and deploying applications, environments and packages.Options:positional arguments:commandclean Remove unused packages and caches.compare Compare packages between conda environments.config Modify configuration values in .condarc. This is modeled after the git config command. Writes to the user .condarc file (${HOME}/.condarc) by default.create Create a new conda environment from a list of specified packages.help Displays a list of available conda commands and their help strings.info Display information about current conda install.init Initialize conda for shell interaction. [Experimental]install Installs a list of packages into a specified conda environment.list List linked packages in a conda environment.package Low-level conda package utility. (EXPERIMENTAL)remove Remove a list of packages from a specified conda environment.uninstall Alias for conda remove.run Run an executable in a conda environment. [Experimental]search Search for packages and display associated information. The input is a MatchSpec, a query language for conda packages. See examples below.update Updates conda packages to the latest compatible version.upgrade Alias for conda update.optional arguments:-h, --help Show this help message and exit.-V, --version Show the conda version number and exit.conda commands available from other packages:env
上面的帮助文档也可以看到,conda 有多个子命令,常见子命令的用法在后文介绍。
添加镜像
我们使用 conda 安装其他软件,需要告诉conda 一个获取软件的地址,称为 channel 。添加 channel 用到的 conda config 子命令,如果采用官方提供的channel,则运行:
## 配置镜像# 下面这三行配置官网的channel地址conda config --add channels rconda config --add channels conda-forgeconda config --add channels biocondaconda config --set show_channel_urls yes
对于国内用户,也可以采用国内的镜像,如清华、北外、阿里等,这里提供清华的镜像:
# 下面这四行配置清华大学的channel地址,国内用户推荐# 不过清华镜像的访问量太高了,经常不稳定,也有人推荐北外或者阿里的镜像conda config --add channels https://mirrors.tuna.tsinghua.edu.cn/anaconda/pkgs/free/conda config --add channels https://mirrors.tuna.tsinghua.edu.cn/anaconda/pkgs/main/conda config --add channels https://mirrors.tuna.tsinghua.edu.cn/anaconda/cloud/conda-forge/conda config --add channels https://mirrors.tuna.tsinghua.edu.cn/anaconda/cloud/bioconda/
运行上面添加 channel 的代码后,会发现 ~/.condarc 文件写入了信息:
$ cat ~/.condarcchannels:- https://mirrors.tsinghua.edu.cn/anaconda/cloud/bioconda/- https://mirrors.tsinghua.edu.cn/anaconda/cloud/conda-forge/- https://mirrors.tsinghua.edu.cn/anaconda/pkgs/main/- https://mirrors.tsinghua.edu.cn/anaconda/pkgs/free/- defaultsshow_channel_urls: true
创建小环境并安装软件
在这部分会介绍几个子命令:create 、install、search、info
首先我们使用 conda 创建一个虚拟环境,用到的 create 命令,将虚拟环境命名为 wes,环境命名可以自定义,一般用于什么数据分析,就命名为什么,方便记忆:
# 创建虚拟环境conda create -n wes# 激活虚拟环境conda activate wes
激活虚拟环境后,命令行前面会多一个 (wes) ,表示目前正处于虚拟环境中,也可以用 conda info 子命令检查目前用户的所有环境, * 表示目前所处的虚拟环境:
$ conda info -e# conda environments:#base /home/hcguo/miniconda3wes * /home/hcguo/miniconda3/envs/wes
如果想要在虚拟环境中安装软件,则需要用到 install 子命令,如在小环境中安装 python,版本为 3。一般来说,conda 安装软件过程中弹出来的信息会提示具体安装的是哪个版本,当然,也可以在安装的时候指定具体版本:
conda install python=3
软件安装工程中会弹出很多信息,包含软件具体版本,来源于哪个channel,以及会同时安装软件的依赖库文件。
软件安装成功一般在最后会返回下面信息:
Preparing transaction: doneVerifying transaction: doneExecuting transaction: done
也可以一句命令安装多个软件,但不建议过多,容易造成依赖冲突:
conda install samtools bwa fastqc trim-galore multiqc fastp
如果没有指定具体版本,conda 一般是采用最新的版本,但有时候也会因为环境兼容的问题,而安装适配的版本。
有时候,conda 软件库中的软件名称与实际的软件名称会有所不同,比如 sratoolkit,在conda 的软件库里面命名是 sra-tools。这个时候,我们可以使用 search 子命令先进行搜索,确认搜到了再安装:
conda search sra-toolsconda install sra-tools
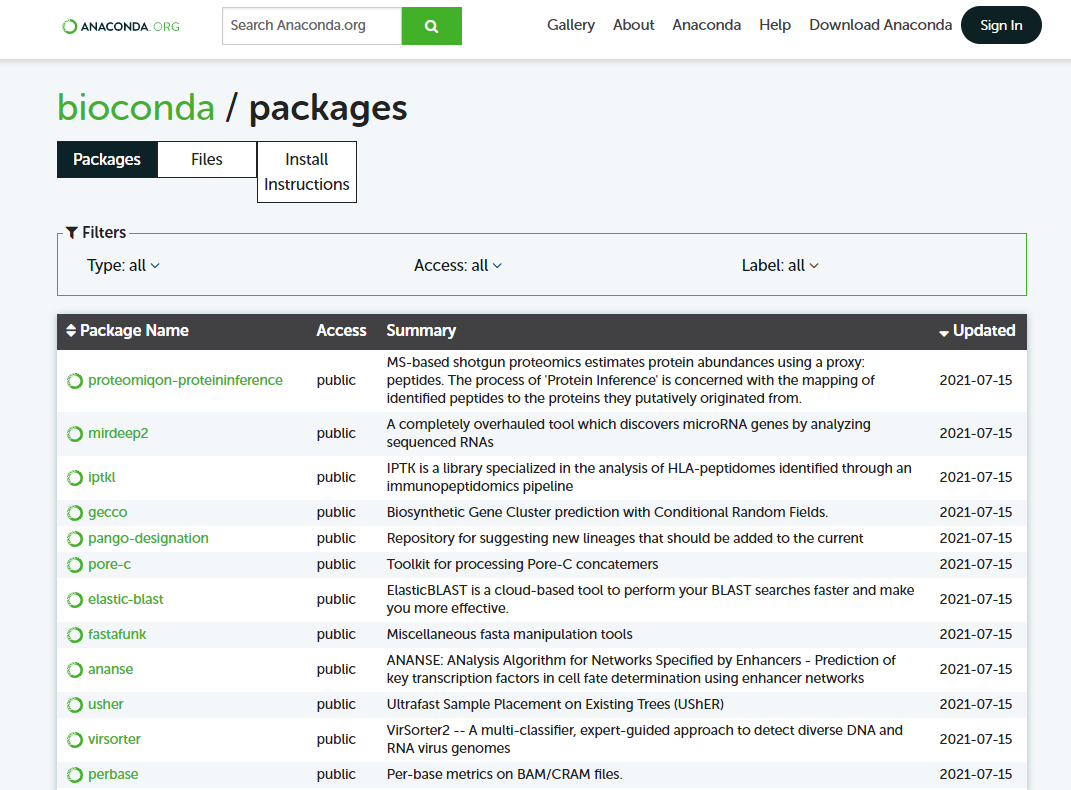
或者到这个链接搜索:https://anaconda.org/bioconda/repo
bioconda 即上面所添加的一个 channel ,大部分的生信软件都可以在这里获取到。
假如软件所在的 channel 不在 .condarc 中,在 install 的时候可以通过 -c 参数进行指定
当然,如果你想偷懒,直接用谷歌或必应搜索 conda sra-tools 也是可以 get 到的。
如果想要查看已经安装的软件目录列表,可以用 :
conda list
软件删除或更新
在这部分我们会用到两个子命令:remove、update
如果想要卸载或者删除一个软件:fastp
conda remove fastp
或者想要更新一个软件:samtools
conda update samtools
退出虚拟环境
如果使用完虚拟环境,想要退出时,就用:
conda deactivate
删除虚拟环境(较少用到)
有时候由于管理不善,导致环境污染,比如某一个软件一开始可用,后面因为安装了其他软件,依赖相互冲突,环境污染了。最常见的例子就是,一开始在虚拟环境中安装的是 python3,后来安装了某个程序顺带安装了 python2,这样就导致环境污染,原先依赖 python3 的软件全都无法正常工作了。即便是重新安装也不一定管用。这个时候,该环境基本就废了,可以考虑删除重建:
conda remove -n wes --all
从文件中创建环境
有时候会拿到一个 .yaml 文件,记录了环境名称、软件版本等信息,可以通过一句代码即可完成创建环境并且安装软件的操作:
conda env create -f environment.yaml
但往往会由于软件过多而导致依赖冲突,即一下子吃撑大胖子,conda 吃不消。
这是一个 environment.yaml 文件示例
# You can use this file to create a conda environment for this pipeline:# conda env create -f environment.ymlname: rnaseq-1.4.2channels:- conda-forge- bioconda- defaultsdependencies:## conda-forge packages, sorting now alphabetically, without the channel prefix!- matplotlib=3.0.3 # Current 3.1.0 build incompatible with multiqc=1.7- r-base=3.6.1- conda-forge::r-data.table=1.12.4- conda-forge::r-gplots=3.0.1.1- conda-forge::r-markdown=1.1## bioconda packages, see above- bioconductor-dupradar=1.14.0- bioconductor-edger=3.26.5- bioconductor-tximeta=1.2.2- bioconductor-summarizedexperiment=1.14.0- deeptools=3.3.1- fastqc=0.11.8- gffread=0.11.4- hisat2=2.1.0- multiqc=1.7- picard=2.21.1- preseq=2.0.3- qualimap=2.2.2c- rseqc=3.0.1- salmon=0.14.2- samtools=1.9- sortmerna=2.1b # for metatranscriptomics- star=2.6.1d # Don't upgrade me - 2.7X indices incompatible with iGenomes.- stringtie=2.0- subread=1.6.4- trim-galore=0.6.4
mamba
由于需要解决的依赖问题过多,有时候会出现 conda 安装软件经常失败的情况,因为就有开发者开发了新的工具,mamba ,可以提高安装软件的速度和成功率:
# 在没有激活虚拟环境前安装 mambaconda install mamba# 激活虚拟环境,用 mamba 代替 condaconda activate wesmamba install cnvkit

