一、lnmp项目简介
Nginx:是由俄罗斯人开发的一款开源的高性能的HTTP和反向代理的Web服务器同时也提供了IMAP(交互邮件访问协议)/POP3(邮局协议版本3)/SMTP(电子邮件传输协议)服务。它的特点是占有内存少,并发能力强,在同类型的网页服务器中表现得尤其出色,目前中国大陆使用Nginx网站的用户有:百度、新浪、京东等企业。C语言编写。
MySQL是一个关系型数据库管理系统,由瑞典MySQL AB公司开发,属于Oracle旗下产品。MySQL 是最流行的关系型数据库管理系统之一,MySQL所使用的 SQL 语言是用于访问数据库的最常用标准化语言。其特点是体积小、速度快、总体拥有成本低,尤其是开放源码这一特点,一般中小型网站的开发都选择MySQL 作为网站数据库。MariaDB数据库管理系统是MySQL的一个分支,主要由开源社区在维护,采用GPL授权许可 MariaDB的目的是完全兼容MySQL,包括API和命令行,使之能轻松成为MySQL的代替品。
PHP—“超文本预处理器”,是在服务器端执行的脚本语言,尤其适用于Web开发并可嵌入HTML中。PHP语法学习了C语言,吸纳Java和Perl多个语言的特色发展出自己的特色语法。
这4种软件均为免费开源软件,组合到一起,成为一个免费、高效、扩展性强的网站服务系统。
二、wordpress简介
WordPress是使用PHP语言开发的博客平台,用户可以在支持PHP和MySQL数据库的服务器上架设属于自己的网站。全球约34%的网站都在用WordPress、小到兴趣博客、大到新闻网站,国外的学校里甚至都有WordPress相关的课程。
三、构建lnmp+wordpress
// 修改主机名[root@localhost ~]# hostnamectl set-hostname lnmp[root@localhost ~]# su[root@lnmp ~]#// 查看主机名[root@lnmp ~]# hostnamectlStatic hostname: lnmpIcon name: computer-vmChassis: vmMachine ID: 583789aef18c4eb09432b6c75f03c8f4Boot ID: a1e9a62e216243f58a2e781a26af30ecVirtualization: vmwareOperating System: CentOS Linux 7 (Core)CPE OS Name: cpe:/o:centos:centos:7Kernel: Linux 3.10.0-1127.el7.x86_64Architecture: x86-64// 安装依赖[root@lnmp ~]# yum install -y unzip//上传软件包【lnmp+wordpress】并解压[root@lnmp ~]# unzip lnmp+wordpress.zip// 配置yum源[root@lnmp ~]# cat /etc/yum.repos.d/local.repo[centos]name=centos7baseurl=file:///opt/centosgpgcheck=0enabled=1[lnmp]name=lnmpbaseurl=file:///root/lnmp+wordpress/lnmpgpgcheck=0enabled=1[root@lnmp lnmp+wordpress]# yum clean allLoaded plugins: fastestmirrorCleaning repos: centos lnmpCleaning up list of fastest mirrors[root@lnmp lnmp+wordpress]# yum repolistLoaded plugins: fastestmirrorDetermining fastest mirrorscentos | 3.6 kB 00:00:00lnmp | 3.0 kB 00:00:00(1/3): centos/primary_db | 3.3 MB 00:00:00(2/3): centos/group_gz | 153 kB 00:00:00(3/3): lnmp/primary_db | 153 kB 00:00:00repo id repo name statuscentos centos7 4,071lnmp lnmp 178repolist: 4,249//安装依赖[root@lnmp ~]# yum -y install nginx mariadb-server mariadb php-fpm php-mysql[root@lnmp ~]# cd lnmp+wordpress[root@lnmp lnmp+wordpress]# lltotal 9012drwxr-xr-x. 3 root root 12288 Oct 17 18:40 lnmp-rw-r--r--. 1 root root 9210722 Mar 28 2017 wordpress-4.7.3-zh_CN.zip[root@lnmp lnmp+wordpress]# mv * /root/[root@lnmp lnmp+wordpress]# cd[root@lnmp ~]# rm -rf lnmp+wordpress[root@lnmp ~]# vim /etc/yum.repos.d/local.repo[centos]name=centos7baseurl=file:///opt/centosgpgcheck=0enable=1[lnmp]name=lnmpbaseurl=file:///root/lnmpgpgcheck=0enabled=1[root@lnmp ~]# yum clean all[root@lnmp ~]# yum repolist[root@lnmp ~]# systemctl start nginx && systemctl enable nginxCreated symlink from /etc/systemd/system/multi-user.target.wants/nginx.service to /usr/lib/systemd/system/nginx.service.[root@lnmp ~]# vi /etc/nginx/conf.d/default.confserver {listen 80;server_name localhost;#charset koi8-r;#access_log /var/log/nginx/host.access.log main;// 添加index.phplocation / {root /usr/share/nginx/html;index index.php index.html index.htm;}// 添加以下内容location ~ \.php$ {root /usr/share/nginx/html;fastcgi_pass 127.0.0.1:9000;fastcgi_index index.php;fastcgi_param SCRIPT_FILENAME $document_root$fastcgi_script_name;include fastcgi_params;}#error_page 404 /404.html;// 重启服务[root@lnmp ~]# systemctl restart nginx// 启动数据库[root@lnmp ~]# systemctl start mariadb && systemctl enable mariadbCreated symlink from /etc/systemd/system/multi-user.target.wants/mariadb.service to /usr/lib/systemd/system/mariadb.service.// 初始化数据库[root@lnmp ~]# mysql_secure_installationNOTE: RUNNING ALL PARTS OF THIS SCRIPT IS RECOMMENDED FOR ALL MariaDBSERVERS IN PRODUCTION USE! PLEASE READ EACH STEP CAREFULLY!In order to log into MariaDB to secure it, we'll need the currentpassword for the root user. If you've just installed MariaDB, andyou haven't set the root password yet, the password will be blank,so you should just press enter here.Enter current password for root (enter for none):OK, successfully used password, moving on...Setting the root password ensures that nobody can log into the MariaDBroot user without the proper authorisation.Set root password? [Y/n] yNew password:Re-enter new password:Password updated successfully!Reloading privilege tables..... Success!By default, a MariaDB installation has an anonymous user, allowing anyoneto log into MariaDB without having to have a user account created forthem. This is intended only for testing, and to make the installationgo a bit smoother. You should remove them before moving into aproduction environment.Remove anonymous users? [Y/n] y... Success!Normally, root should only be allowed to connect from 'localhost'. Thisensures that someone cannot guess at the root password from the network.Disallow root login remotely? [Y/n] n... skipping.By default, MariaDB comes with a database named 'test' that anyone canaccess. This is also intended only for testing, and should be removedbefore moving into a production environment.Remove test database and access to it? [Y/n] y- Dropping test database...... Success!- Removing privileges on test database...... Success!Reloading the privilege tables will ensure that all changes made so farwill take effect immediately.Reload privilege tables now? [Y/n] y... Success!Cleaning up...All done! If you've completed all of the above steps, your MariaDBinstallation should now be secure.Thanks for using MariaDB!
登录数据库
[root@lnmp ~]# mysql -uroot -p123456Welcome to the MariaDB monitor. Commands end with ; or \g.Your MariaDB connection id is 9Server version: 5.5.56-MariaDB MariaDB ServerCopyright (c) 2000, 2017, Oracle, MariaDB Corporation Ab and others.Type 'help;' or '\h' for help. Type '\c' to clear the current input statement.MariaDB [(none)]> create database wordpress;// 创建数据库服务Query OK, 1 row affected (0.00 sec)MariaDB [(none)]> grant all privileges on *.* to root@localhost identified by '123456' with grant option;Query OK, 0 rows affected (0.00 sec) // 授权所有用户拥有本地数据库的所有权限MariaDB [(none)]> grant all privileges on *.* to root@"%" identified by '123456' with grant option;Query OK, 0 rows affected (0.01 sec)// 授权用户可进行远程登录MariaDB [(none)]>
PHP
[root@lnmp ~]# vi /etc/php-fpm.d/www.conf39 user = nginx40 ; RPM: Keep a group allowed to write in log dir.41 group = nginx[root@lnmp ~]# systemctl start php-fpm && systemctl enable php-fpmCreated symlink from /etc/systemd/system/multi-user.target.wants/php-fpm.service to /usr/lib/systemd/system/php-fpm.service.

Wordpress
[root@lnmp ~]# unzip wordpress-4.7.3-zh_CN.zip[root@lnmp ~]# cd /usr/share/nginx/html[root@lnmp html]# rm -rf *[root@lnmp html]# cp -rvf /root/wordpress* ./[root@lnmp html]# lswordpress wordpress-4.7.3-zh_CN.zip[root@lnmp html]# cd wordpress[root@lnmp wordpress]# lsindex.php wp-activate.php wp-comments-post.php wp-cron.php wp-load.php wp-settings.php xmlrpc.phplicense.txt wp-admin wp-config-sample.php wp-includes wp-login.php wp-signup.phpreadme.html wp-blog-header.php wp-content wp-links-opml.php wp-mail.php wp-trackback.php[root@lnmp wordpress]# cd ..[root@lnmp html]# mv wordpress/* ./[root@lnmp html]# cp wp-config-sample.php wp-config.php[root@lnmp html]# vi wp-config.php<?php/*** WordPress基础配置文件。** 这个文件被安装程序用于自动生成wp-config.php配置文件,* 您可以不使用网站,您需要手动复制这个文件,* 并重命名为“wp-config.php”,然后填入相关信息。** 本文件包含以下配置选项:** * MySQL设置* * 密钥* * 数据库表名前缀* * ABSPATH** @link https://codex.wordpress.org/zh-cn:%E7%BC%96%E8%BE%91_wp-config.php** @package WordPress*/// ** MySQL 设置 - 具体信息来自您正在使用的主机 ** ///** WordPress数据库的名称 */define('DB_NAME', 'wordpress');/** MySQL数据库用户名 */define('DB_USER', 'root');/** MySQL数据库密码 */define('DB_PASSWORD', '123456');/** MySQL主机 */define('DB_HOST', '127.0.0.1');/** 创建数据表时默认的文字编码 */define('DB_CHARSET', 'utf8');/** 数据库整理类型。如不确定请勿更改 */define('DB_COLLATE', '');/**#@+* 身份认证密钥与盐。** 修改为任意独一无二的字串!* 或者直接访问{@link https://api.wordpress.org/secret-key/1.1/salt/"wp-config.php" [dos] 96L, 2905C written
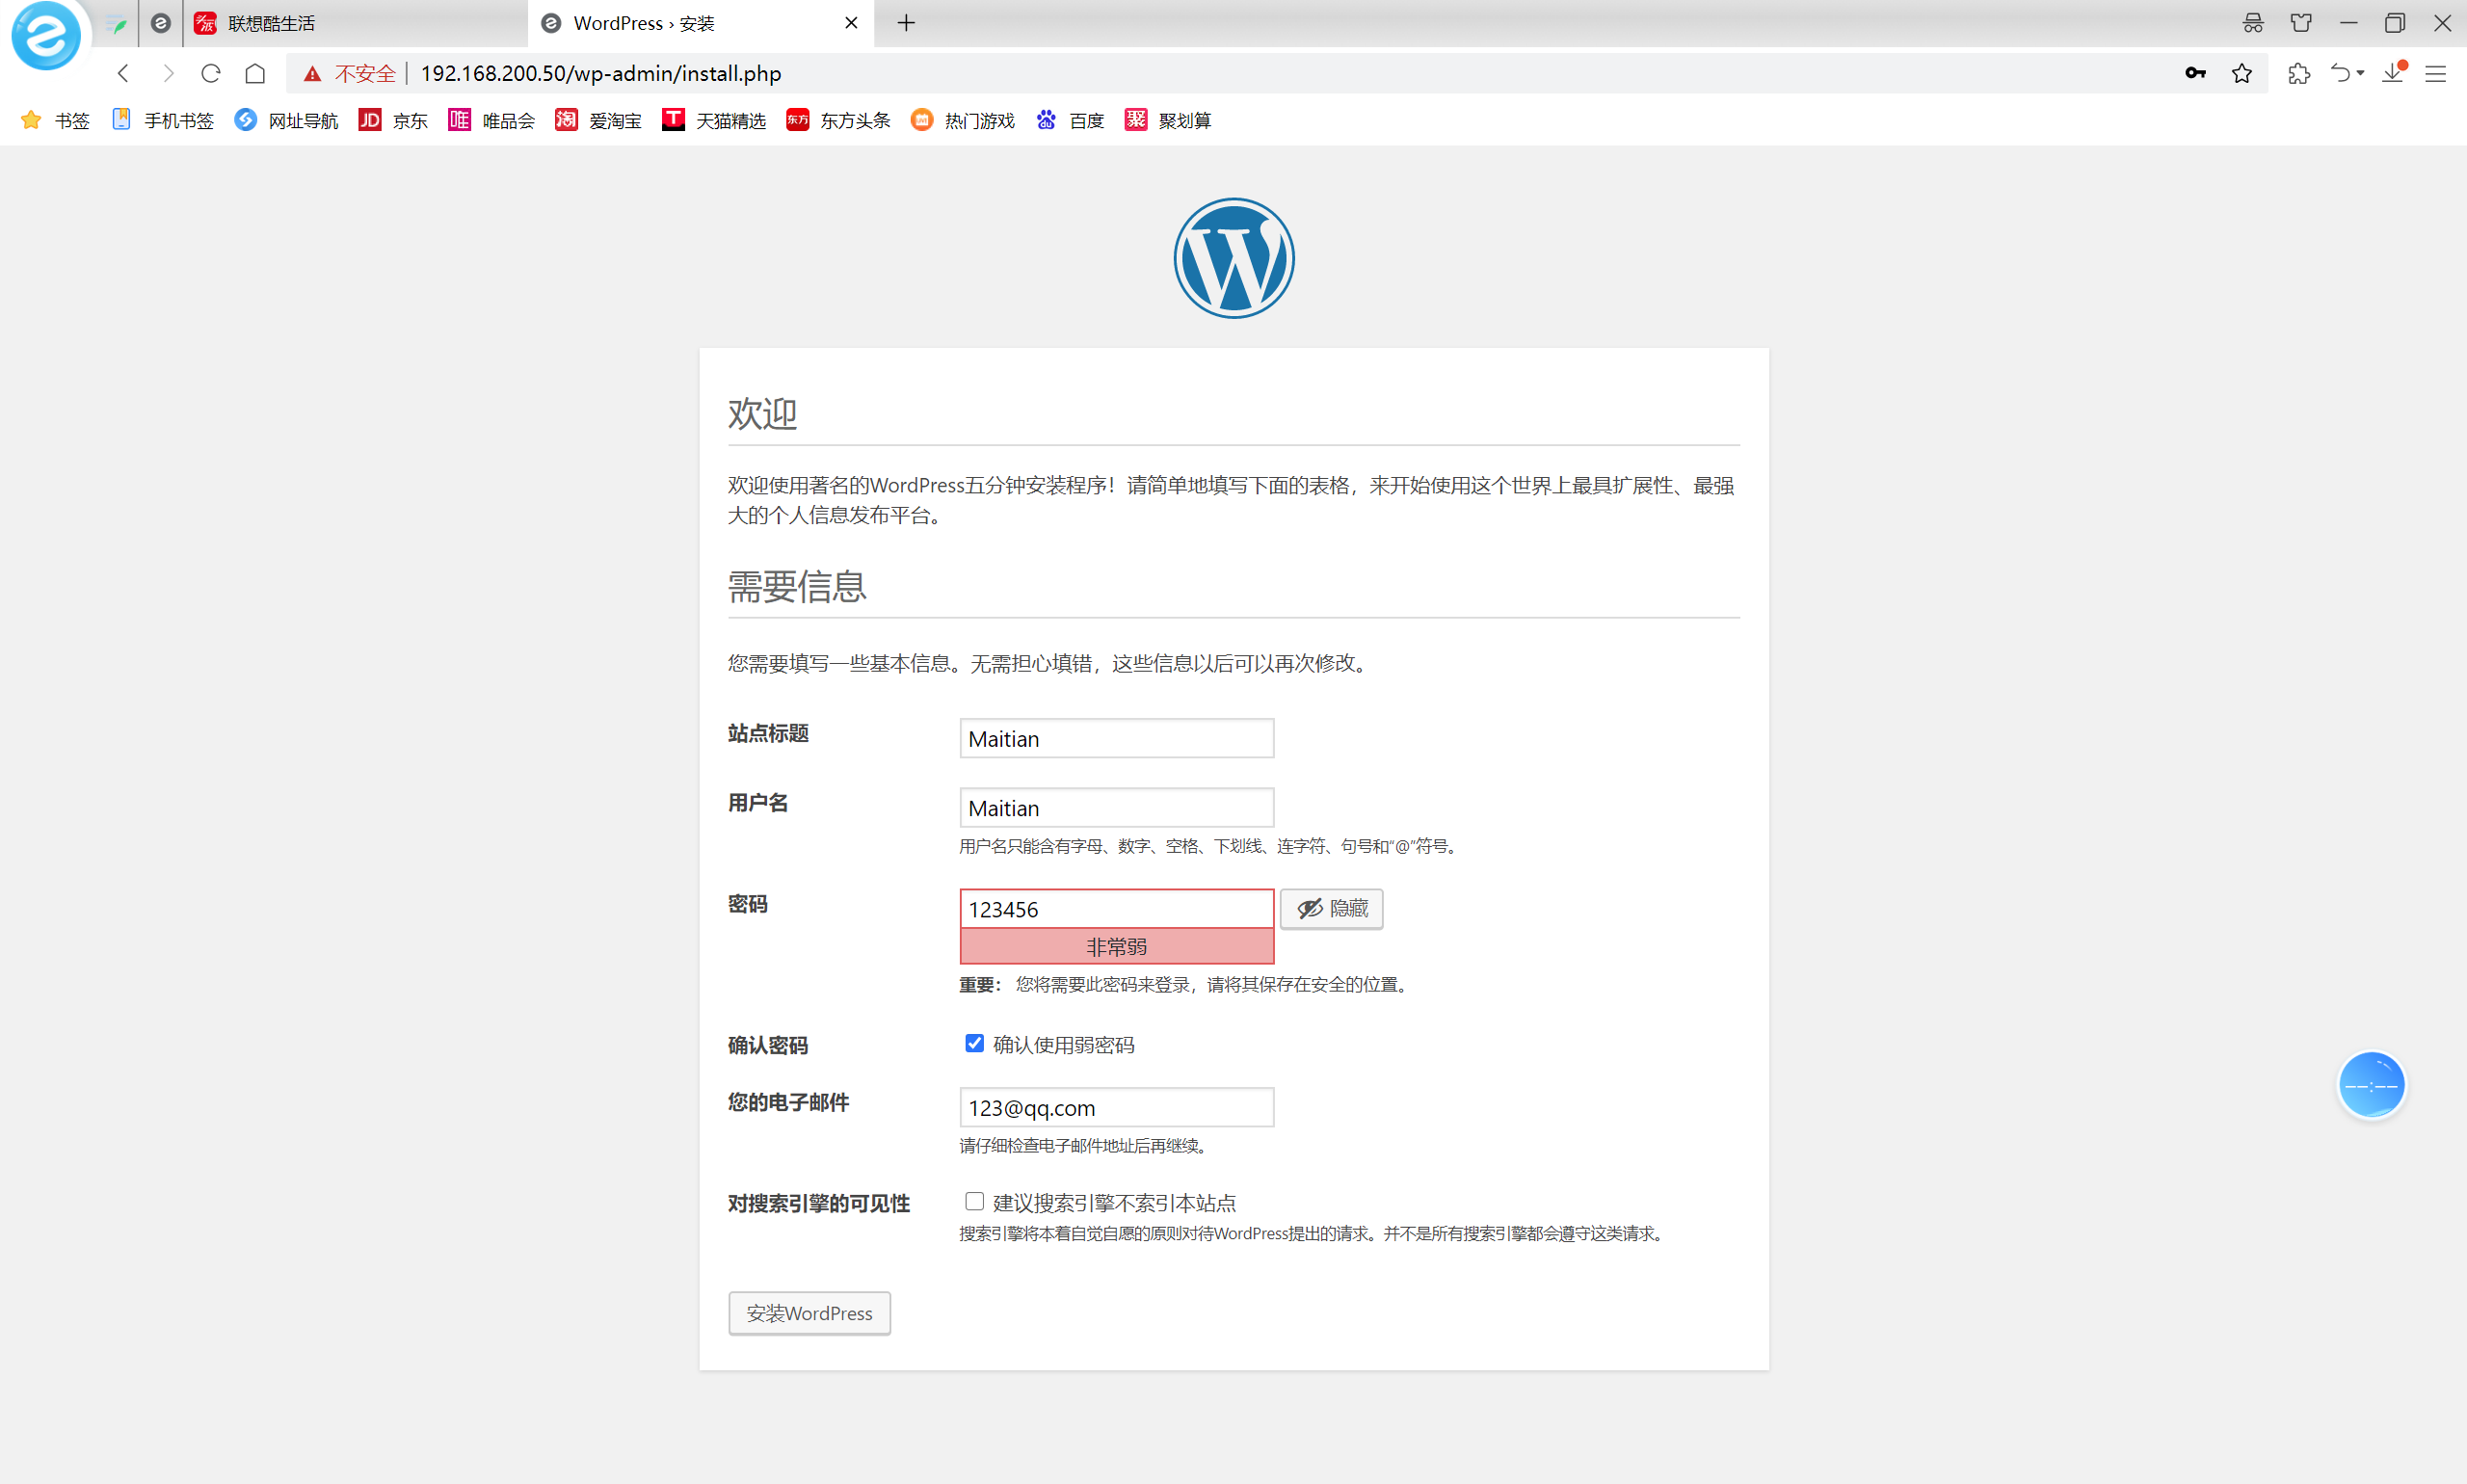
四、登录网页编辑


若有收获,就点个赞吧
0 人点赞
