通过 Quick start (https://www.yuque.com/jaded/nql9hd/xzygza#ObqBi) 的样例代码可以看到,只要 Mapper接口 继承了 Mybatis-Plus 提供的 BaseMapper
但实现上最好不要这么干。
文件目录结构

数据库结构

1、前置步骤
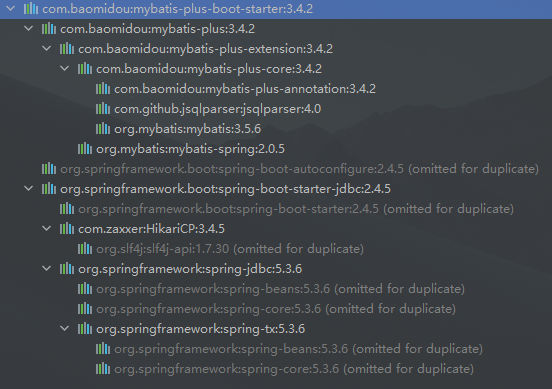
1.1、引入 MyBatis-Plus
<dependency><groupId>com.baomidou</groupId><artifactId>mybatis-plus-boot-starter</artifactId><version>3.4.2</version></dependency>
1.2、配置 @MapperScan 注解
MapperScan 注解的路径必须精准目录的,不能用大范围的包来代替。
package com.example.boot;import org.mybatis.spring.annotation.MapperScan;import org.springframework.boot.SpringApplication;import org.springframework.boot.autoconfigure.SpringBootApplication;@MapperScan("com.example.boot.mapper")@SpringBootApplicationpublic class SpringBootApiTest01Application {public static void main(String[] args) {SpringApplication.run(SpringBootApiTest01Application.class, args);}}
如果有多个 Mapper 目录,可以用 @MapperScans 注解来代替:
package com.example.boot;import org.mybatis.spring.annotation.MapperScan;import org.mybatis.spring.annotation.MapperScans;import org.springframework.boot.SpringApplication;import org.springframework.boot.autoconfigure.SpringBootApplication;@MapperScans({@MapperScan("com.example.boot.mapper"),@MapperScan("com.example.boot.a.mapper"),@MapperScan("com.example.boot.b.mapper"),})//@MapperScan("com.example.boot.mapper")@SpringBootApplicationpublic class SpringBootApiTest01Application {public static void main(String[] args) {SpringApplication.run(SpringBootApiTest01Application.class, args);}}
1.3、编写 Bean
使用 lombok 插件可以简化代码
Role
package com.example.boot.bean;import com.baomidou.mybatisplus.annotation.TableName;import lombok.Data;@Data@TableName("t_s_role")public class Role {private String id;private String rolecode;private String rolename;private String role_type;}
1.4、编写 Mapper 接口
继承 BaseMapper
RoleMapper
package com.example.boot.mapper;import com.baomidou.mybatisplus.core.mapper.BaseMapper;import com.example.boot.bean.Role;public interface RoleMapper extends BaseMapper<Role> {}
1.5、编写 Service 接口
extends IService
package com.example.boot.service;import com.baomidou.mybatisplus.extension.service.IService;import com.example.boot.bean.Role;public interface RoleService extends IService<Role> {}
1.6、编写 Service 接口实现类
extends ServiceImpl
package com.example.boot.service.impl;import com.baomidou.mybatisplus.extension.service.impl.ServiceImpl;import com.example.boot.bean.Role;import com.example.boot.mapper.RoleMapper;import com.example.boot.service.RoleService;import org.springframework.stereotype.Service;@Servicepublic class RoleServiceImpl extends ServiceImpl<RoleMapper, Role> implements RoleService {}
1.7、编写 controller
与 Qucik start (https://www.yuque.com/jaded/nql9hd/xzygza#Ec3kR)中不同的是,注入的组件 Service 实现类替换掉了原来的 Mapper。(第19行)
package com.example.boot.controller;import com.example.boot.response.Response;import com.example.boot.service.RoleService;import lombok.extern.slf4j.Slf4j;import org.springframework.beans.factory.annotation.Autowired;import org.springframework.web.bind.annotation.GetMapping;import org.springframework.web.bind.annotation.RequestParam;import org.springframework.web.bind.annotation.RestController;@RestController@Slf4jpublic class RoleController extends BaseRestController {public RoleController() {log.info("RoleController 构造函数被调用了");}@Autowiredprivate RoleService roleService;@GetMapping(path = {"/",})public Response role(@RequestParam(name = "id", defaultValue = "") String id) {if (id == null || id.length() <= 0) {// 查全部 rolereturn success("ok", roleService.list());} else {// 查单个 rolereturn success("ok", roleService.getById(id));}}}
1.8、开启分页插件
官网文档:https://baomidou.com/guide/page.html
新建一个 MybatisConfig ,按照官网的提示加入分页插件。
package com.example.boot.config;import com.baomidou.mybatisplus.annotation.DbType;import com.baomidou.mybatisplus.extension.plugins.MybatisPlusInterceptor;import com.baomidou.mybatisplus.extension.plugins.inner.PaginationInnerInterceptor;import org.springframework.context.annotation.Bean;import org.springframework.context.annotation.Configuration;@Configurationpublic class MybatisConfig {@Beanpublic MybatisPlusInterceptor mybatisPlusInterceptor() {MybatisPlusInterceptor interceptor = new MybatisPlusInterceptor();// 分页拦截器PaginationInnerInterceptor paginationInnerInterceptor = new PaginationInnerInterceptor(DbType.MYSQL);// 当查询到最后一页时,继续点下一页,是要循环到首页去,还是继续请求。 true:循环到首页去 false:继续请求 默认为falsepaginationInnerInterceptor.setOverflow(false);// 设置 page size 的最大值paginationInnerInterceptor.setMaxLimit(1000L);interceptor.addInnerInterceptor(paginationInnerInterceptor);return interceptor;}}
2、查询
2.1、简单查询
如果没有传递 id 参数,则返回所有角色数据。
控制器方法:
@GetMapping(path = {"/role",})public Response role(@RequestParam(name = "id", defaultValue = "") String id) {if (id == null || id.length() <= 0) {// 查全部 rolereturn success("ok", roleService.list());} else {// 查单个 rolereturn success("ok", roleService.getById(id));}}
单个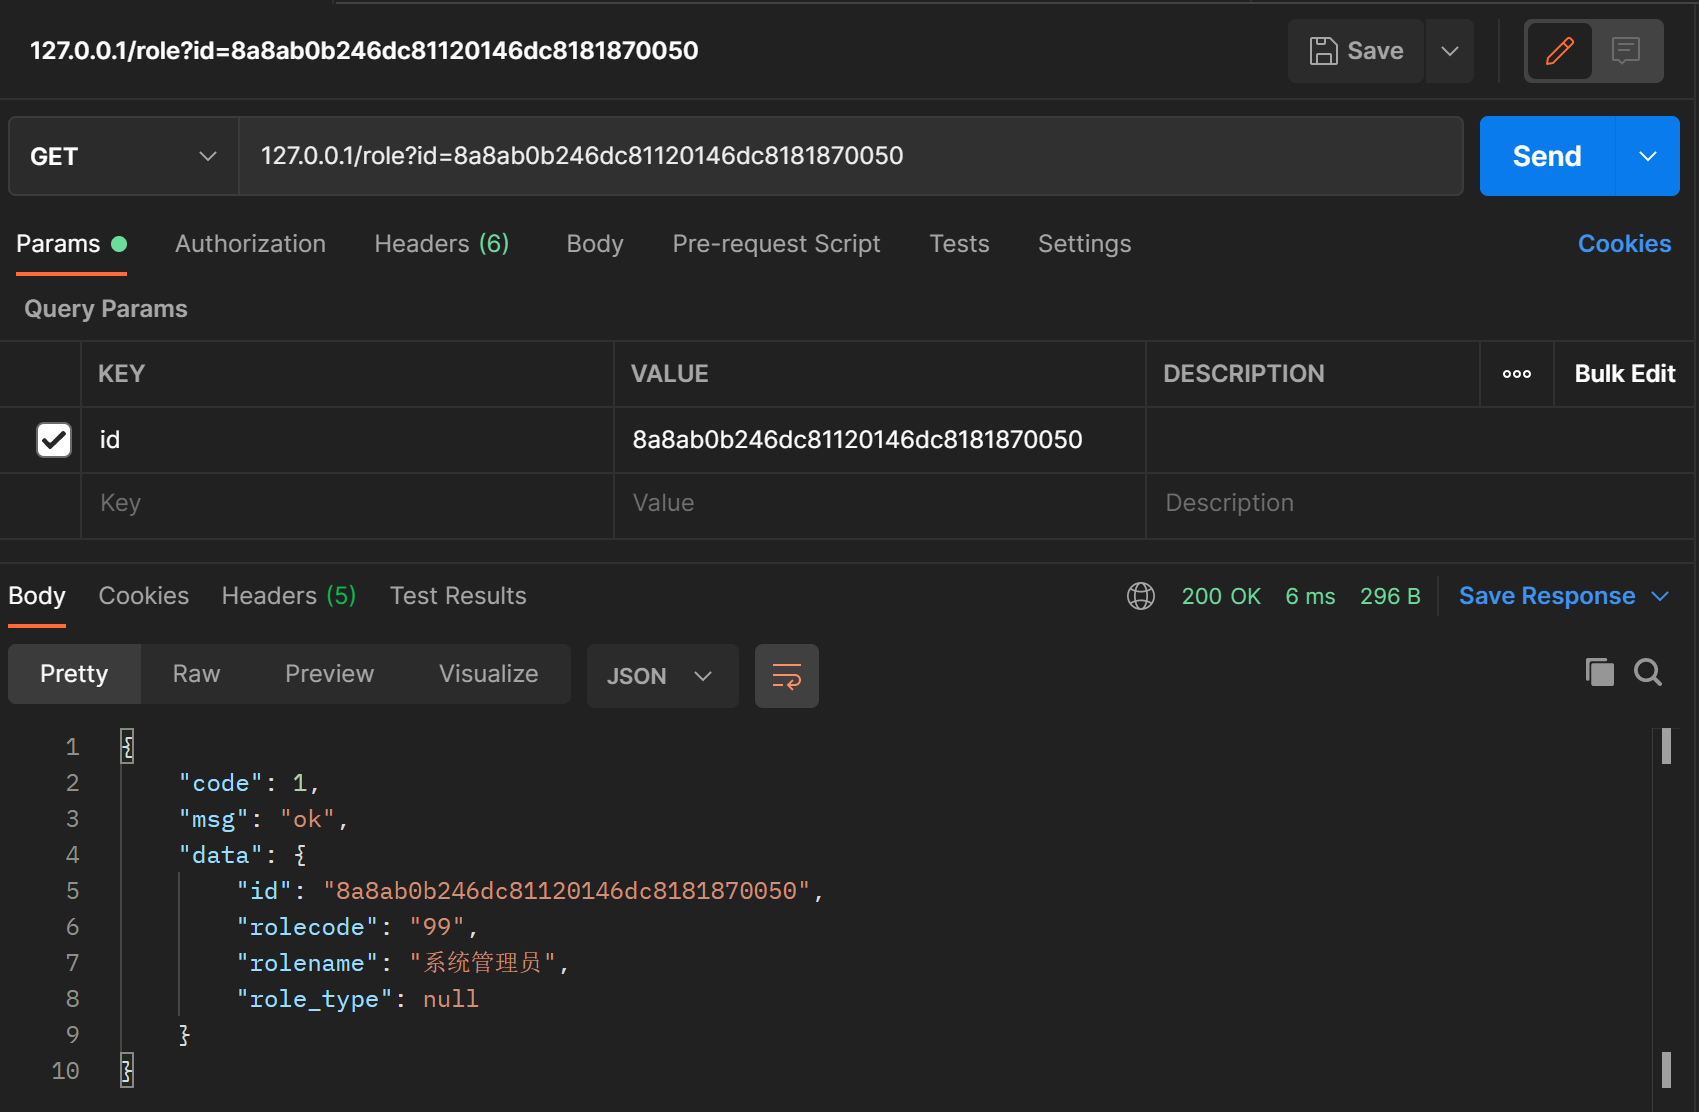
列表
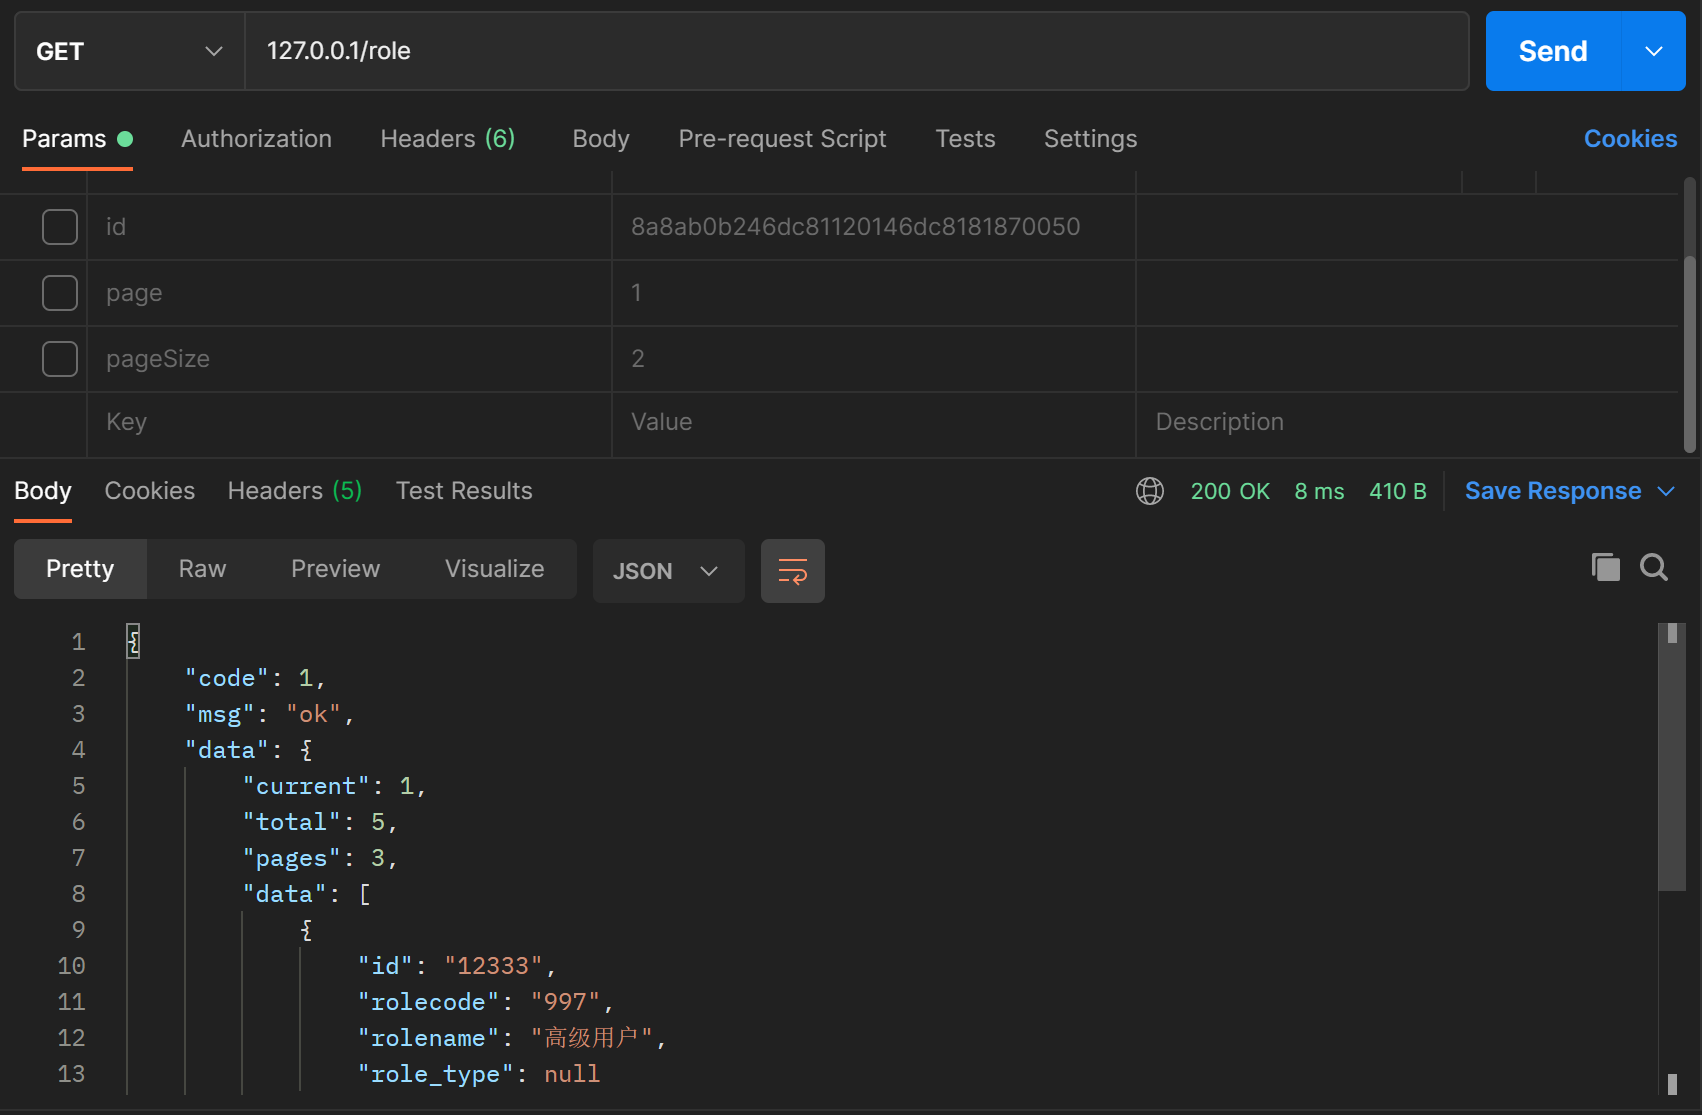
2.2、分页查询
改造一下 role 方法,没有传递 id 时,进行分页查询,默认第1页,每页2条记录,并返回页码信息。
控制器方法:
@GetMapping(path = {"/role",})public Response role(@RequestParam(name = "id", defaultValue = "") String id,@RequestParam(name = "page", defaultValue = "1") Integer page,@RequestParam(name = "pageSize", defaultValue = "2") Integer pageSize) {if (id == null || id.length() <= 0) {// 查全部 role// 分页对象Page<Role> rolePage = new Page<Role>(page, pageSize);// 分页查询的结果Page<Role> roles = roleService.page(rolePage, null);long current = roles.getCurrent();long pages = roles.getPages();long total = roles.getTotal();Map<String, Object> map = new HashMap<>();map.put("current", current);map.put("pages", pages);map.put("total", total);map.put("data", roles.getRecords());return success("ok", map);} else {// 查单个 rolereturn success("ok", roleService.getById(id));}}
3、新增
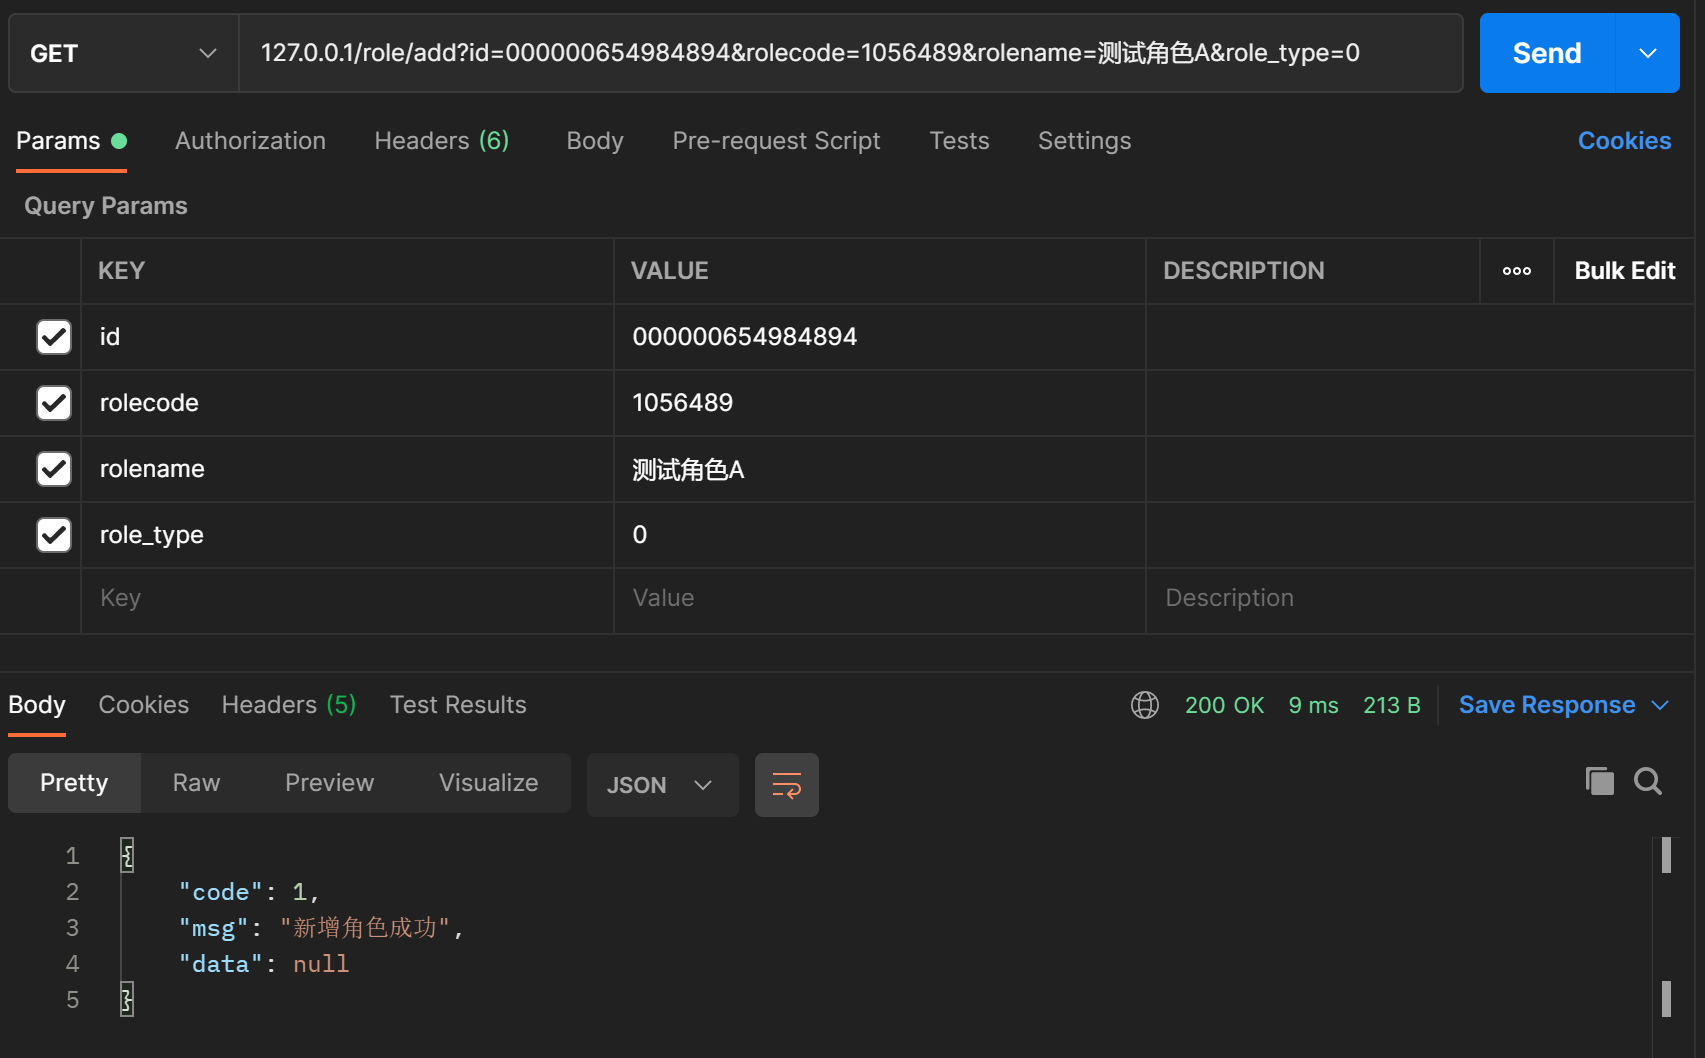
3.1、单条新增
这里新增要传递 id 参数是因为 tole 表的 id 字段不是数据库自增 id 。
控制器方法:
@GetMapping(path = {"/role/add",})public Response addRole(@RequestParam(name = "id", required = true) String id,@RequestParam(name = "rolecode", defaultValue = "000567") String rolecode,@RequestParam(name = "rolename", defaultValue = "测试角色") String rolename,@RequestParam(name = "role_type", defaultValue = "0") String role_type) {Role role = new Role();role.setId(id);role.setRolecode(rolecode);role.setRolename(rolename);role.setRole_type(role_type);boolean success = roleService.save(role);if (success) {return success("新增角色成功");} else {return error("新增角色失败");}}

3.2、批量新增
4、删除
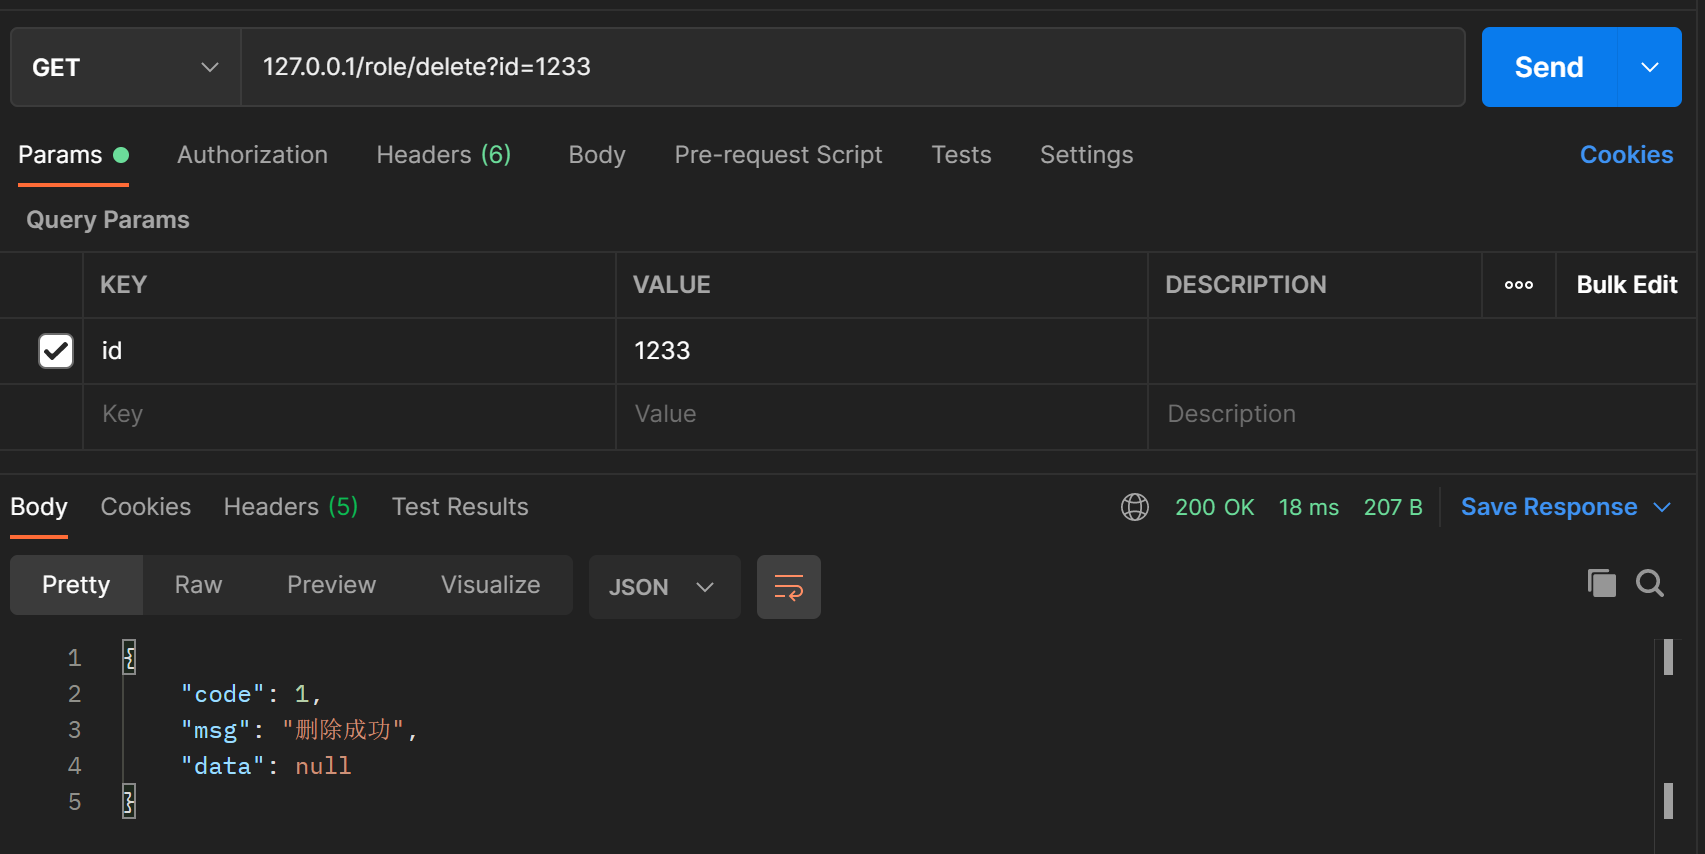
4.1、单条删除
输出删除结果。
@GetMapping(path = {"/role/delete",})public Response deleteRole(@RequestParam(name = "id", defaultValue = "") String id) {boolean success = roleService.removeById(id);if (success) {return success("删除成功");} else {return error("删除失败");}}
4.2、批量删除
5、编辑
5.1、单条编辑
控制器:
@GetMapping(path = {"/role/edit",})public Response editRole(@RequestParam(name = "id", defaultValue = "") String id,@RequestParam(name = "rolecode", defaultValue = "000567") String rolecode,@RequestParam(name = "rolename", defaultValue = "测试角色") String rolename,@RequestParam(name = "role_type", defaultValue = "0") String role_type) {Role role = new Role();role.setId(id);role.setRolecode(rolecode);role.setRolename(rolename);role.setRole_type(role_type);QueryWrapper<Role> wrapper = new QueryWrapper<>();wrapper.eq("id", id);boolean success = roleService.update(role, wrapper);if (success) {return success("编辑角色成功");} else {return error("便捷角色失败");}}


5.2、批量编辑

若有收获,就点个赞吧
0 人点赞
