1、配置本地仓库路径
~/conf/settings.xml 的localRepository 配置节
<localRepository>E:\mvn\repository</localRepository>
2、修改镜像源地址
<mirror><id>alimaven</id><name>aliyun maven</name><url>http://maven.aliyun.com/nexus/content/groups/public/</url><mirrorOf>central</mirrorOf></mirror>
3、命令
mvn compile #编译mvn clean #删除target文件夹mvn package #打包mvn install #将当前项目安装到本地仓库
4、IDEA中配置Maven

5、Maven 坐标
Maven管理的资源的唯一标识,包括项目、插件、Jar包
groupId:组织名称
artifactId:模块名称
version:版本号
packaging:打包方式,jar:java项目(默认); war:Web项目 pom
6、创建项目

7、执行命令
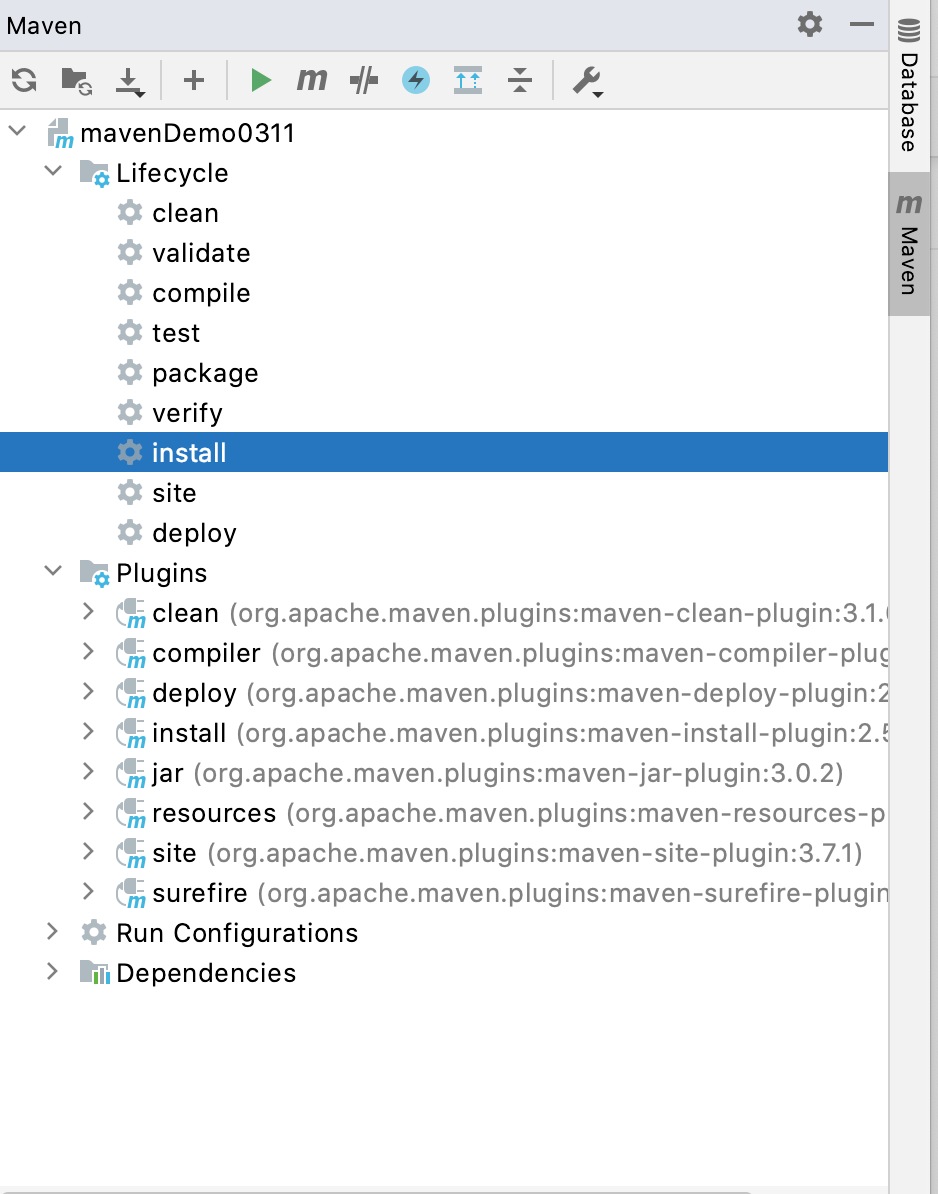
右侧Maven窗口
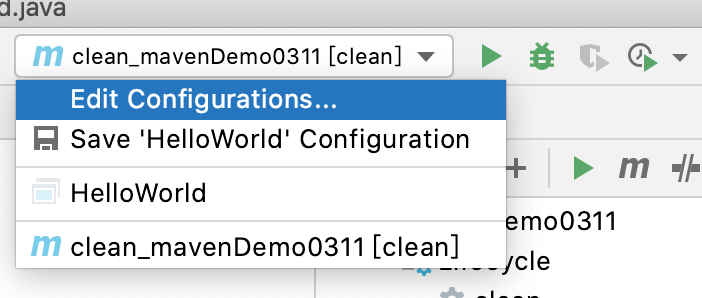
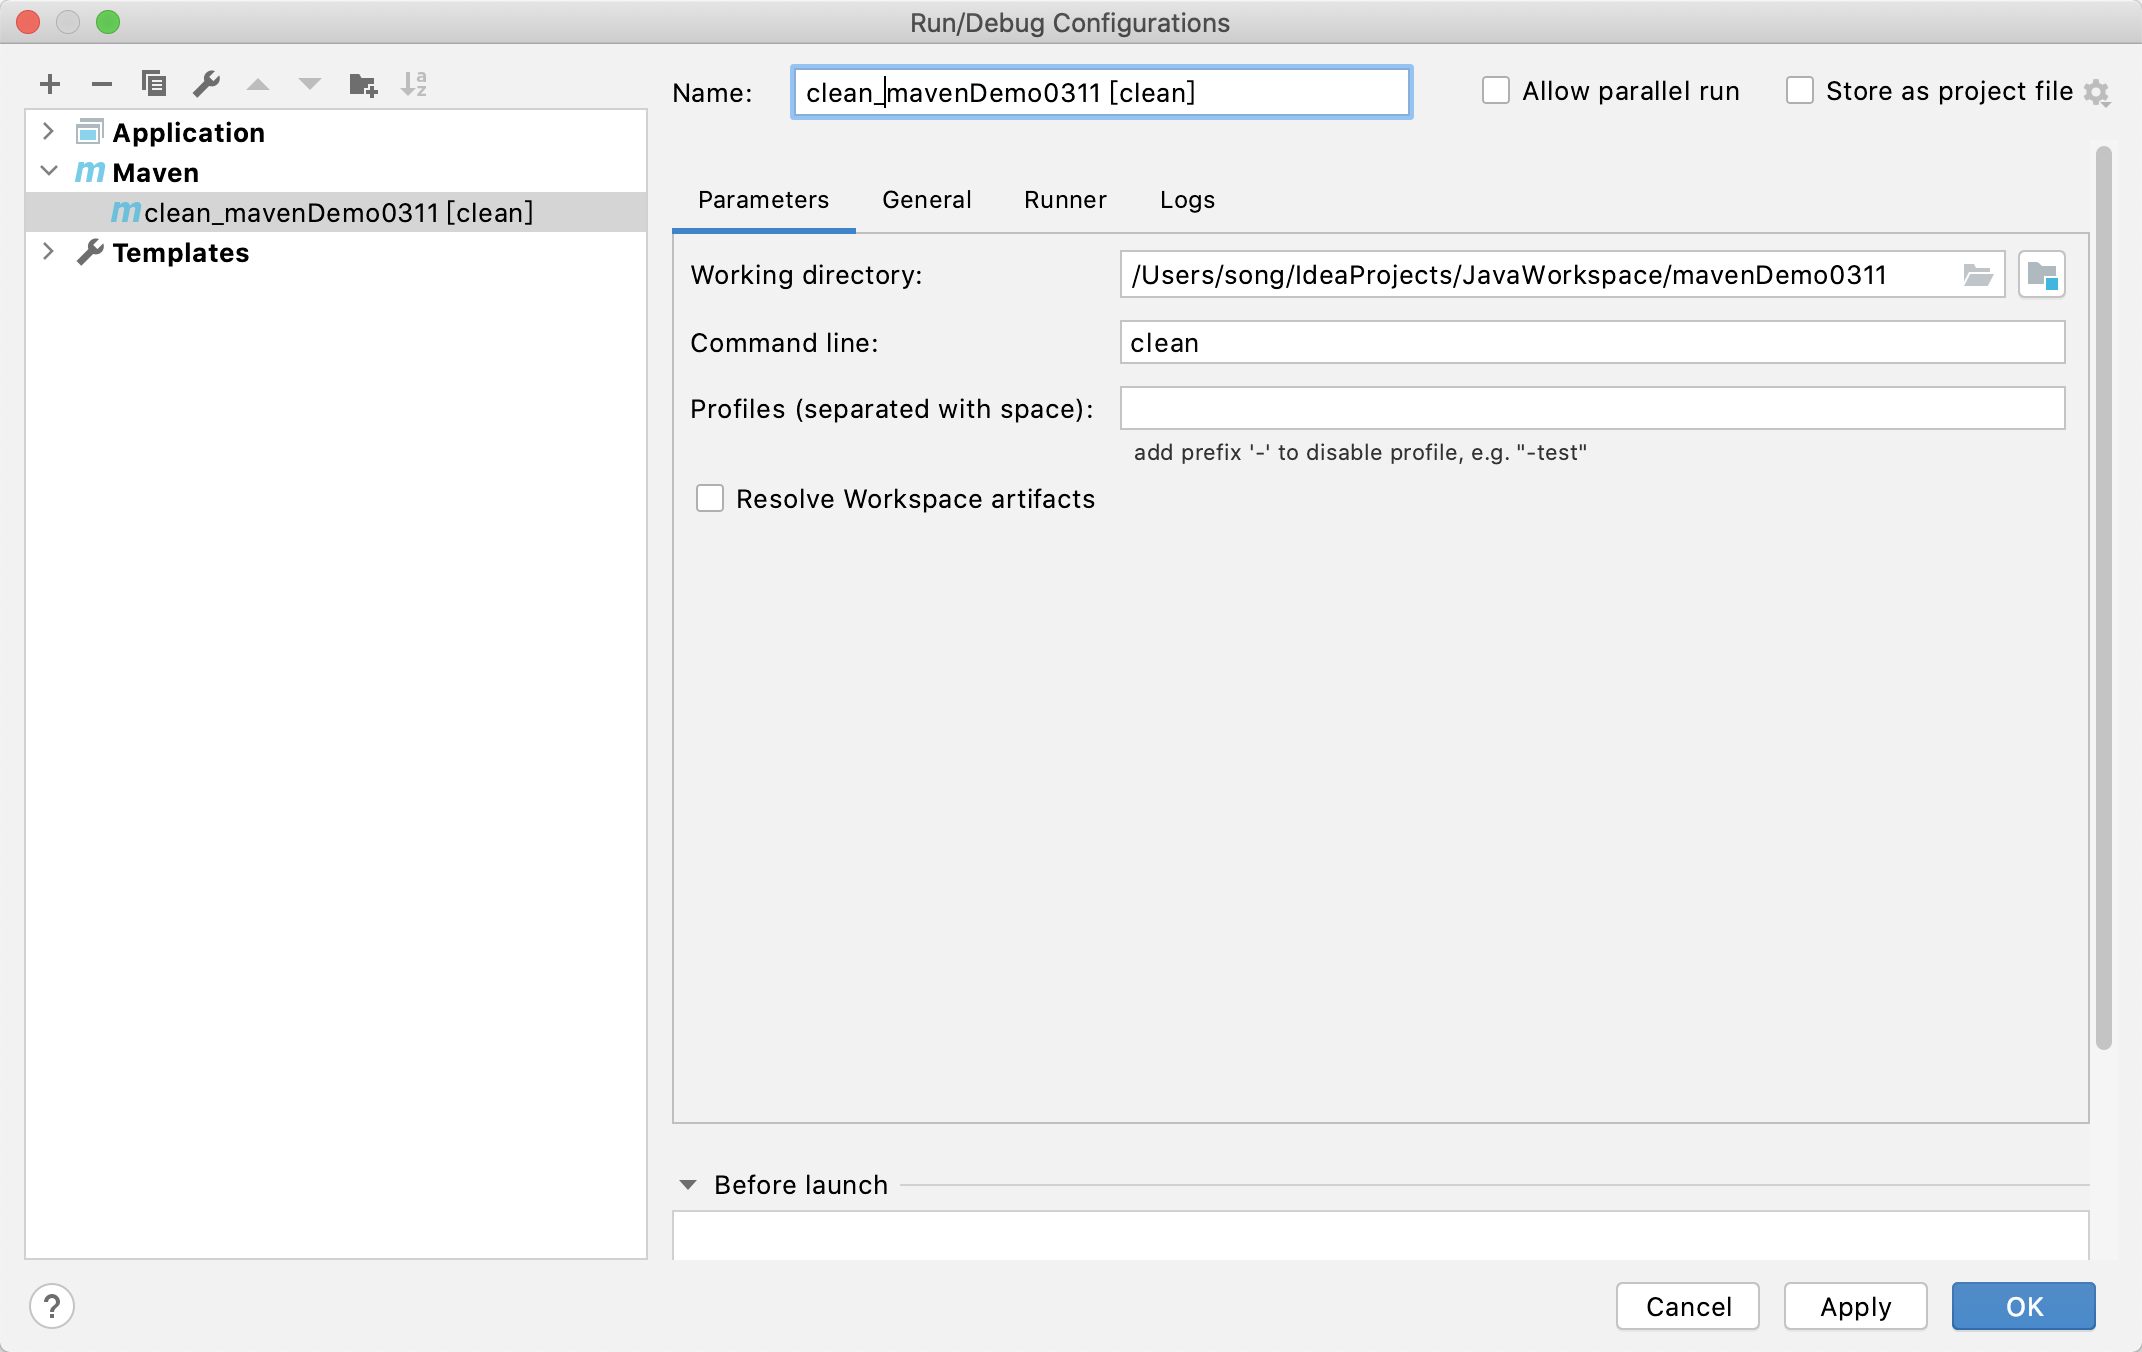
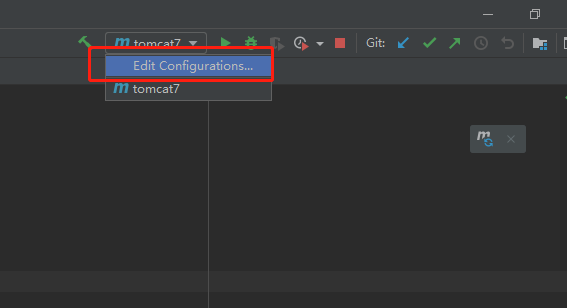
设置Run Configuration
8、导入依赖
1. 依赖说明
查找依赖仓库 https://mvnrepository.com/artifact/junit
在pom.xml 文件中增加 dependency
(Alt + Insert)
<dependencies><dependency><groupId>junit</groupId><artifactId>junit</artifactId><version>4.11</version><scope>test</scope></dependency></dependencies>
2. scope 说明
| 依赖范围 | 编译 | 测试 | 运行 | 样例 |
|---|---|---|---|---|
| compile | Y | Y | Y | spring-core |
| test | - | Y | - | junit |
| provided | Y | Y | - | servlet-api |
| runtime | - | Y | Y | JDBC驱动 |
| system | Y | Y | - | 本地 |
9、导入插件
(Alt + Insert)
<build><plugins><plugin><groupId>org.apache.maven.plugins</groupId><artifactId>maven-changes-plugin</artifactId><version>3.1</version><configuration><target>1.8</target><source>1.8</source></configuration></plugin></plugins></build>
10、使用Tomcat插件运行网站
<!-- 若为根目录,不能将插件放到<pluginManagement>下--><plugin><groupId>org.apache.tomcat.maven</groupId><artifactId>tomcat7-maven-plugin</artifactId><version>2.2</version><configuration><port>8380</port> <!-- 访问端口--><path>/</path> <!-- 访问路径--></configuration></plugin>
直接执行
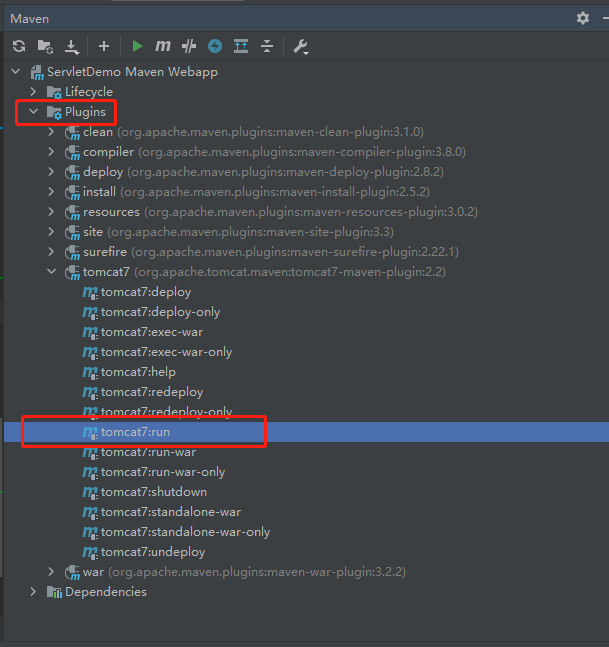
配置启动

11、创建Servlet项目
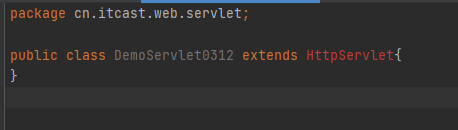
1. 添加Servlet类
2. 添加Servlet依赖
<dependency><groupId>com.guicedee.services</groupId><artifactId>javax.servlet-api</artifactId><version>62</version><scope>provided</scope></dependency>
*可从Aliyun下载 https://maven.aliyun.com/mvn/search

若有收获,就点个赞吧
0 人点赞
