
项目配置: TS + vite + Naive UI + hooks(替换vuex)
官网:https://www.naiveui.com/ 关于我们使用ts, vite,是因为我们之前项目已有积累, 不使用element, iview, antd,是因为相比于Naive而言,需要处理vue2的一些历史债务,有些历史包袱,最后用下来整体感觉很不错,丝滑,部分组件是使用不习惯, 老项目迁移的话不推荐, 新项目的可以考虑哦!
关于全局组件调用(Messge, dialog, loadingBar等)的使用
如官网所说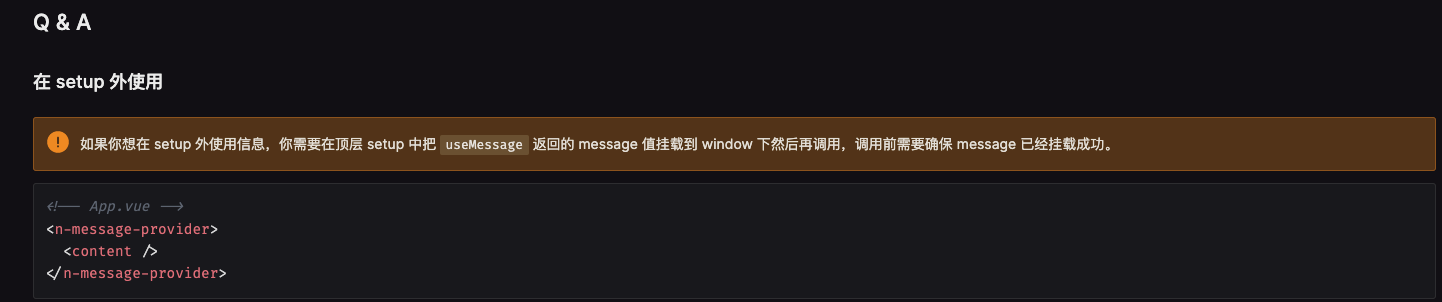
所以在我们项目里,一般也会拆出layout,划出子路由,最后有了
先挂载
<template><n-config-provider:locale="zhCN":date-locale="dateZhCN":theme="local.theme":theme-overrides="themeOverrides"><n-global-style /><n-notification-provider><n-loading-bar-provider><n-dialog-provider><n-message-provider><router-view /></n-message-provider></n-dialog-provider></n-loading-bar-provider></n-notification-provider></n-config-provider></template><script lang="ts" setup>import { zhCN, dateZhCN } from "naive-ui";import { useTheme } from "@/hooks/useTheme";let { themeOverrides, local } = useTheme();</script><style lang="scss">@import "./styles/index.scss";</style>
再注册
<script lang="ts" setup>import { useMessage,useNotification, useLoadingBar, useDialog } from 'naive-ui';import Menu from "./Menu.vue";import Tabs from "./Tabs.vue";import Header from "./Header.vue";import { useTheme } from '@/hooks/useTheme';const {local} = useTheme()window.$message = useMessage();window.$notification = useNotification()window.$loadingBar = useLoadingBar()window.$dialog = useDialog()</script>
在子路由中使用
function onDel(row) {window.$loadingBar?.start();setTimeout(() => {window.$loadingBar?.finish();console.log("删除", row);}, 2000);}
ts文件声明(不写会标红哦)
import type {LoadingBarProviderInst,DialogProviderInst,MessageProviderInst,NotificationProviderInst} from 'naive-ui';declare global {interface Window {$loadingBar?: LoadingBarProviderInst;$dialog?: DialogProviderInst;$message?: MessageProviderInst;$notification?: NotificationProviderInst;}}
权限树挂载
如果有初始默认值,一般是异步返回的值, 必须判断有数据的情况下,不然无法挂载成功
下拉菜单形式
<n-tree-selectv-if="props.detail?.id && modelRef.permissionIds.length > 0 || !props.detail"multiplecascadecheckableclearableshow-pathkey-field="id"label-field="permissionName":options="authState.allPermission":default-value="modelRef.permissionIds":on-update:value="handleUpdateValue"/>
直接tree类型转化
<n-treev-if="props.detail?.id && modelRef.permissionIds.length > 0 || !props.detail"block-linecascadecheckablekey-field="id"label-field="permissionName":data="authState.allPermission":default-checked-keys="modelRef.permissionIds"@update:checked-keys="handleUpdateValue"/>

分页器和data-table混合使用
分页器可以独立使用, 也可以混合在table中使用,
以下是理想中的样式

作为分页器其实大概是需要4个值(当前页, 页码, 共多少条, 共多少页)
pagination: {pageSize: 10,page: 1,pageCount: 1,itemCount: 0,prefix({ itemCount }) {return `共${itemCount}条`;},},
注意 row-key指定唯一ID remote 非常重要, 不加的话pageCount和itemCount,不能同时生效(同理分页器)
<n-data-table:loading="loading.table":columns="state.columns":data="state.list"row-class-name="table-row":row-key="(row) => row.key"remote //非常重要:pagination="state.pagination"@update:page="handlePageChange"/>
关于列表渲染的列表维护

若有收获,就点个赞吧
0 人点赞
