1.pom新增依赖
<dependency><groupId>org.springframework.boot</groupId><artifactId>spring-boot-starter-security</artifactId></dependency><dependency><groupId>org.springframework.boot</groupId><artifactId>spring-boot-starter-web</artifactId></dependency>
添加一个接口用来测试
@RestControllerpublic class SecurityDemoController {@RequestMapping("/security")public String securityUserPassword(){return "security req success!!!";}}
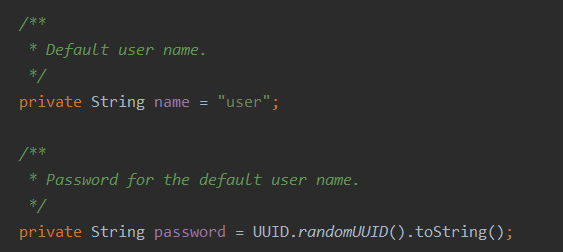
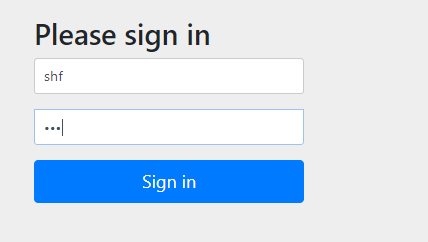
启动spring boot 服务,控制台会有一行打印日志,密码为一串 UUID。登录页面弹窗输入默认用户 user 和密码
2.用户配置
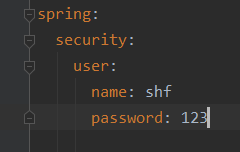
2.1 配置文件配置用户

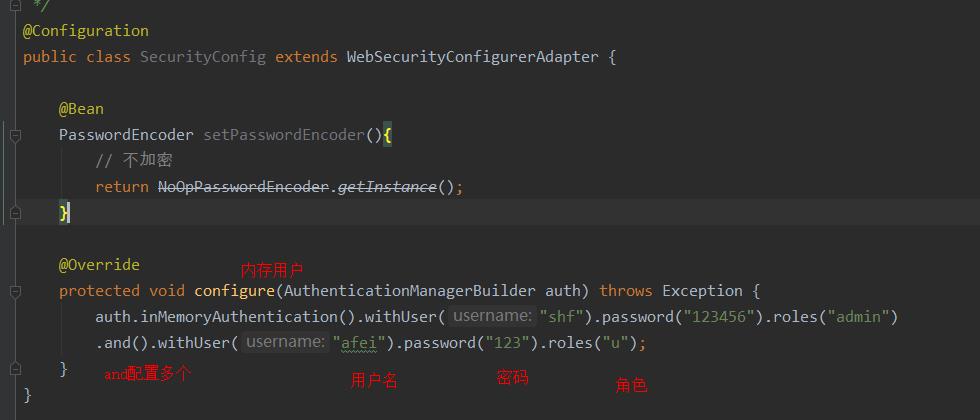
2.2 配置类配置用户
配置类会覆盖配置文件中的用户信息
@Configurationpublic class SecurityConfig extends WebSecurityConfigurerAdapter {@BeanPasswordEncoder setPasswordEncoder(){// 不加密(可自己实现 PasswordEncoder ,注入)return NoOpPasswordEncoder.getInstance();}@Overrideprotected void configure(AuthenticationManagerBuilder auth) throws Exception {auth.inMemoryAuthentication().withUser("shf").password("123456").roles("admin").and().withUser("afei").password("123").roles("u");}}
2.3 自定义登录页面配置,web资源拦截规则等
配置 web 拦截规则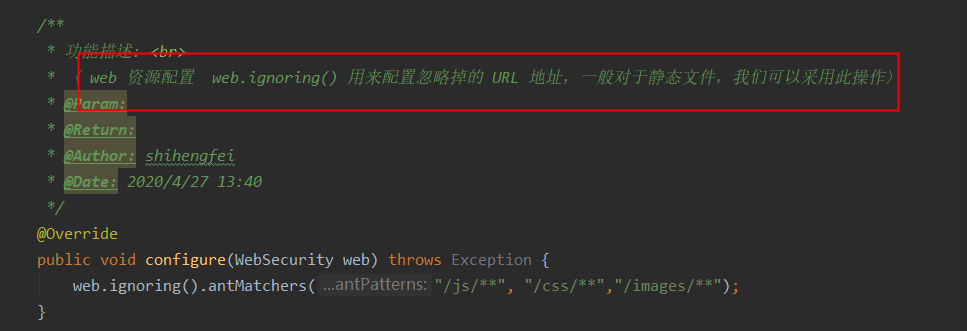
配置登录页面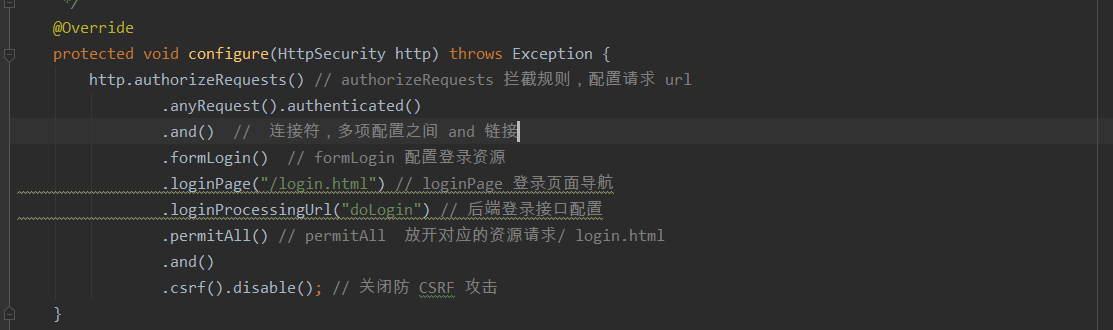
此时,启动项目,访问任意接口,返回自定义的登录页面上。
若不配置此处,默认为: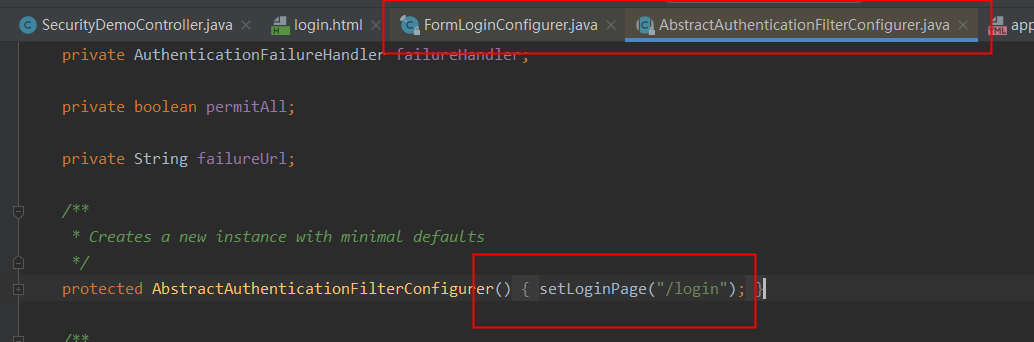
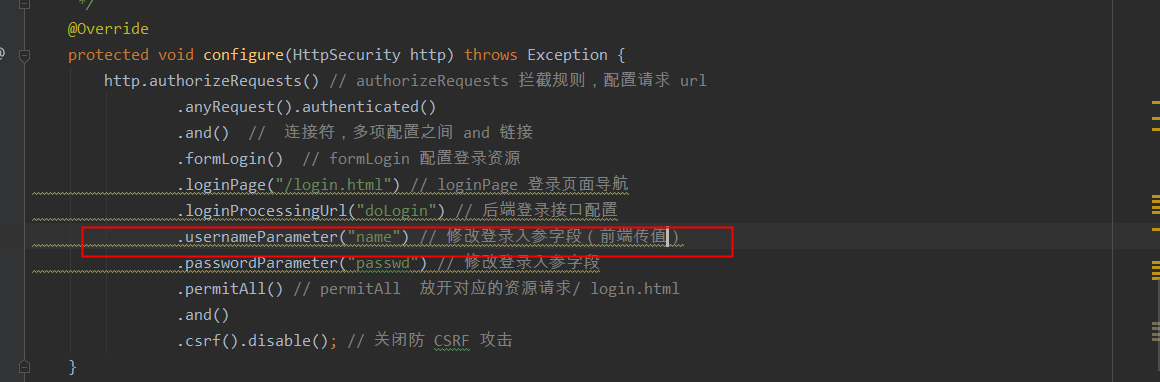
2.4 自定义登录参数(默认 username/password)
2.5 登录回调(前后端不分离情况)
在 Spring Security 中,和登录成功重定向 URL 相关的方法有两个:
- defaultSuccessUrl
- successForwardUrl
这两个咋看没什么区别,实际上内藏乾坤。
首先我们在配置的时候,defaultSuccessUrl 和 successForwardUrl 只需要配置一个即可,具体配置哪个,则要看你的需求,两个的区别如下:
- defaultSuccessUrl 有一个重载的方法,我们先说一个参数的 defaultSuccessUrl 方法。如果我们在 defaultSuccessUrl 中指定登录成功的跳转页面为
/index,此时分两种情况,如果你是直接在浏览器中输入的登录地址,登录成功后,就直接跳转到/index,如果你是在浏览器中输入了其他地址,例如http://localhost:8080/hello,结果因为没有登录,又重定向到登录页面,此时登录成功后,就不会来到/index,而是来到/hello页面。 - defaultSuccessUrl 还有一个重载的方法,第二个参数如果不设置默认为 false,也就是我们上面的的情况,如果手动设置第二个参数为 true,则 defaultSuccessUrl 的效果和 successForwardUrl 一致。
- successForwardUrl 表示不管你是从哪里来的,登录后一律跳转到 successForwardUrl 指定的地址。例如 successForwardUrl 指定的地址为
/index,你在浏览器地址栏输入http://localhost:8080/hello,结果因为没有登录,重定向到登录页面,当你登录成功之后,就会服务端跳转到/index页面;或者你直接就在浏览器输入了登录页面地址,登录成功后也是来到/index。
相关配置如下:
.and().formLogin().loginPage("/login.html").loginProcessingUrl("/doLogin").usernameParameter("name").passwordParameter("passwd").defaultSuccessUrl("/index").successForwardUrl("/index").permitAll().and()
「注意:实际操作中,defaultSuccessUrl 和 successForwardUrl 只需要配置一个即可。」
2.6 登录失败回调(前后端不分离情况)
与登录成功相似,登录失败也是有两个方法:
- failureForwardUrl
- failureUrl
「这两个方法在设置的时候也是设置一个即可」。failureForwardUrl 是登录失败之后会发生服务端跳转,failureUrl 则在登录失败之后,会发生重定向。
2.7 注销回调(前后端不分离情况)
注销登录的默认接口是 /logout,我们也可以配置。
.and().logout().logoutUrl("/logout").logoutRequestMatcher(new AntPathRequestMatcher("/logout","POST")).logoutSuccessUrl("/index").deleteCookies().clearAuthentication(true).invalidateHttpSession(true).permitAll().and()
注销登录的配置:
- 默认注销的 URL 是
/logout,是一个 GET 请求,我们可以通过 logoutUrl 方法来修改默认的注销 URL。 - logoutRequestMatcher 方法不仅可以修改注销 URL,还可以修改请求方式,实际项目中,这个方法和 logoutUrl 任意设置一个即可。
- logoutSuccessUrl 表示注销成功后要跳转的页面。
- deleteCookies 用来清除 cookie。
clearAuthentication 和 invalidateHttpSession 分别表示清除认证信息和使 HttpSession 失效,默认可以不用配置,默认就会清除。
3.前后端分离
3.1 有状态登录
有状态服务,即服务端需要记录每次会话的客户端信息,从而识别客户端身份,根据用户身份进行请求的处理,典型的设计如 Tomcat 中的 Session。例如登录:用户登录后,我们把用户的信息保存在服务端 session 中,并且给用户一个 cookie 值,记录对应的 session,然后下次请求,用户携带 cookie 值来(这一步有浏览器自动完成),我们就能识别到对应 session,从而找到用户的信息。这种方式目前来看最方便,但是也有一些缺陷,如下:<br />服务端保存大量数据,增加服务端压力<br />服务端保存用户状态,不支持集群化部署
3.2 无状态登录
微服务集群中的每个服务,对外提供的都使用 RESTful 风格的接口。而 RESTful 风格的一个最重要的规范就是:服务的无状态性,即:
- 服务端不保存任何客户端请求者信息
- 客户端的每次请求必须具备自描述信息,通过这些信息识别客户端身份
那么这种无状态性有哪些好处呢?
- 客户端请求不依赖服务端的信息,多次请求不需要必须访问到同一台服务器
- 服务端的集群和状态对客户端透明
- 服务端可以任意的迁移和伸缩(可以方便的进行集群化部署)
-
3.3 前后分离登录成功
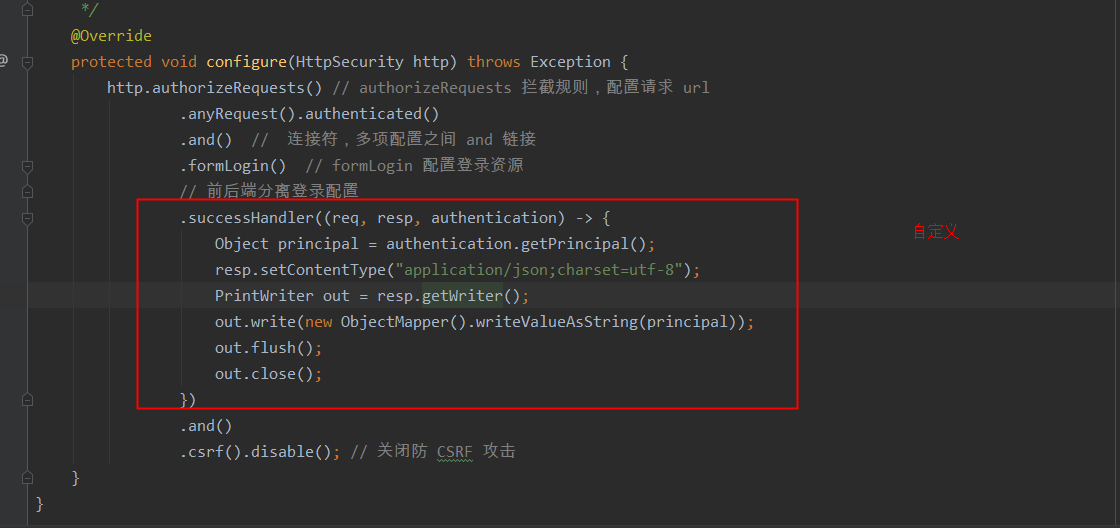
successHandler 方法的参数是一个 AuthenticationSuccessHandler 对象,这个对象中我们要实现的方法是 onAuthenticationSuccess。
onAuthenticationSuccess 方法有三个参数,分别是: HttpServletRequest
- HttpServletResponse
- Authentication
有了前两个参数,我们就可以在这里随心所欲的返回数据了。利用 HttpServletRequest 我们可以做服务端跳转,利用 HttpServletResponse 我们可以做客户端跳转,当然,也可以返回 JSON 数据。
第三个 Authentication 参数则保存了我们刚刚登录成功的用户信息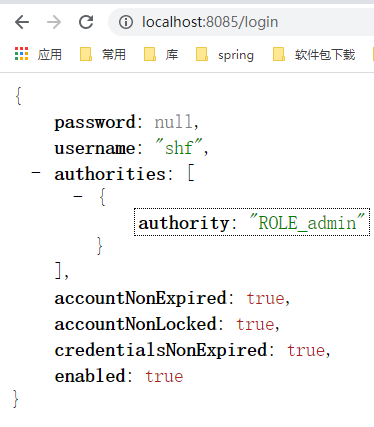
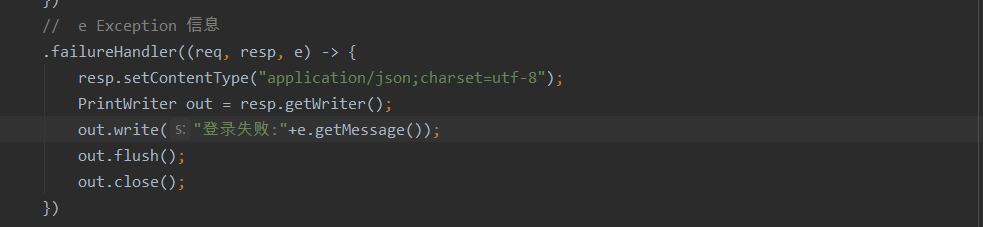
3.4前后端分离登录失败

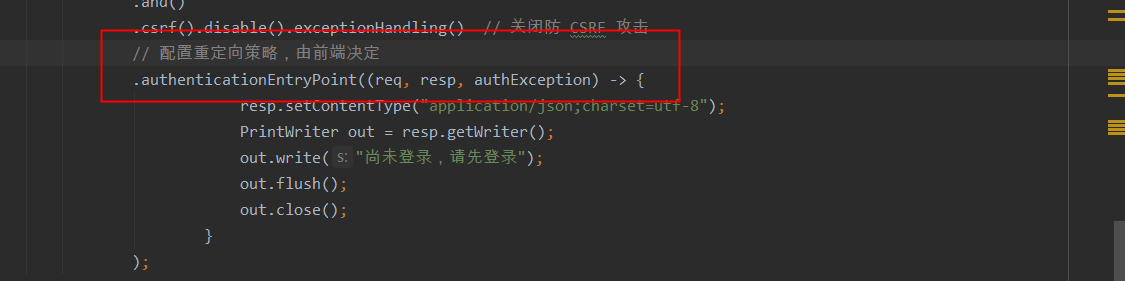
3.5 前后分离,未认证情况不走重定向,由前端决定跳转(配置后不跳转到登录页)
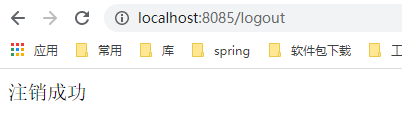
3.6 注销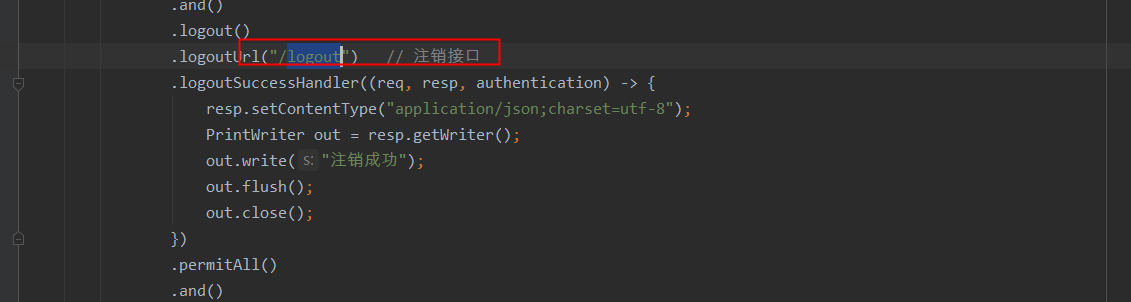
-
@Overrideprotected void configure(HttpSecurity http) throws Exception {http.authorizeRequests() // authorizeRequests 拦截规则,配置请求 url.anyRequest().authenticated().and() // 连接符,多项配置之间 and 链接.formLogin() // formLogin 配置登录资源// 前后端分离登录配置,登录成功返回.successHandler((req, resp, authentication) -> {Object principal = authentication.getPrincipal();resp.setContentType("application/json;charset=utf-8");PrintWriter out = resp.getWriter();out.write(new ObjectMapper().writeValueAsString(principal));out.flush();out.close();})// e Exception 信息.failureHandler((req, resp, e) -> {resp.setContentType("application/json;charset=utf-8");PrintWriter out = resp.getWriter();out.write("登录失败:"+e.getMessage());out.flush();out.close();}).and().logout().logoutUrl("/logout") // 注销接口.logoutSuccessHandler((req, resp, authentication) -> {resp.setContentType("application/json;charset=utf-8");PrintWriter out = resp.getWriter();out.write("注销成功");out.flush();out.close();}).permitAll().and().csrf().disable().exceptionHandling() // 关闭防 CSRF 攻击// 配置重定向策略,由前端决定.authenticationEntryPoint((req, resp, authException) -> {resp.setContentType("application/json;charset=utf-8");PrintWriter out = resp.getWriter();out.write("尚未登录,请先登录");out.flush();out.close();});}
4. 权限配置
4.1 配置接口权限

http.authorizeRequests() // authorizeRequests 拦截规则,配置请求 url.antMatchers("/admin/**").hasRole("admin") // 接口 admin 的需要 admin 角色.antMatchers("/user/**").hasRole("user")// 注意:anyRequest 必须在 antMatchers 之后.anyRequest().authenticated()
4.2 配置角色继承关系
@BeanRoleHierarchy roleHierarchy() {RoleHierarchyImpl hierarchy = new RoleHierarchyImpl();// 角色继承,配置 admin 角色可访问 user 角色资源 / 规则 ROLE_ 前缀+角色hierarchy.setHierarchy("ROLE_admin > ROLE_user");return hierarchy;}
5.配置密码加解密规则
自定义实现 PasswordEncoder
package com.camelot.security.config;import org.springframework.context.annotation.Configuration;import org.springframework.security.crypto.password.PasswordEncoder;/*** <p>* Description:[]* </p>** @author shf* @version 1.0* @date Created on 2020/4/27 18:07*/public class MyPasswordEncoder implements PasswordEncoder {@Overridepublic String encode(CharSequence rawPassword) {try {// 加密String s = AESUtil.aesEncrypt(rawPassword.toString(), "cBssbHB3ZA==HKXT");return s;} catch (Exception e) {e.printStackTrace();}return null;}@Overridepublic boolean matches(CharSequence rawPassword, String encodedPassword) {// 密码校验if (rawPassword.equals(encodedPassword)) {return true;}return false;}}
配置实现 setPasswordEncoder 方法,注入加密类
@Configurationpublic class SecurityConfig extends WebSecurityConfigurerAdapter {@BeanPasswordEncoder setPasswordEncoder(){// 不加密return new MyPasswordEncoder();}

若有收获,就点个赞吧
0 人点赞
