没有了解过JWT可以先看看JWT基础
一、 后端
登录接口
- 账号密码验证
- jwt-token验证 ```java package com.jili.jwt.controller;
import com.jili.jwt.entity.User; import com.jili.jwt.util.JwtUtil; import org.springframework.web.bind.annotation.GetMapping; import org.springframework.web.bind.annotation.RestController;
import javax.servlet.http.HttpServletRequest;
/**
- @author: Jili
@date: Created on 2021/6/24 16:26 */ @RestController public class UserController {
private final String USERNAME = “admin”; private final String PASSWORD = “123456”;
@GetMapping(“/login”) public User login(User user){
if(USERNAME.equals(user.getUsername())&&PASSWORD.equals(user.getPassword())){//添加tokenuser.setToken(JwtUtil.createToken());return user;}return null;
}
@GetMapping(“/checkToken”) public Boolean checkToken(HttpServletRequest request){
String token=request.getHeader("token");return JwtUtil.checkToken(token);
}
}
<a name="Oh9L7"></a>### JWT工具类- 生成jwt- 验证jwt```javapackage com.jili.jwt.util;import io.jsonwebtoken.*;import java.util.Date;import java.util.UUID;/*** @author: Jili* @date: Created on 2021/6/24 16:35*/public class JwtUtil {//一天private static long time = 1000*60*60*24;//5sprivate static long time5s = 1000*5;private static String signature = "admin";public static String createToken() {JwtBuilder jwtBuilder= Jwts.builder();String jwtToken = jwtBuilder//Header.setHeaderParam("typ","JWT").setHeaderParam("alg","HS256")//payload.claim("username","admin").claim("role","admin")//payload sub主题.setSubject("admin-test")//payload 有效时间.setExpiration(new Date(System.currentTimeMillis()+time5s)).setId(UUID.randomUUID().toString())//signature.signWith(SignatureAlgorithm.HS256,signature)//拼接.compact();return jwtToken;}public static boolean checkToken(String token){if(token == null){return false;}try {Jws<Claims> claimsJws = Jwts.parser().setSigningKey(signature).parseClaimsJws(token);} catch (Exception e) {return false;}return true;}}
跨域配置
CorsConfig
package com.jili.jwt.configuration;import org.springframework.context.annotation.Bean;import org.springframework.context.annotation.Configuration;import org.springframework.web.cors.CorsConfiguration;import org.springframework.web.cors.UrlBasedCorsConfigurationSource;import org.springframework.web.filter.CorsFilter;/*** @author: Jili* @date: Created on 2021/6/24 16:41* 过滤器的方式*/@Configurationpublic class CorsConfig {private CorsConfiguration buildConfig() {//创建CorsConfiguration对象后添加配置CorsConfiguration corsConfiguration = new CorsConfiguration();//设置放行哪些原始域corsConfiguration.addAllowedOrigin("*");//放行哪些原始请求头部信息corsConfiguration.addAllowedHeader("*");//放行哪些请求方式{get,put,post,delete} "*"全部放行corsConfiguration.addAllowedMethod("*");//超时时长设置为1小时。 时间单位是秒corsConfiguration.setMaxAge(3600L);return corsConfiguration;}@Beanpublic CorsFilter corsFilter() {//添加映射路径UrlBasedCorsConfigurationSource source = new UrlBasedCorsConfigurationSource();source.registerCorsConfiguration("/**", buildConfig());return new CorsFilter(source);}}
二、 前端
登录账号你密码验证通过后把后端传的带有用户信息以及Token存入localStorage里
登录页面
Login.vue
<template><div class="login-container"><el-form :model="ruleForm" :rules="rules"status-iconref="ruleForm"label-position="left"label-width="0px"class="demo-ruleForm login-page"><h3 class="title">系统登录</h3><el-form-item prop="username"><el-input type="text"v-model="ruleForm.username"auto-complete="off"placeholder="用户名"></el-input></el-form-item><el-form-item prop="password"><el-input type="password"v-model="ruleForm.password"auto-complete="off"placeholder="密码"></el-input></el-form-item><el-form-item style="width:100%;"><el-button type="primary" style="width:100%;" @click="handleSubmit" >登录</el-button></el-form-item></el-form></div></template><script>export default {name: "Login",data(){return{ruleForm: {username: 'admin',password: ''},rules: {username: [{required: true, message: '请输入用户名', trigger: 'blur'}],password: [{required: true, message: '请输入密码', trigger: 'blur'}]}}},methods: {handleSubmit(){this.$refs.ruleForm.validate((valid) => {if(valid){let _this = thisaxios.get('http://localhost:8080/login',{params:_this.ruleForm}).then(function (response) {if(response.data!=null){localStorage.setItem('access-admin',JSON.stringify(response.data))_this.$router.replace({path:'/'})}})}else{console.log('error submit!');return false;}})}}};</script><style scoped>.login-container {width: 100%;height: 100%;}.login-page {-webkit-border-radius: 5px;border-radius: 5px;margin: 180px auto;width: 350px;padding: 35px 35px 15px;background: #fff;border: 1px solid #eaeaea;box-shadow: 0 0 25px #cac6c6;}label.el-checkbox.rememberme {margin: 0px 0px 15px;text-align: left;}</style>
路由管理
为了避免用户没有权限或者验证过期访问其他页面,在路由里统一配置,在每个页面请求前先发送请求验证token
router->index.js
router.beforeEach((to, from, next) => {if (to.path.startsWith('/login')) {window.localStorage.removeItem('access-admin')next()} else {let admin = JSON.parse(window.localStorage.getItem('access-admin'))if (!admin) {next({path: '/login'})} else {//校验token合法性axios({url:'http://localhost:8080/checkToken',method:'get',headers:{token:admin.token}}).then((response) => {console.log(response.data)if(!response.data){console.log('校验失败')next({path: '/error'})}})next()}}})
三、 效果
便于测试,这里设置的token时效为5s
登录页面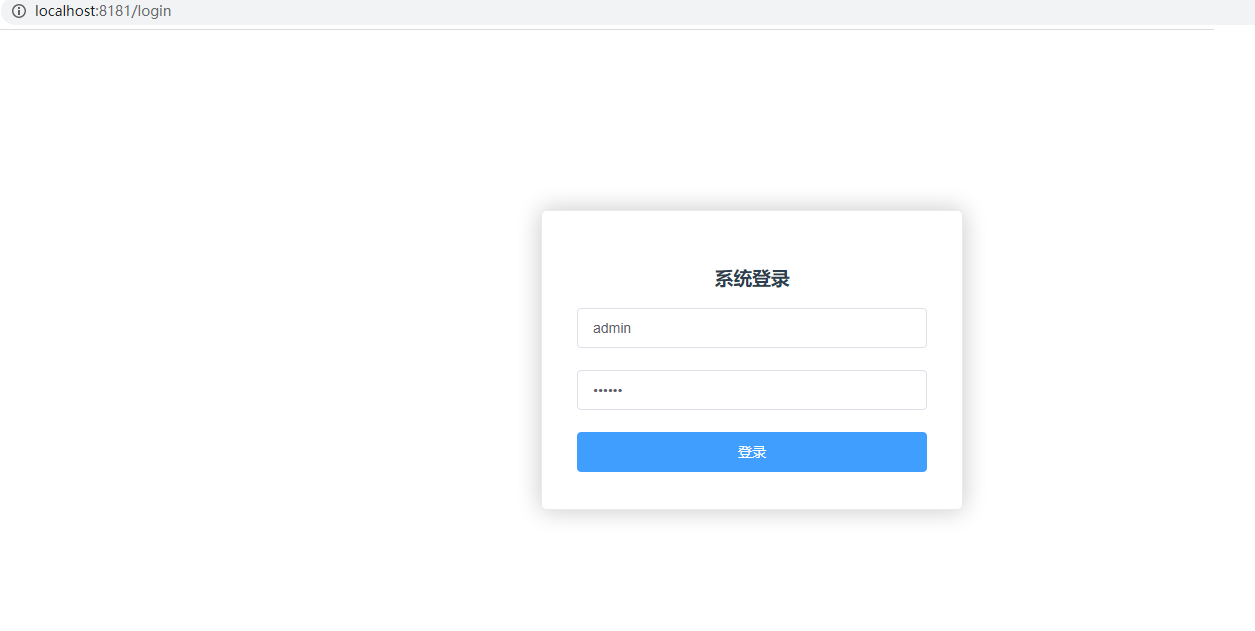
验证通过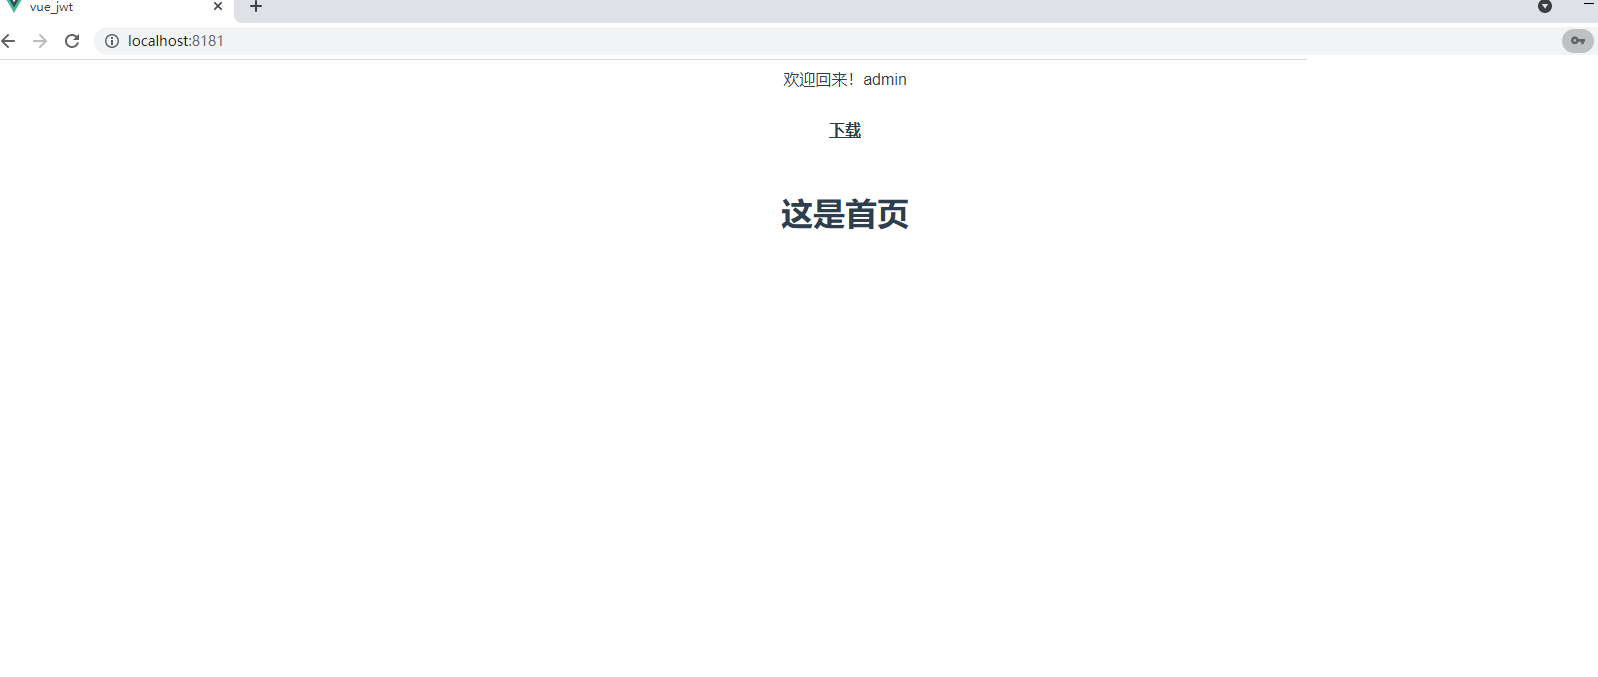
时效内
失效过期
源码
后端:https://gitee.com/jili_lyj/jwt
前端:https://gitee.com/jili_lyj/jwt-demo

若有收获,就点个赞吧
0 人点赞
