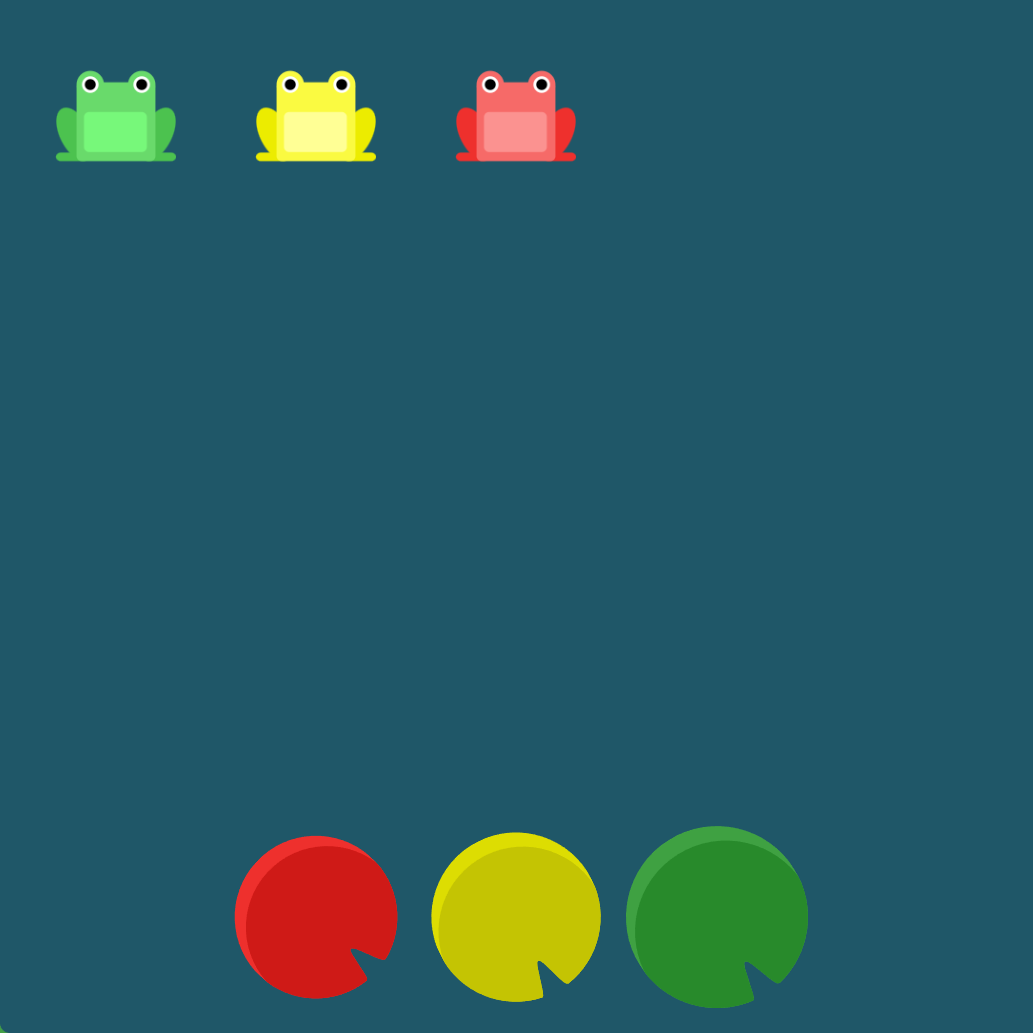
FLEXBOX FROGGY 是一个学习 Flex 布局的游戏。通过写 CSS 代码,送小青蛙回家:将小青蛙放到与其颜色相同的荷叶上。
该游戏一共有 24 关。通关成功,你能熟练使用 Flex 布局~
游戏地址(需要梯子): https://flexboxfroggy.com/ 。不需梯子地址: https://www.css88.com/tool/flexboxfroggy/#zh-cn 。下面我们一起来闯关吧。
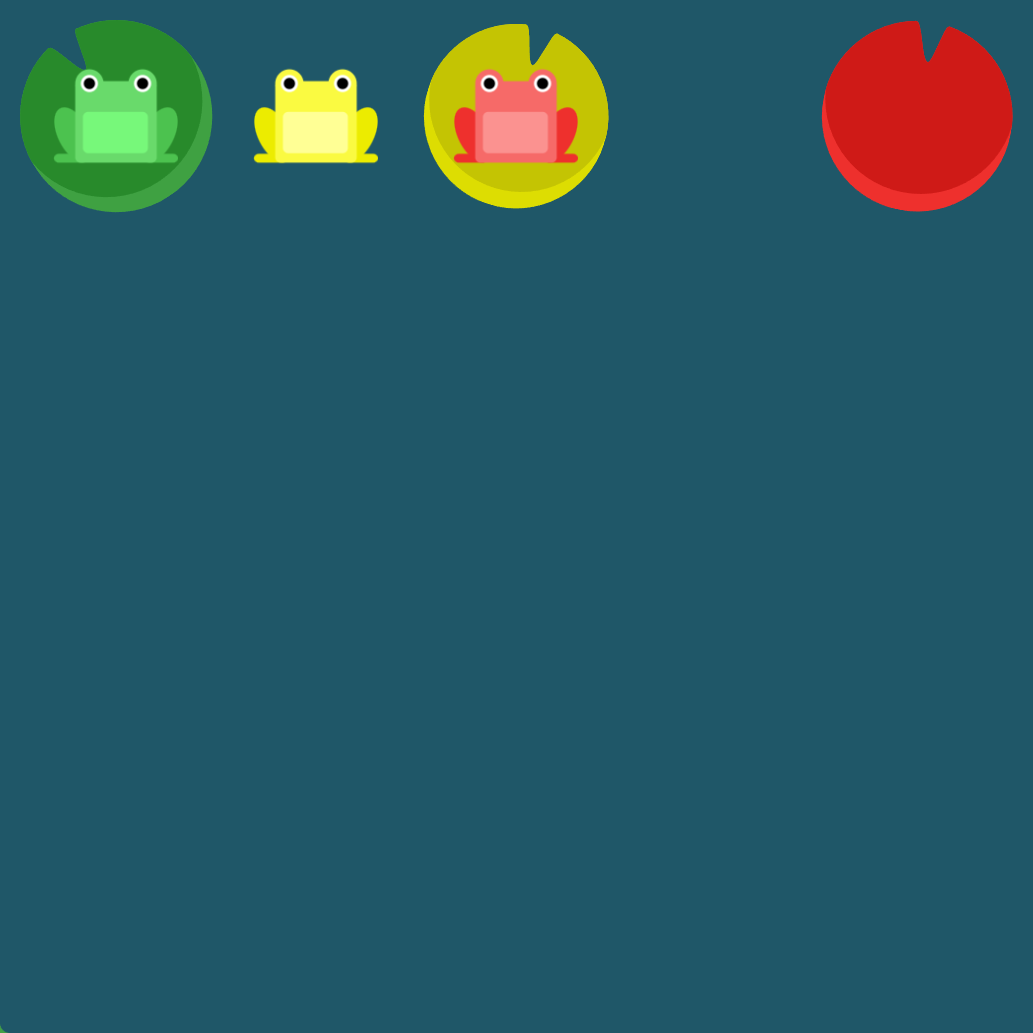
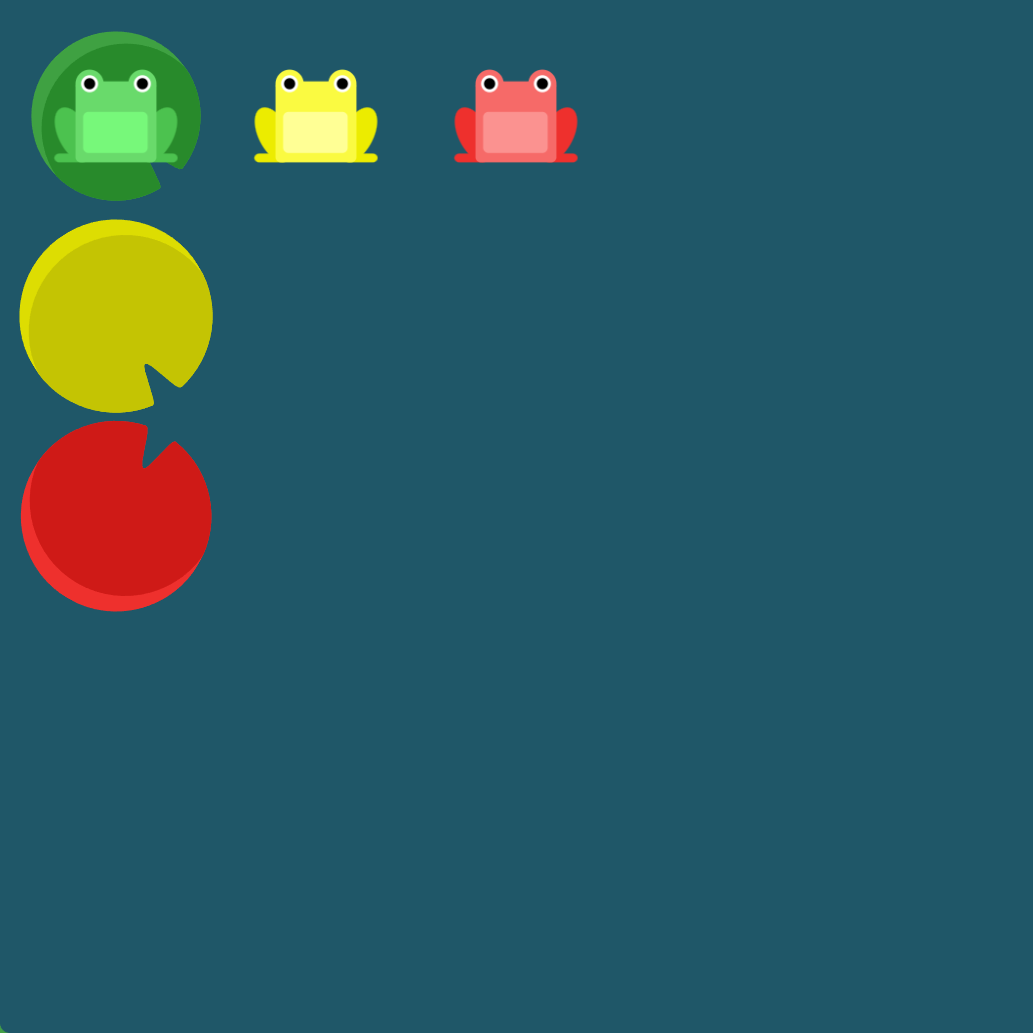
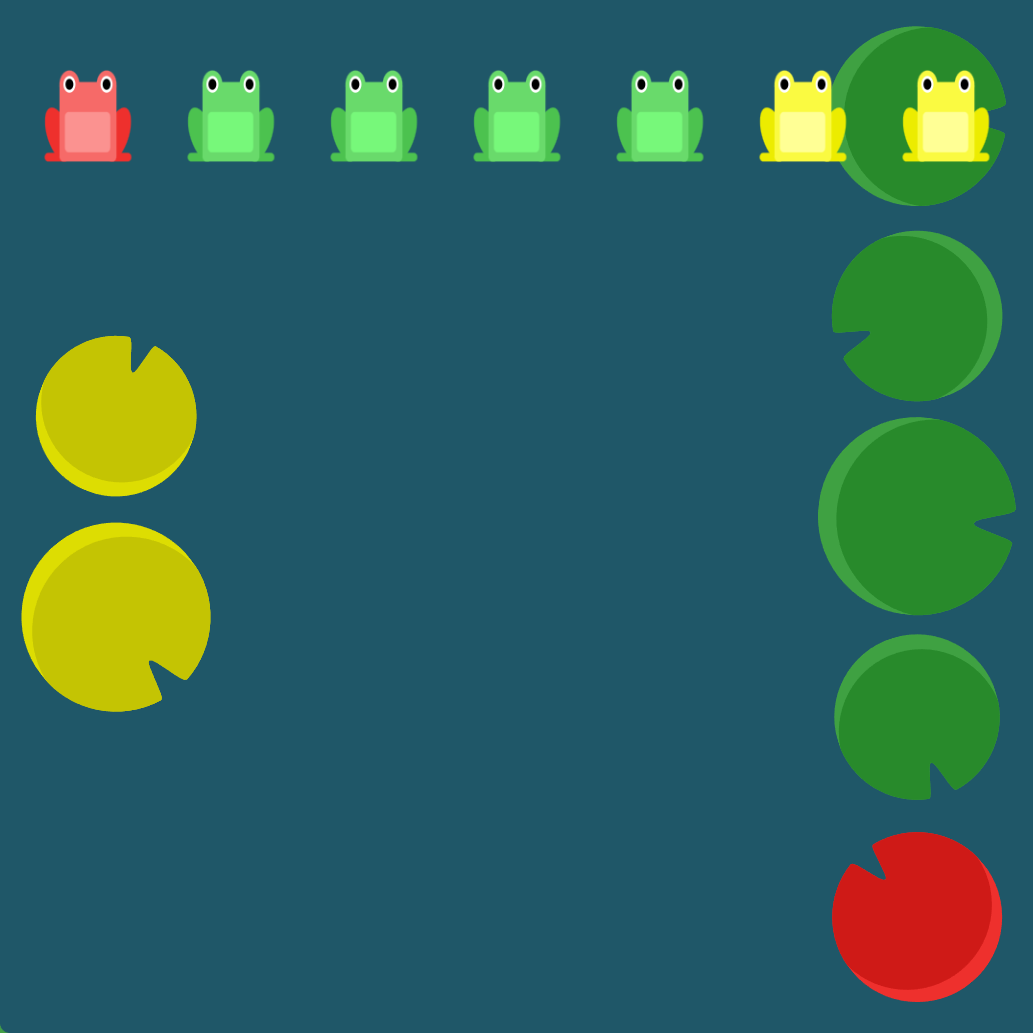
第 01 关
小青蛙右对齐。代码:
#pond {display: flex;/* 添加的代码 start */justify-content: flex-end;/* 添加的代码 end */}
justify-content 定义了项目在主轴上的对齐方式。主轴默认是水平方向。justify-content 不同值的示意图:
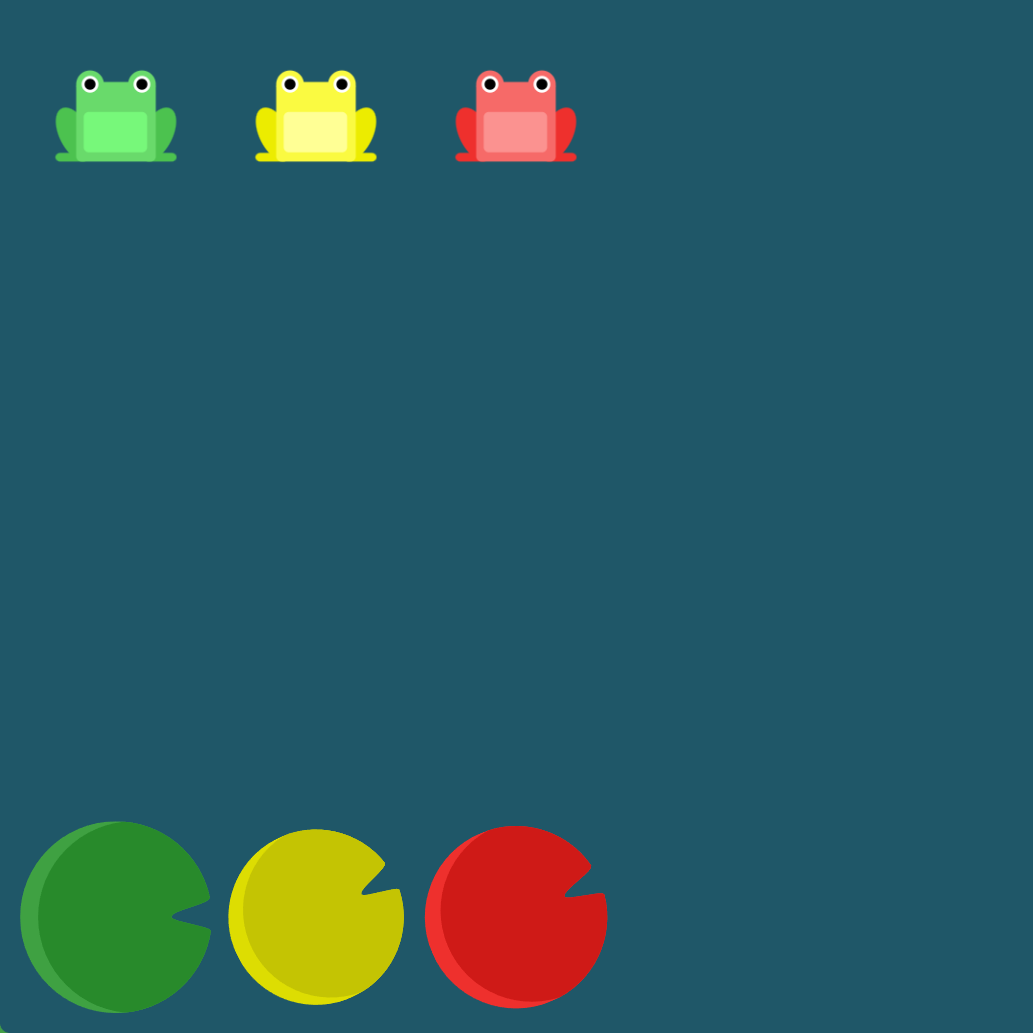
第 02 关
小青蛙居中对齐。代码:
#pond {display: flex;/* 添加的代码 start */justify-content: center;/* 添加的代码 end */}
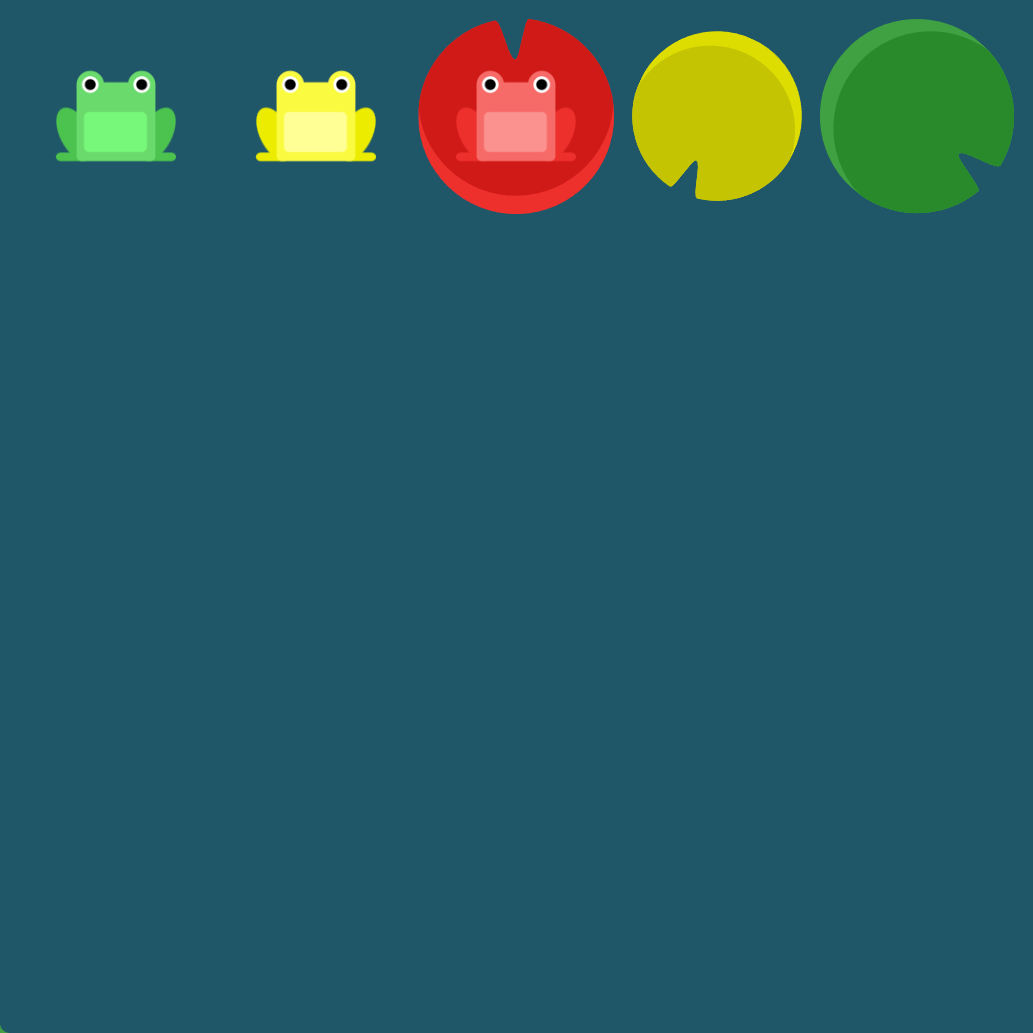
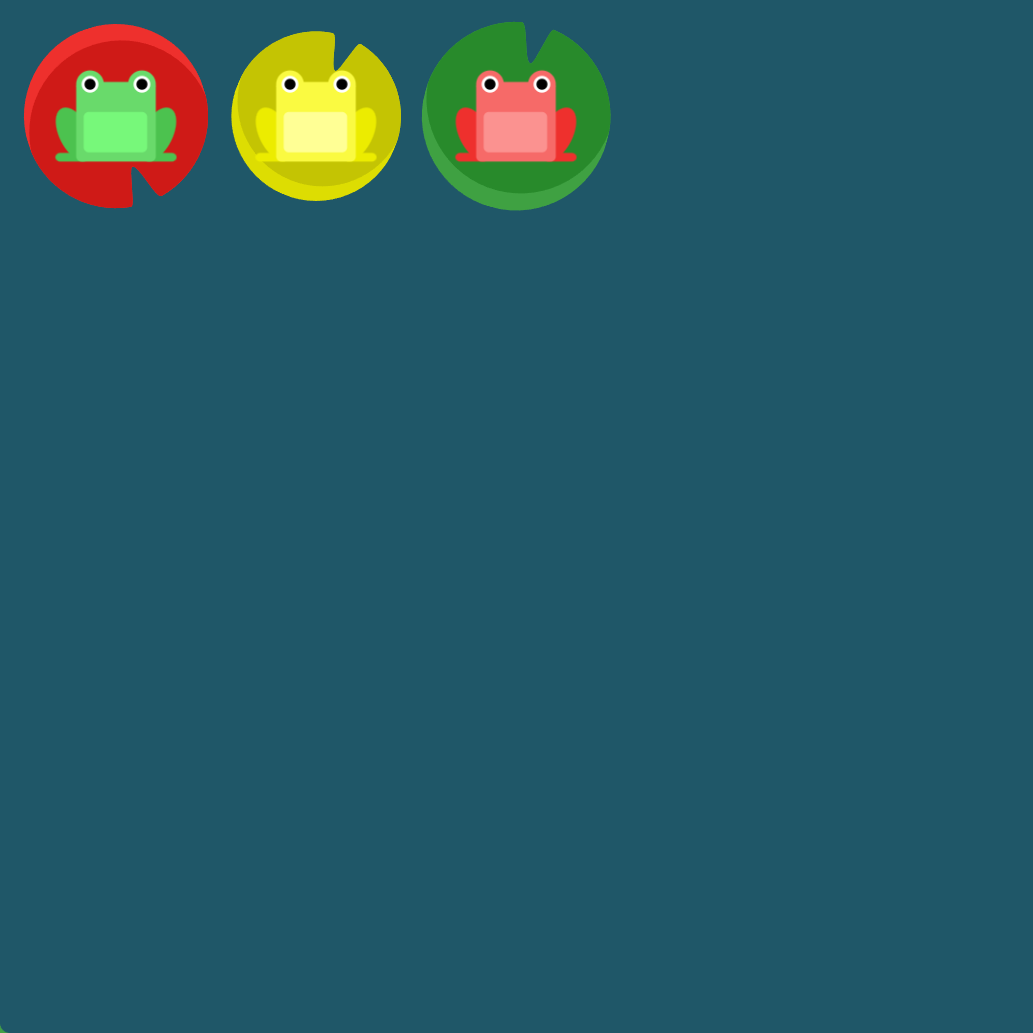
第 03 关
小青蛙间两侧的间隔相等。代码:
#pond {display: flex;/* 添加的代码 start */justify-content: space-around;/* 添加的代码 end */}
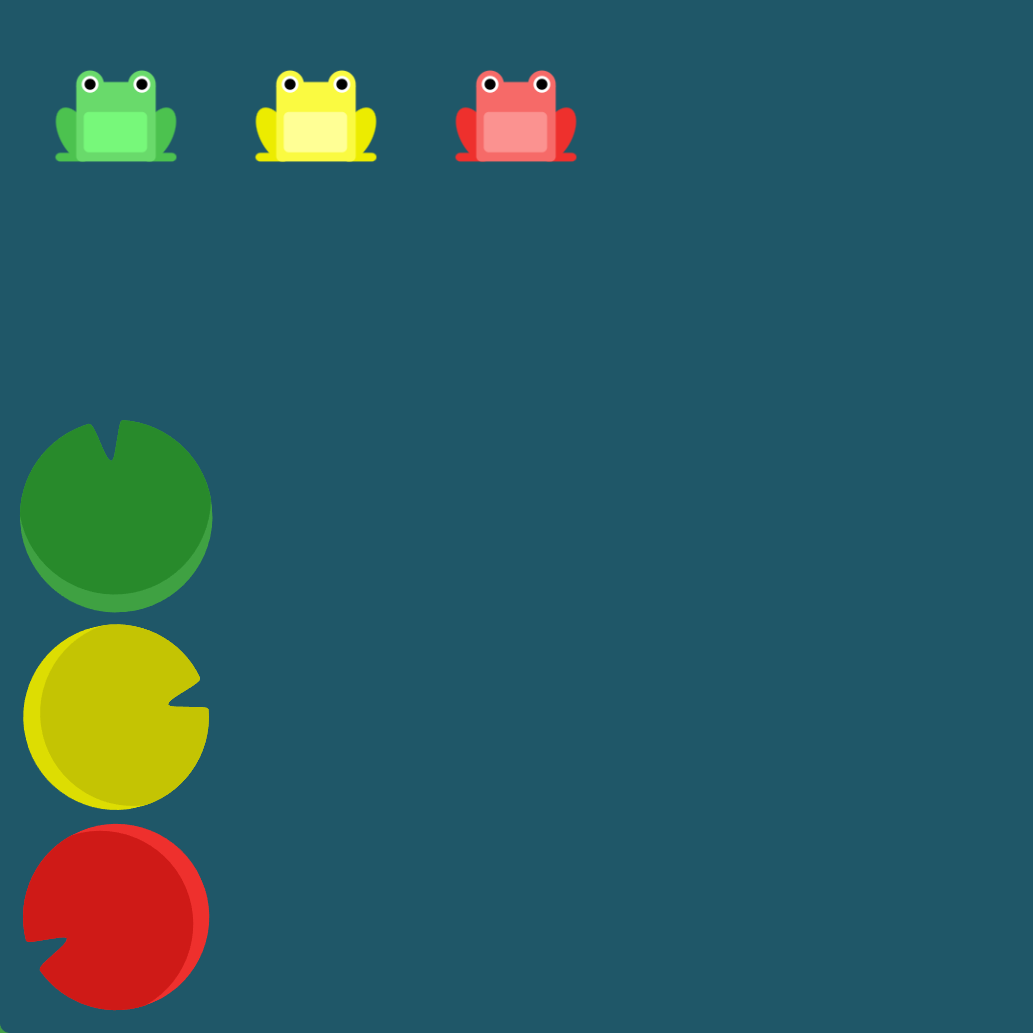
第 04 关
小青蛙两端对齐。代码:
#pond {display: flex;/* 添加的代码 start */justify-content: space-between;/* 添加的代码 end */}
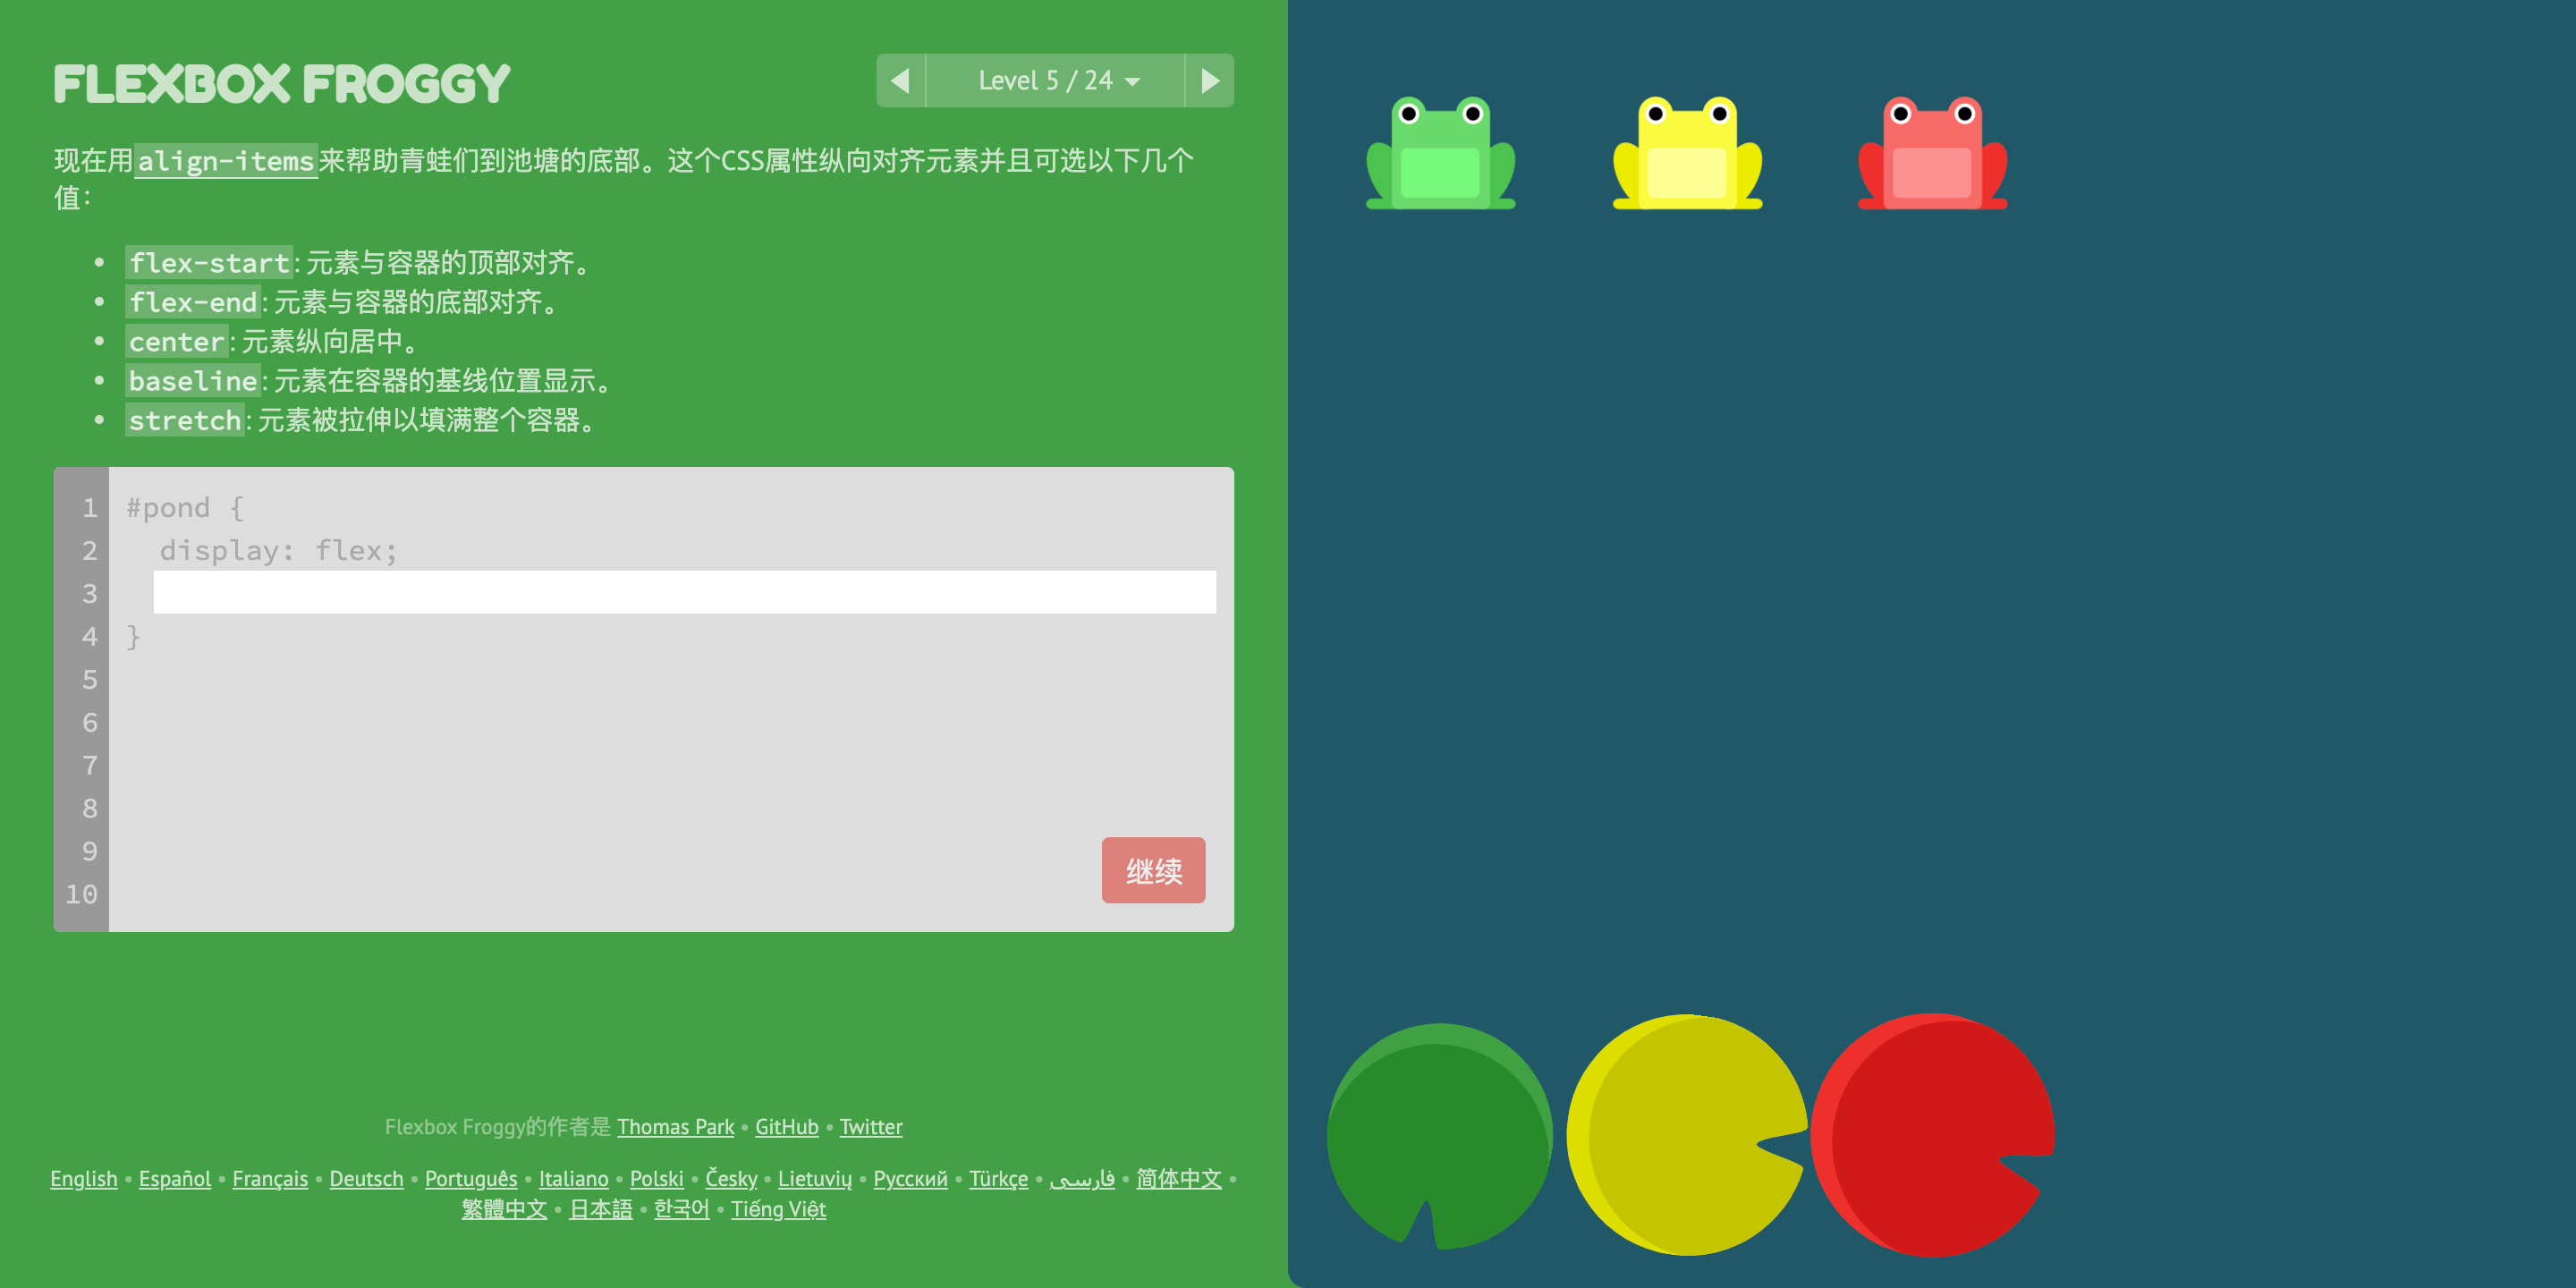
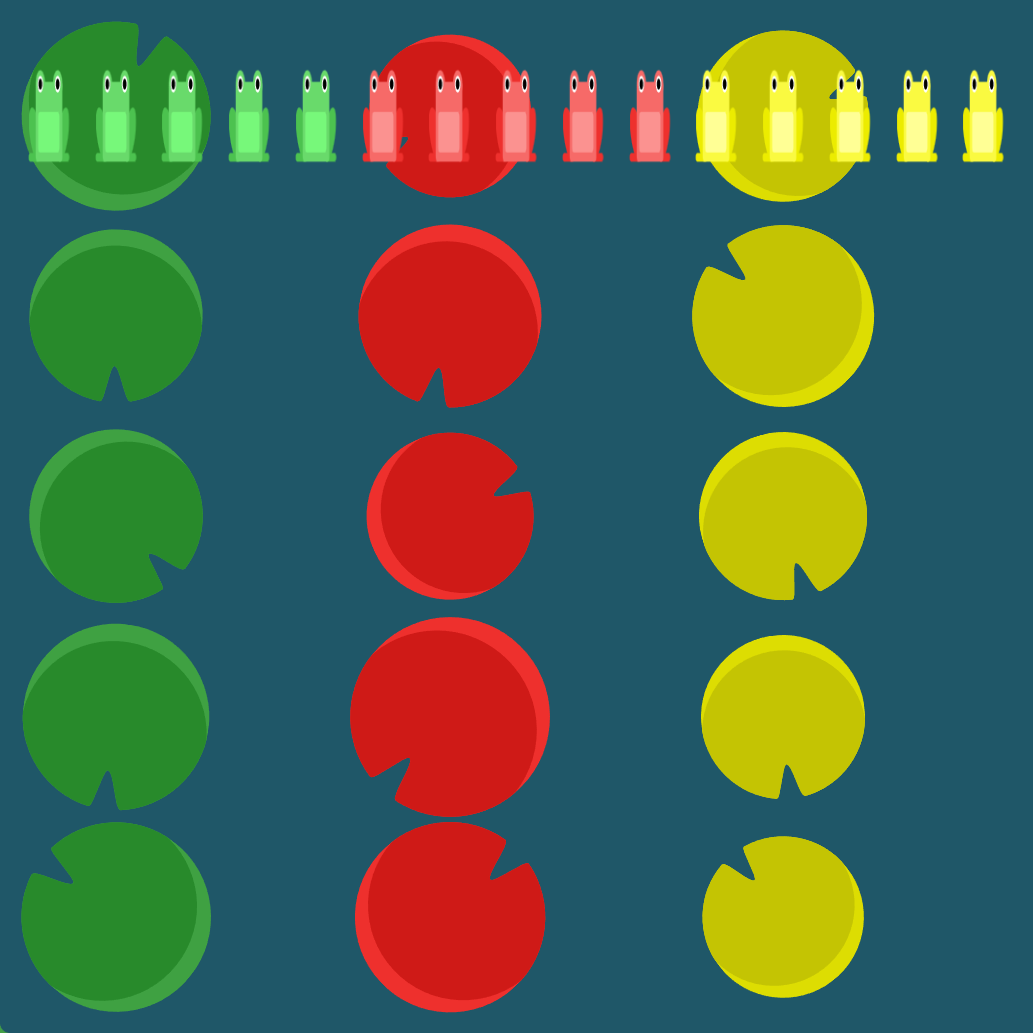
第 05 关
小青蛙靠底部。代码:
#pond {display: flex;/* 添加的代码 start */align-items: flex-end;/* 添加的代码 end */}
align-items 定义了项目在交叉轴上的对齐方式。交叉轴默认是垂直方向。align-items 不同值的示意图: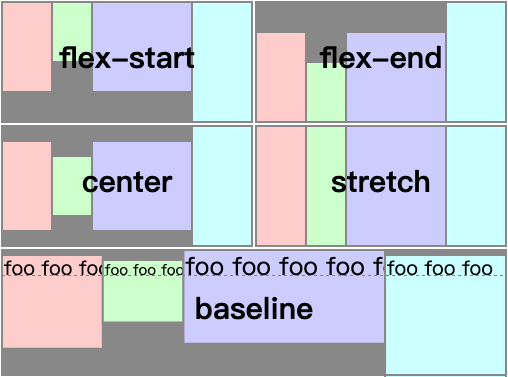
第 06 关

小青蛙水平,垂直居中。代码:
#pond {display: flex;/* 添加的代码 start */justify-content: center;align-items: center;/* 添加的代码 end */}
第 07 关

小青蛙水平两侧的间隔相等,垂直位于底部。代码:
#pond {display: flex;/* 添加的代码 start */justify-content: space-around;align-items: flex-end;/* 添加的代码 end */}
第 08 关
小青蛙的起点在右端。代码:
#pond {display: flex;/* 添加的代码 start */flex-direction:row-reverse;/* 添加的代码 end */}
第 09 关
小青蛙以列的方式显示(主轴是列)。代码:
#pond {display: flex;/* 添加的代码 start */flex-direction: column;/* 添加的代码 end */}
第 10 关
小青蛙水平反向。代码:
#pond {display: flex;/* 添加的代码 start */flex-direction: row-reverse;justify-content: flex-end;/* 添加的代码 end */}
其中:
flex-direction: row-reverse;将起点设置为右端。justify-content: flex-end;让青蛙在左侧显示。flex-direction 变过后,flex-start和flex-end对应的方向也被调转了。
第 11 关
小青蛙在列方向靠底部。代码:
#pond {display: flex;/* 添加的代码 start */flex-direction: column;justify-content: flex-end;/* 添加的代码 end */}
第 12 关
小青蛙在列方向两端对齐。代码:
#pond {display: flex;/* 添加的代码 start */flex-direction: column-reverse;justify-content: space-between;/* 添加的代码 end */}
第 13 关
小青蛙水平居中,起点在右侧,垂直方向靠底。代码:
#pond {display: flex;/* 添加的代码 start */flex-direction: row-reverse;justify-content: center;align-items: flex-end;/* 添加的代码 end */}
第 14 关

将黄色青蛙往后放。代码:
#pond {display: flex;}.yellow {/* 添加的代码 start */order: 3;/* 添加的代码 end */}
order 值越大,在主轴方向,显示越靠后。
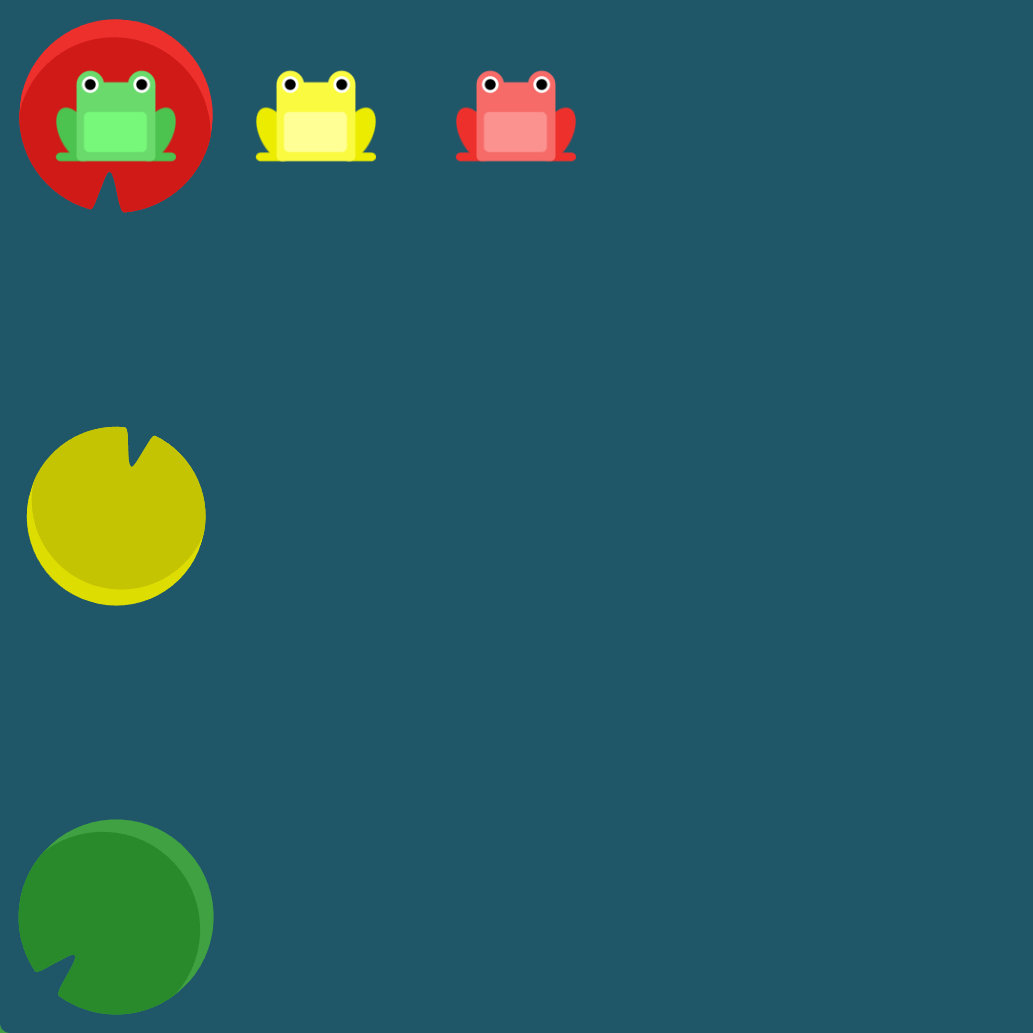
第 15 关
将红色青蛙往前放。代码:
#pond {display: flex;}.red {/* 添加的代码 start */order: -1;/* 添加的代码 end */}
order 值支持负数。
第 16 关
将黄色青蛙靠底。代码:
#pond {display: flex;align-items: flex-start;}.yellow {/* 添加的代码 start */align-self: flex-end;/* 添加的代码 end */}
align-self 允许单个项目有与其他项目不一样的对齐方式,可覆盖align-items 属性。
第 17 关

将黄色青蛙放到右侧底部。代码:
#pond {display: flex;align-items: flex-start;}.yellow {/* 添加的代码 start */align-self: flex-end;order: 3;/* 添加的代码 end */}
第 18 关
青蛙多行显示。代码:
#pond {display: flex;/* 添加的代码 start */flex-wrap: wrap;/* 添加的代码 end */}
flex-wrap 定义了如果一条轴线排不下,如何换行。默认情况下,项目排在一条轴线上。
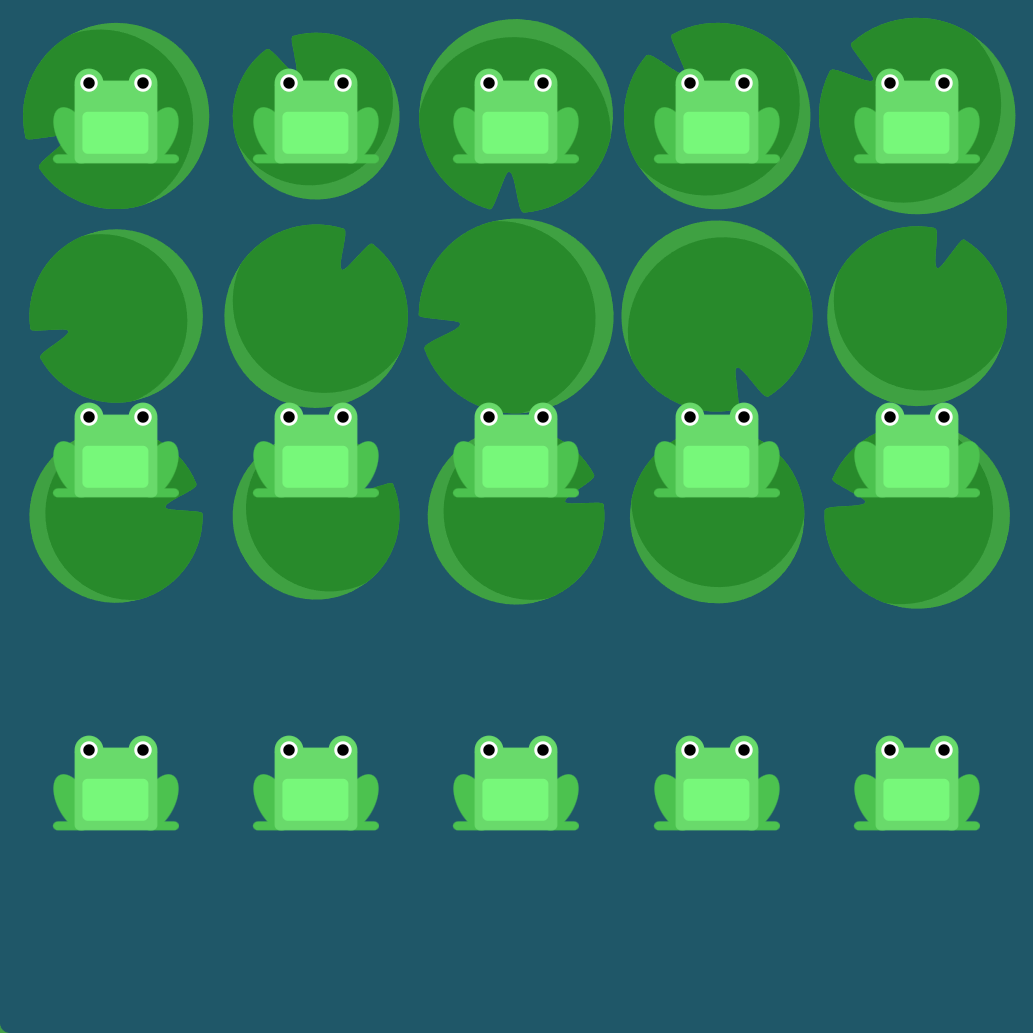
第 19 关
青蛙多列显示。代码:
#pond {display: flex;/* 添加的代码 start */flex-direction: column;flex-wrap: wrap;/* 添加的代码 end */}
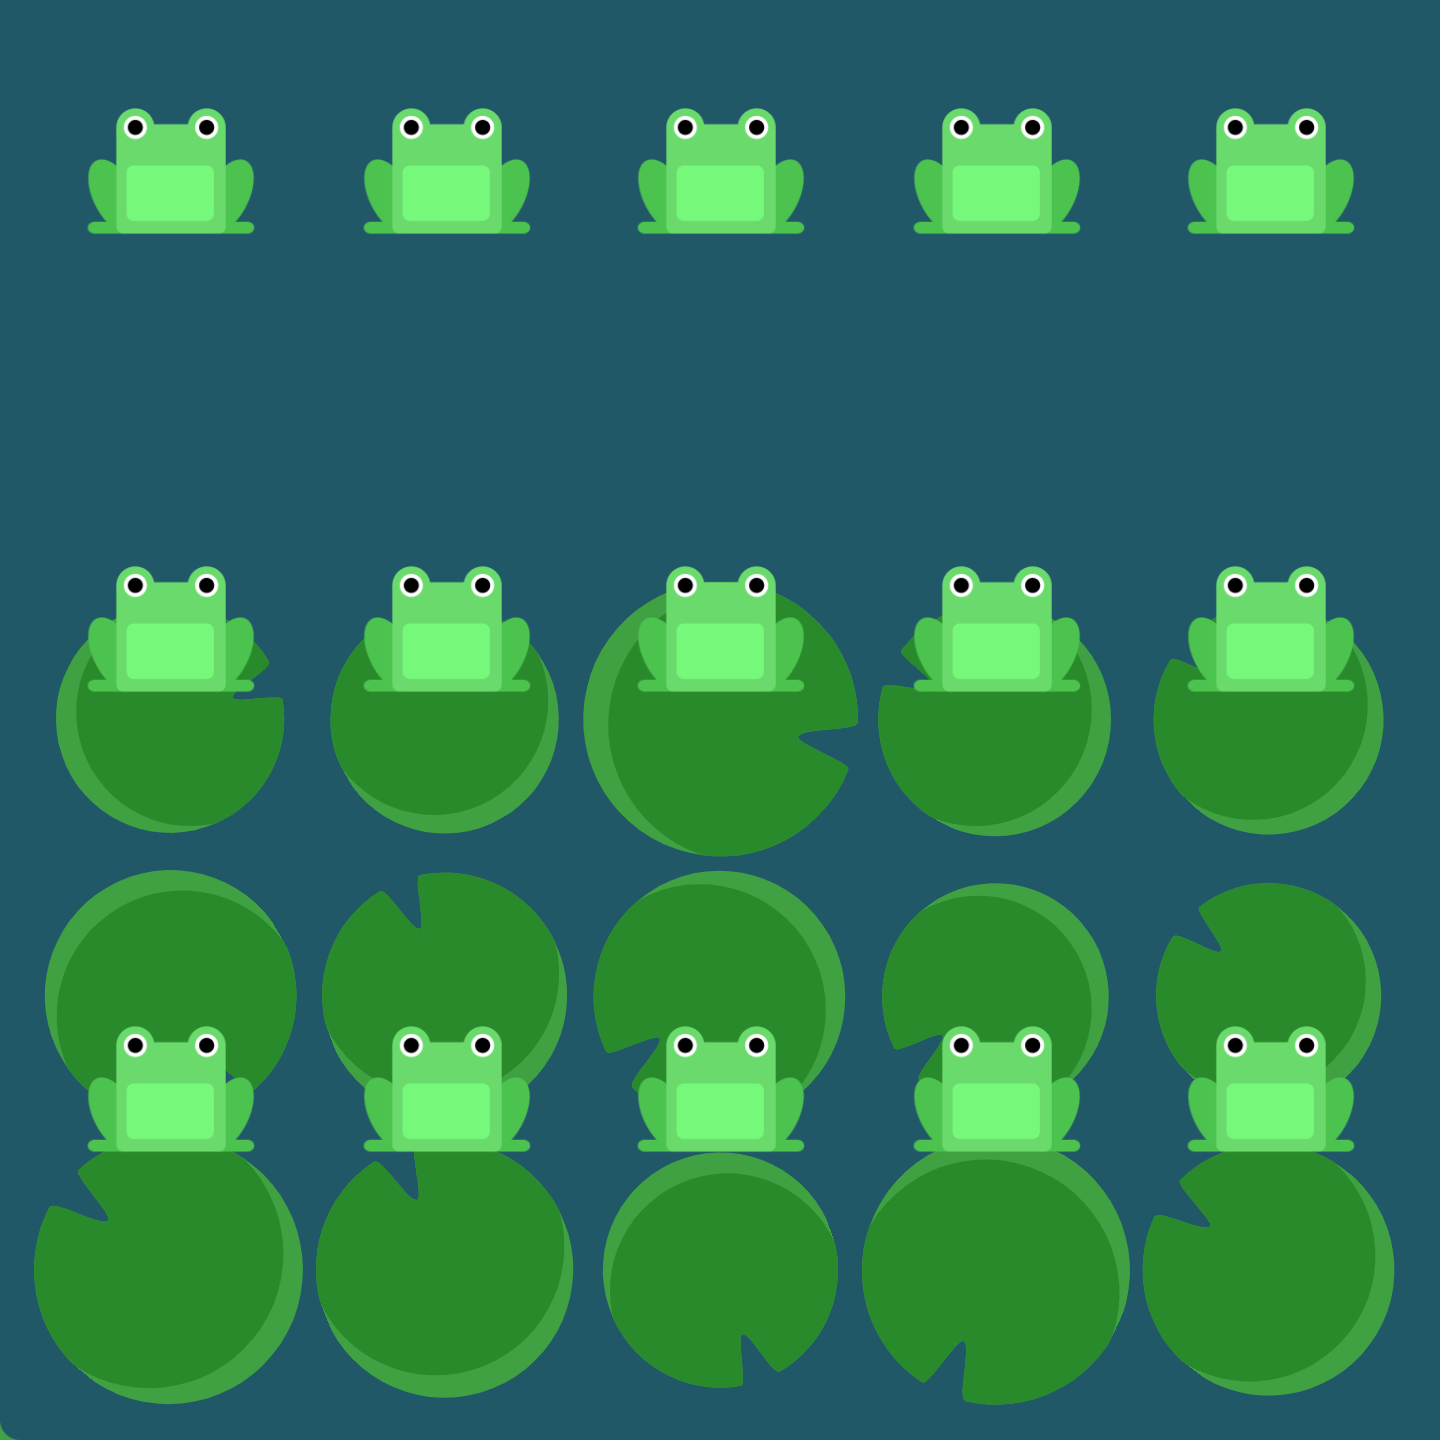
第 20 关

和 19 关的目标一模一样。但要用简写。代码:
#pond {display: flex;/* 添加的代码 start */flex-flow: column wrap;/* 添加的代码 end */}
第 21 关
青蛙多行靠顶。代码:
#pond {display: flex;flex-wrap: wrap;/* 添加的代码 start */align-content: flex-start;/* 添加的代码 end */}
align-content 定义了多根轴线的对齐方式。如果项目只有一根轴线,该属性不起作用。
第 22 关
青蛙多行靠底部。代码:
#pond {display: flex;flex-wrap: wrap;/* 添加的代码 start */align-content: flex-end;/* 添加的代码 end */}
第 23 关
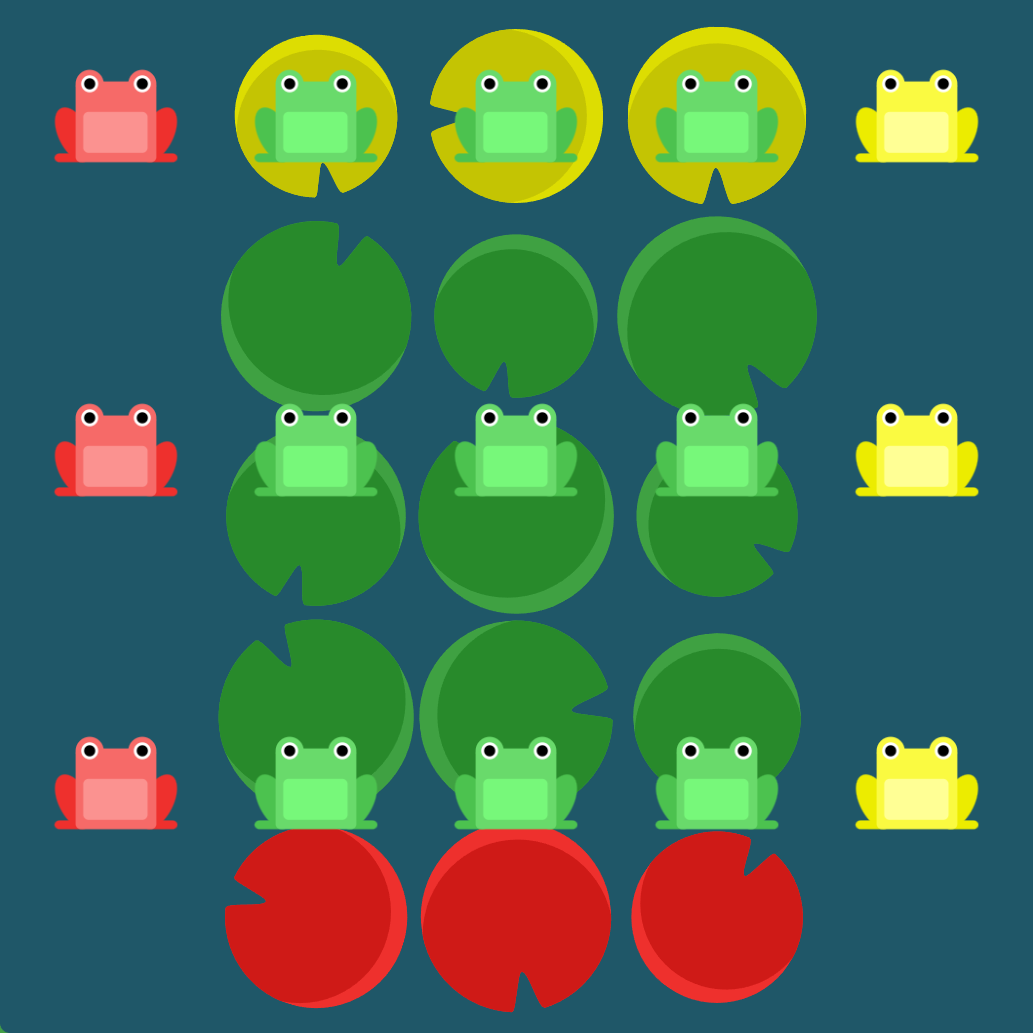
青蛙们开完了派对,现在该回家了。用 flex-direction 和align-content 把它们带回各自的家。代码:
#pond {display: flex;flex-wrap: wrap;/* 添加的代码 start */flex-direction: column-reverse;align-content: center;/* 添加的代码 end */}
第 24 关
用 Flex 属性,最后一次把青蛙们带回家。代码:
#pond {display: flex;/* 添加的代码 start */flex-direction:column-reverse;flex-wrap:wrap-reverse;justify-content:center;align-content:space-between;/* 添加的代码 end */}
青蛙们都被你送回家啦,我替青蛙谢谢你~

若有收获,就点个赞吧
0 人点赞
