原始文章链接
http://shiny.rstudio.com/articles/css.html
写在前面
shiny 是基于Bootstrap 3.3.1,所以想使用其他css或者Bootstrap4 的样式,就需要自己添加了。
三种方法
一、在head中链接css文件
- 将css文件放到同级www文件夹下面,通过 theme = “bootstrap.css” 来引入css。如下图。但是如果你想用shinythemes 带的样式就要写成这样,theme = shinythemes::shinytheme(“cosmo”),这样我们只能选其一。
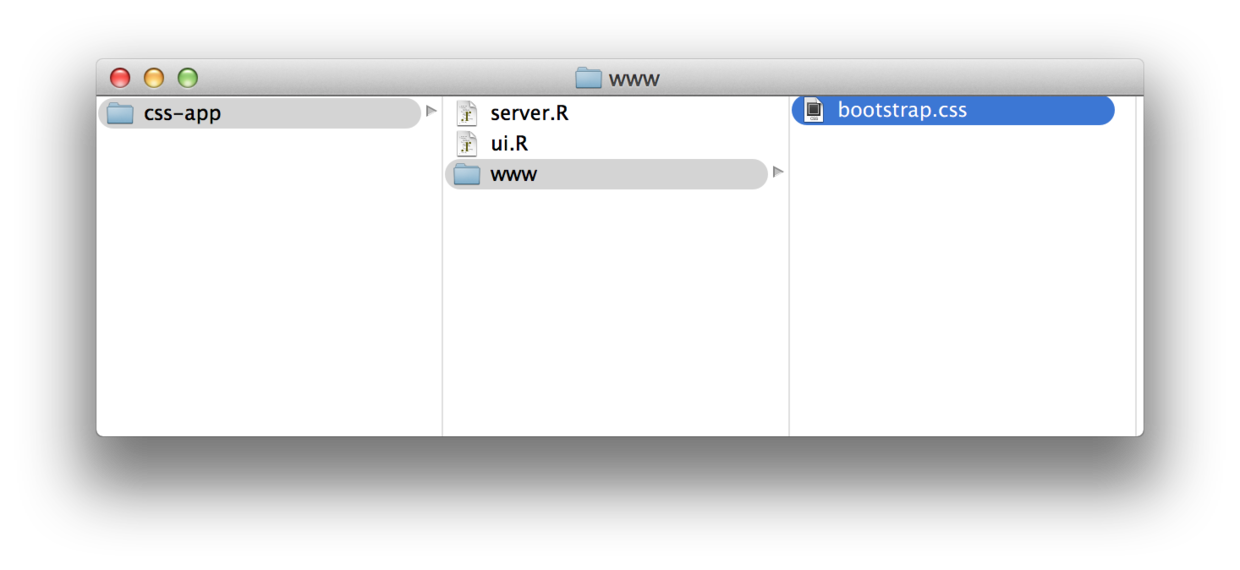
shinyUI(fluidPage(theme = "bootstrap.css",headerPanel("New Application"),sidebarPanel(sliderInput("obs", "Number of observations:",min = 1, max = 1000, value = 500)),mainPanel(plotOutput("distPlot"))))
- 当然还可以通过tags对象在head中链接CSS文件,没有上面提到的冲突。需要注意的一点是,www文件夹下面文件引入时,路径直接为“filename”,而不是“www/filename”,引入图片等都是这样。
shinyUI(fluidPage(tags$head(tags$link(rel = "stylesheet", type = "text/css", href = "bootstrap.css")),headerPanel("New Application"),sidebarPanel(sliderInput("obs", "Number of observations:",min = 1, max = 1000, value = 500)),mainPanel(plotOutput("distPlot"))))
对应的HTML就如下
<!DOCTYPE html><html><head><link type="text/css" rel="stylesheet" href="bootstrap.css"/></head><body></body></html>
二、直接在head中写入css样式
- 使用style标签
shinyUI(fluidPage(tags$head(tags$style(HTML("@import url('//fonts.googleapis.com/css?family=Lobster|Cabin:400,700');h1 {font-family: 'Lobster', cursive;font-weight: 500;line-height: 1.1;color: #48ca3b;"))),
- 使用函数 includeCSS,这种方法要求读入的css文件不必放在www文件夹下。这个方法和方法一中通过tags$link方法的区别是,此方法直接将css文件中所有的文本copy过来写入到head中,而不是一个链接。
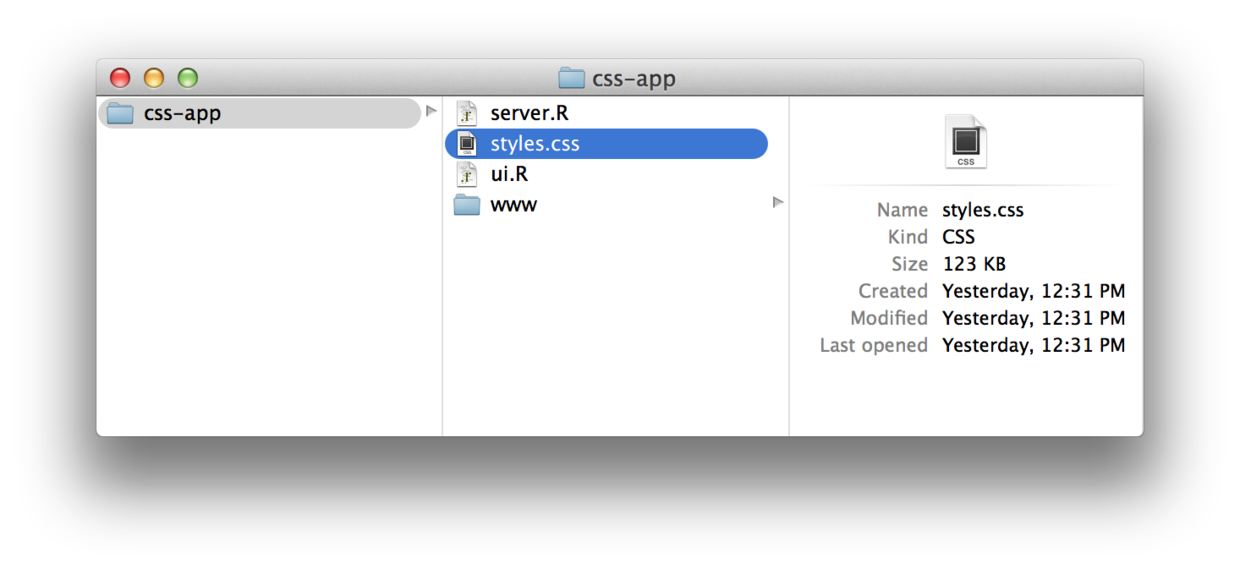
shinyUI(fluidPage(includeCSS("styles.css"),headerPanel("New Application"),sidebarPanel(sliderInput("obs", "Number of observations:",min = 1, max = 1000, value = 500)),mainPanel(plotOutput("distPlot"))))
三、直接写在不同的元素中而不是全局的head中
例如想修改某一个h标签的样式。
headerPanel(h1("New Application",style = "font-family: 'Lobster', cursive;font-weight: 500; line-height: 1.1;color: #4d3a7d;")),
最后
注意css样式冲突时的优先级就行了。

若有收获,就点个赞吧
0 人点赞
